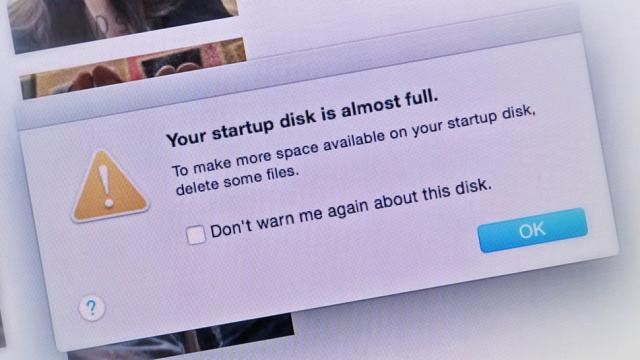
Windows or macOS running out of room and crawling to a halt as a result? Nowhere to store your latest batch of phone photos or iTunes music purchases? Dwindling computer storage space is a problem most of us have to face from time to time, and here’s what you can do to ease the pressure.
Image: MacPaw
The more empty space you’ve got on your hard drive the better — it gives your OS more room to breathe and more flexibility when it comes to storing files and all the temporary data that goes along with day-to-day use of your system. Even if you’ve already got a sizeable chunk of disk space free, it’s always worth clearing out some more.
Delete, delete, delete
Don’t underestimate how much room you can free up using nothing but the Delete key, even if you’ve only got five or ten minutes for the job. While automated tools are faster, this gives you more control over what gets deleted and what doesn’t.
Your desktop and browser download folders are good places to start the clear out, followed by your photo, music, and video libraries, which are likely to be taking up plenty of room. If you’ve bought movies or TV shows from iTunes, for example, then you can safely delete your local copies and download them again if and when needed.
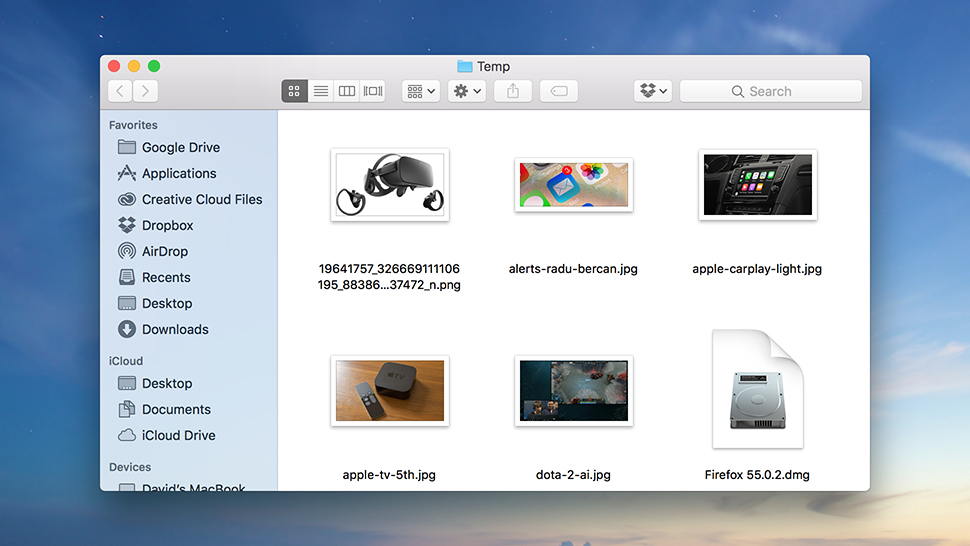
Do you really need all those desktop files? (Image: Screenshot)
If you need more time to sift through years of pictures or other types of files then moving them to an external drive while you do the sorting can relieve some of the pressure on the hard disk storage (though you should have other backups in place as well). Look for blurred pictures, duplicate pictures, and pictures you’d rather forget.
Applications and games can take up a substantial number of gigabytes, so consider uninstalling any that you’re not regularly using, having first checked that you can download them again should you need to. In some cases you might be able to remove certain components of apps rather than the full programs.
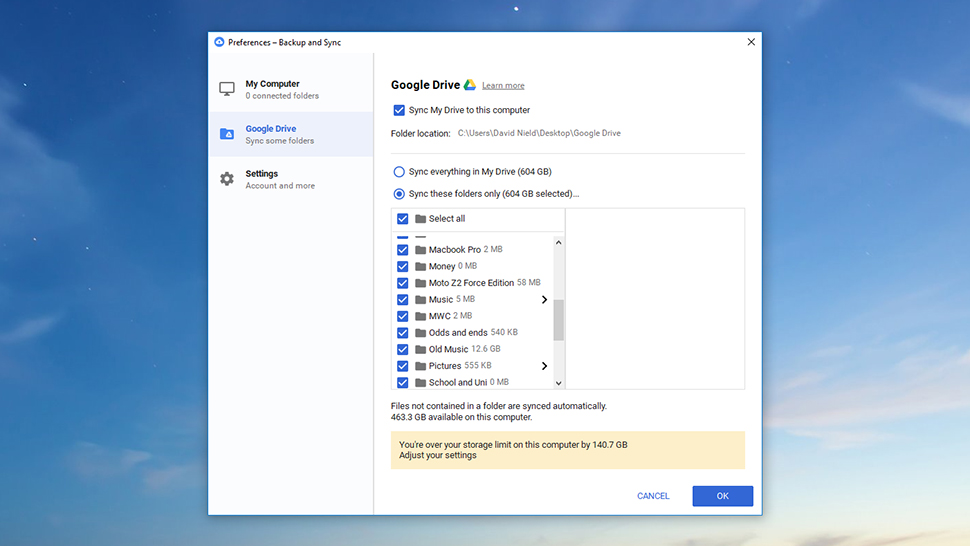
Unsync some folders for more space. (Image: Screenshot)
If you use a file sync service like Dropbox or Google Drive, you can block certain folders from getting synced to your current computer while keeping copies in the cloud and on any other computers where you’ve got the clients installed (delve into the client settings to configure this) — that might be useful if you want to keep your media library on one but not all of your computers, for instance.
Do a before and after check for free space on your main hard drive and be as ruthless as you can — you might be surprised at how many 1s and 0s you can get rid of. The key is to think about files you’re never going to make use of or that you’ve got somewhere else.
Windows and macOS tools
Both Windows and macOS have built-in tools to help you in your quest to gain as many extra gigabytes of room as possible, and they have gotten so good you largely don’t need data visualizers like Daisy Disk or Disk Inventory X for macOS and WinDirStat for Windows.
From Windows Settings, click System and then Storage — select a drive (usually This PC) and you get a breakdown of how all the room on the hard drive is getting used up. You can click on any category to see the actual files themselves, but for our purposes the Temporary files section is of most interest. Click it, tick all the boxes, then select Remove files.
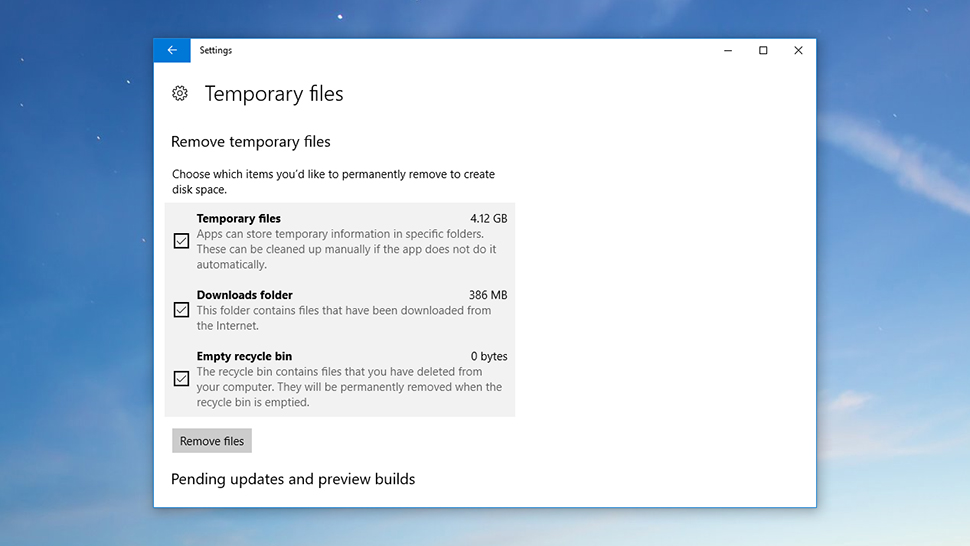
Windows can tell you where all your disk space is going. Image: Screenshot
There’s also the Disk Cleanup tool: Just type “disk cleanup” into the search box to find it. Again, tick the types of files you want to get rid of (temporary junk files left behind by Windows and other applications get mentioned again), then click OK to confirm your choice. Follow the Clean up system files link to make sure the utility has run a full scan for all the types of files that can be removed.
Windows 10 now lets you do all of this automatically, if you want to, via the Storage sense option that appeared with the Creators Update. You can see there’s a toggle switch on the Storage screen, and if you click Change how we free up space you can choose which files get included (it’s basically temporary files and files in the Recycle Bin).
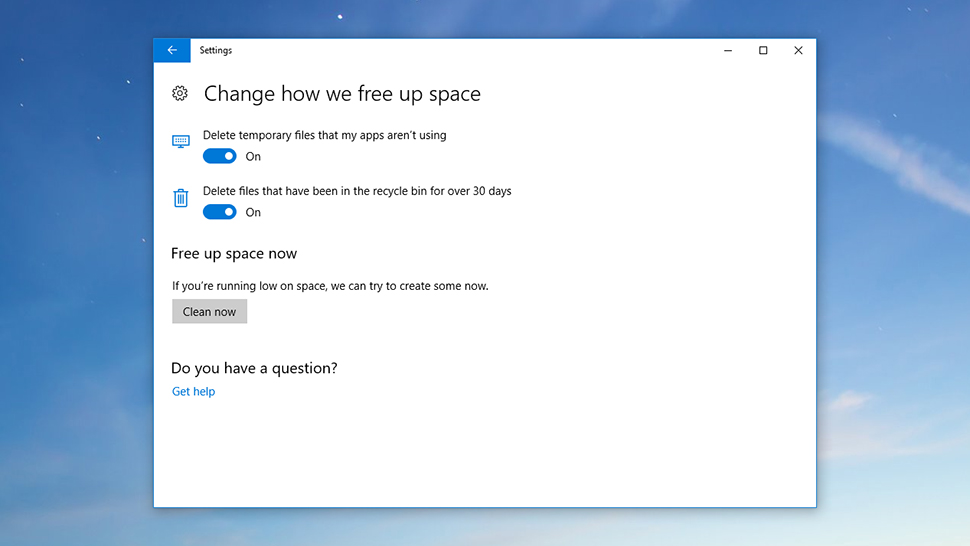
Windows can now clean up after itself automatically too. Image: Screenshot
Over on the macOS side of the fence, a similar intelligent storage utility was added in Sierra. Open the Apple menu then click About This Mac and Storage, then click Manage next to the drive you want to tidy up. You’ve got a variety of options here, and you can also see the types of files and the applications that are taking up most room in the list running down the left-hand side.
The option to Empty Trash Automatically is fairly self-explanatory, as is the option to Store in iCloud — if you click the Optimise button at the top then macOS basically takes you through the process of getting all your photos and videos into iCloud then deleting the local copies, replacing them with lower resolution thumbnails. The originals can be restored at any time, should you need them.
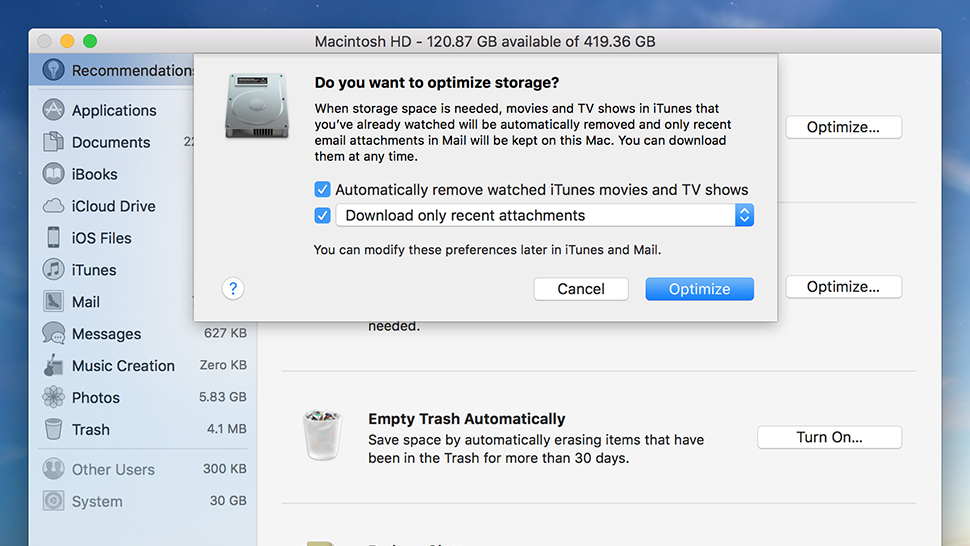
macOS includes some integrated optimization tools of its own. Image: Screenshot
The Optimise Storage option is a bit more interesting, and if you click on its Optimise button to the right you get a dialog box letting you clean up two apps: Mail and iTunes. Specifically, you can remove older email attachments and movies and TV shows you’ve already watched (as we mentioned before, they can be downloaded again from Apple’s servers if you want to watch them in the future).
Finally, click Review Files next to the Reduce Clutter heading and macOS highlights some files that you might want to get rid of — it highlights large files, and files that haven’t been touched in a while, so you can decide for yourself which ones you’d like to erase.
Of course there’s always the nuclear option: Wiping your hard drive and reinstalling your OS, provided you’ve backed everything up first. Nothing is going to clear out as much room, though you need to make sure you can restore your applications and important files to their previous state. We’ve previously covered how to do this for Windows and macOS.
Third-party tools
As well as the tools and techniques we’ve already mentioned, you’ve got a bunch of third-party programs ready and willing to help you claim back some storage space. For example, duplicate files can be a problem, especially when it comes to photo libraries, but Duplicate Files Finder (free, Windows) and DupeGuru (free, macOS) are two of the best tools we’ve found for tackling the issue.
For a more robust clean up, we’d once again recommend the excellent CCleaner (free or $US24.95 ($31) for Pro, Windows or macOS): It tidies up junk files left behind by your browsers and your other applications, fixes up problems in the registry, and more besides. If you pay for the Pro edition, it can scan for more types of files and run on a schedule too.
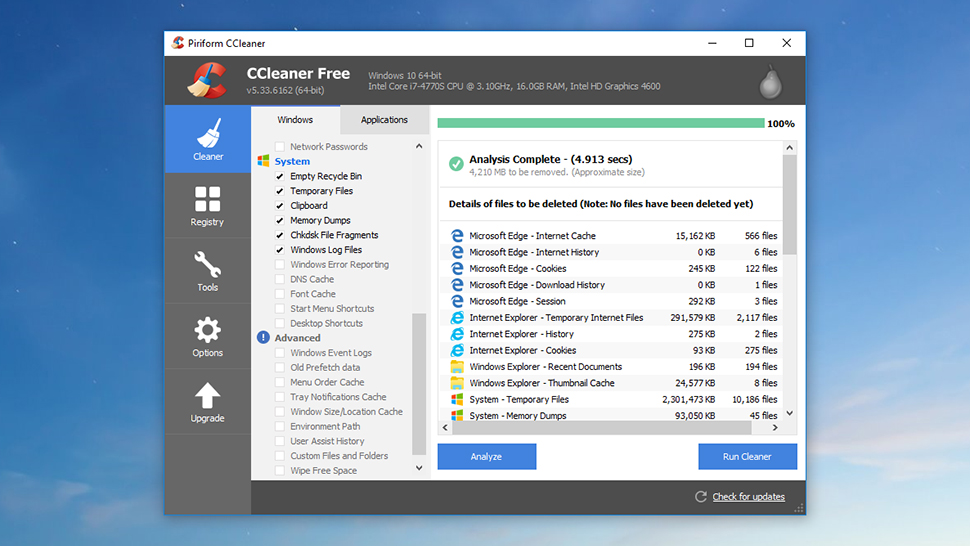
CCleaner has been maintaining computers for years. Image: Screenshot
We’ve also been impressed with System Mechanic (free or $US39.96 ($50) for Pro, Windows), which covers a lot of the same ground as CCleaner. It can hunt down and destroy 50 different junk file types, as well as removing bloatware, optimising your internet connection, and repairing problems with the registry and other Windows settings.
Meanwhile, CleanMyMac (free demo then $US39.99 ($50), macOS) comes highly recommended for Apple computers by most who use it — it gives you access to a lot of maintenance options (including removing old junk files and uninstalling apps) though a simple, minimal interface. If you want the fastest disk space clean up and don’t mind paying for it, then CleanMyMac is worth a look.
