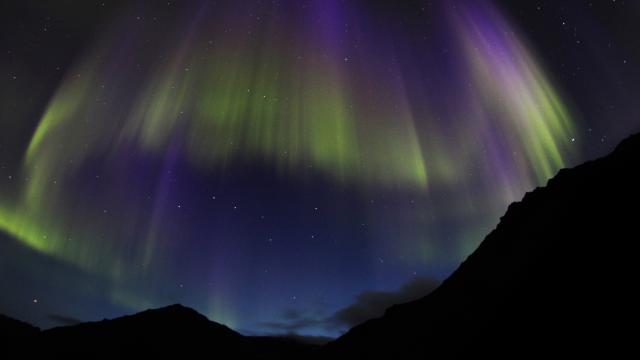
One of nature’s most incredible phenomena are the aurora borealis, more commonly known as the Northern Lights. We’ve been photographing them in Icelandm and we’re going to show you how to shoot them yourself.
What are they? The Northern Lights are a natural light display in the sky, predominantly seen in Arctic regions. Geomagnetic storms can cause the auroral ovals to expand, sometimes bringing them to lower latitudes. They illuminate the poleward horizon as a greenish glow, or sometimes a faint red as if the Sun were rising from an unusual direction.
The light produced by most auroras is between 90km and 150km above the ground, but sometimes can extend to more than 1000km. They’re most clearly seen against a dark night sky in locations nearer the north pole, such as Alaska, northern Canada, Greenland, Iceland, northern Scandinavia and Siberia. Near the opposite pole, the aurora australis, or southern lights, can be seen from Antarctica, South America, New Zealand and Australia.
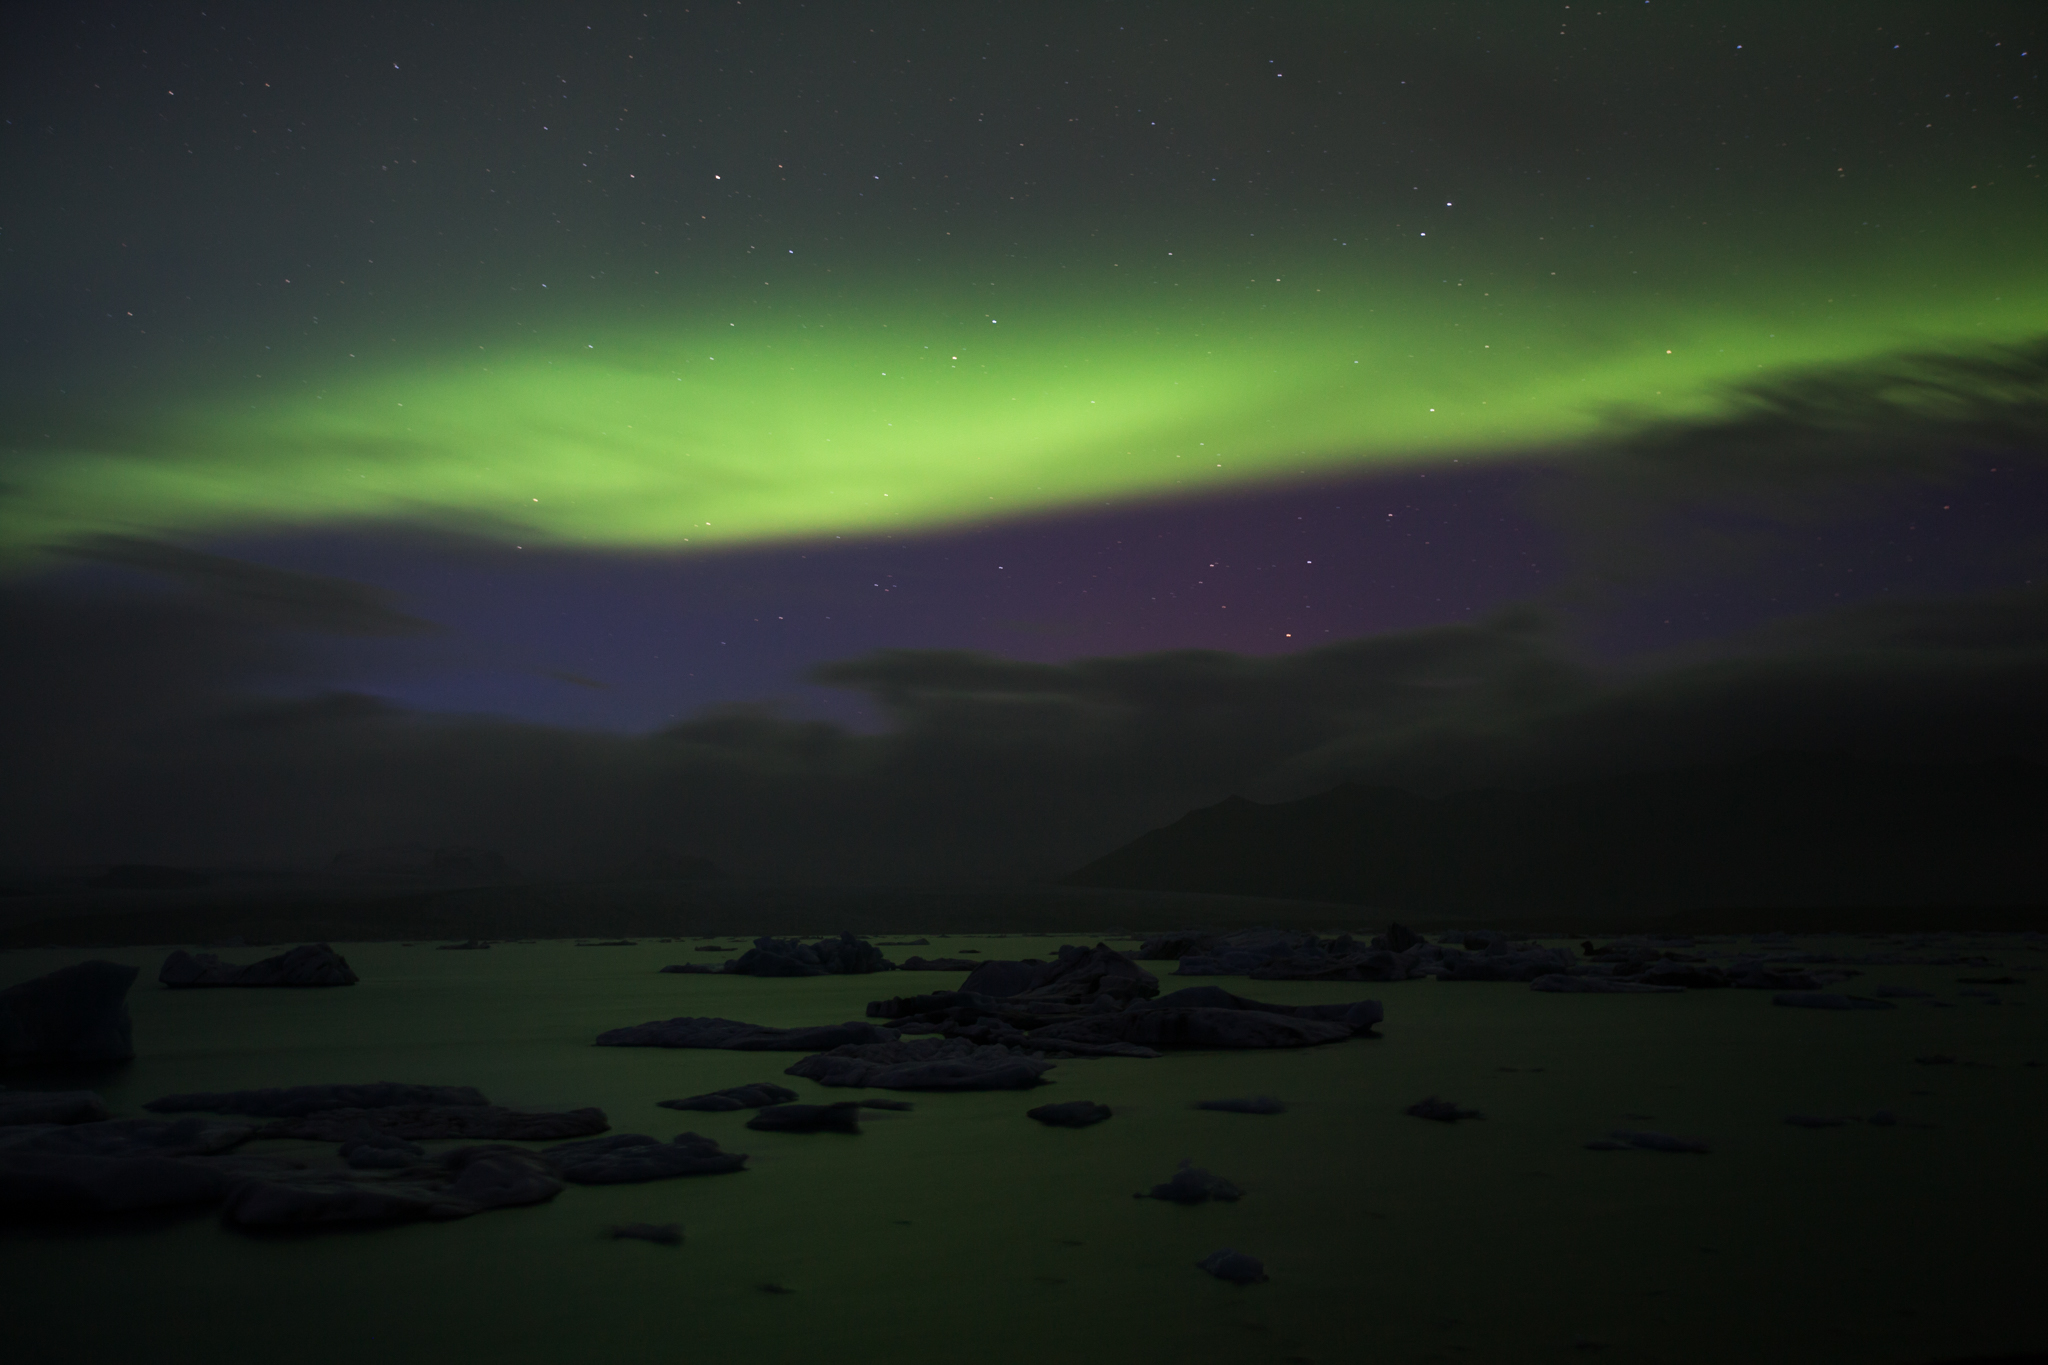
The auroras take many forms and colours. The most distinctive are the curtain-like auroral arcs. These can be incredibly bright and, in the right conditions, will light up the entire sky. A “diffuse” aurora however, is a relatively featureless glow sometimes close to the limit of visibility. Those can be distinguished from moonlit clouds by the fact that stars can be seen undiminished through the glow. Green auroras are the most common, but they can also be red, blue, or pink and yellow (a mix of red and green or blue).
It’s not known exactly what causes them, but research has show that there are a few possible causes. What we do know however, is that they are AWESOME.
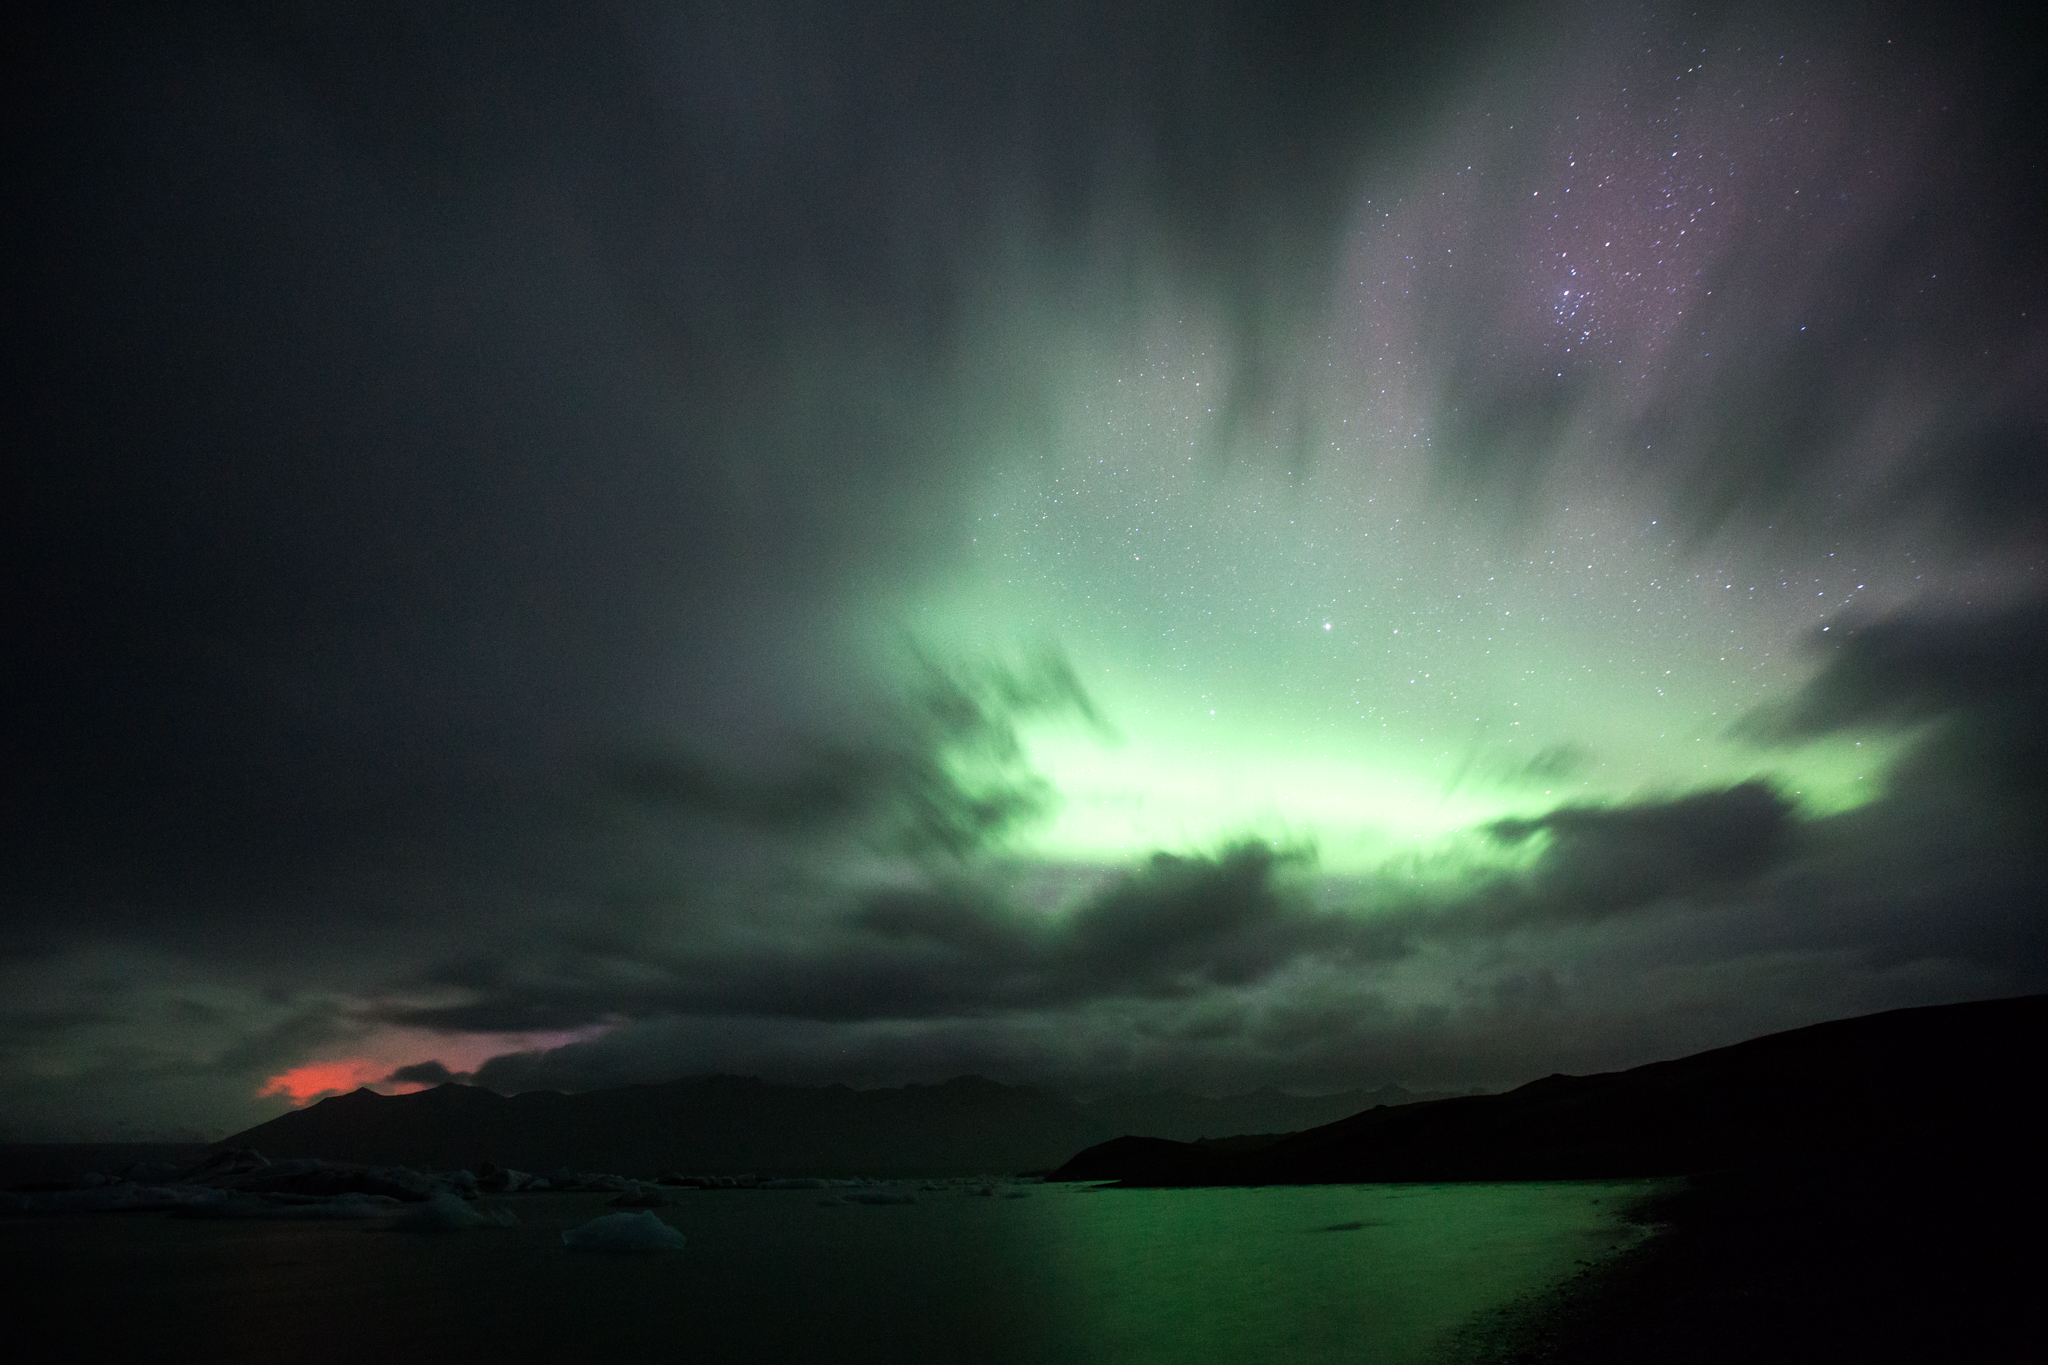
The Bardarbunga volcano erupts in the background as the aurora borealis dodge behind clouds above the Jökulsárlón glacial lagoon in Iceland.
Recent advances in digital photography have made it easier than ever to photograph the aurora borealis. Here’s what you need to know to shoot them yourself.
Location: The aurora borealis are most visible near the arctic circle. They can be seen from Alaska, Canada, Greenland, Iceland, Scandinavia, and Siberia — however, travel to Iceland and Norway is probably most accessible. Iceland Air has a great stopover program allowing flyers to have a week-long “layover” on the island in between other destinations. Reykjavik — the world’s northernmost capital city is only a five-hour flight from New York and you can actually see the aurora borealis from the city limits. When choosing a specific location to shoot, try to get away from cities’ light pollution. Find a place with dark sky and interesting subject matter (think mountains, lakes, glacial lagoons, etc).
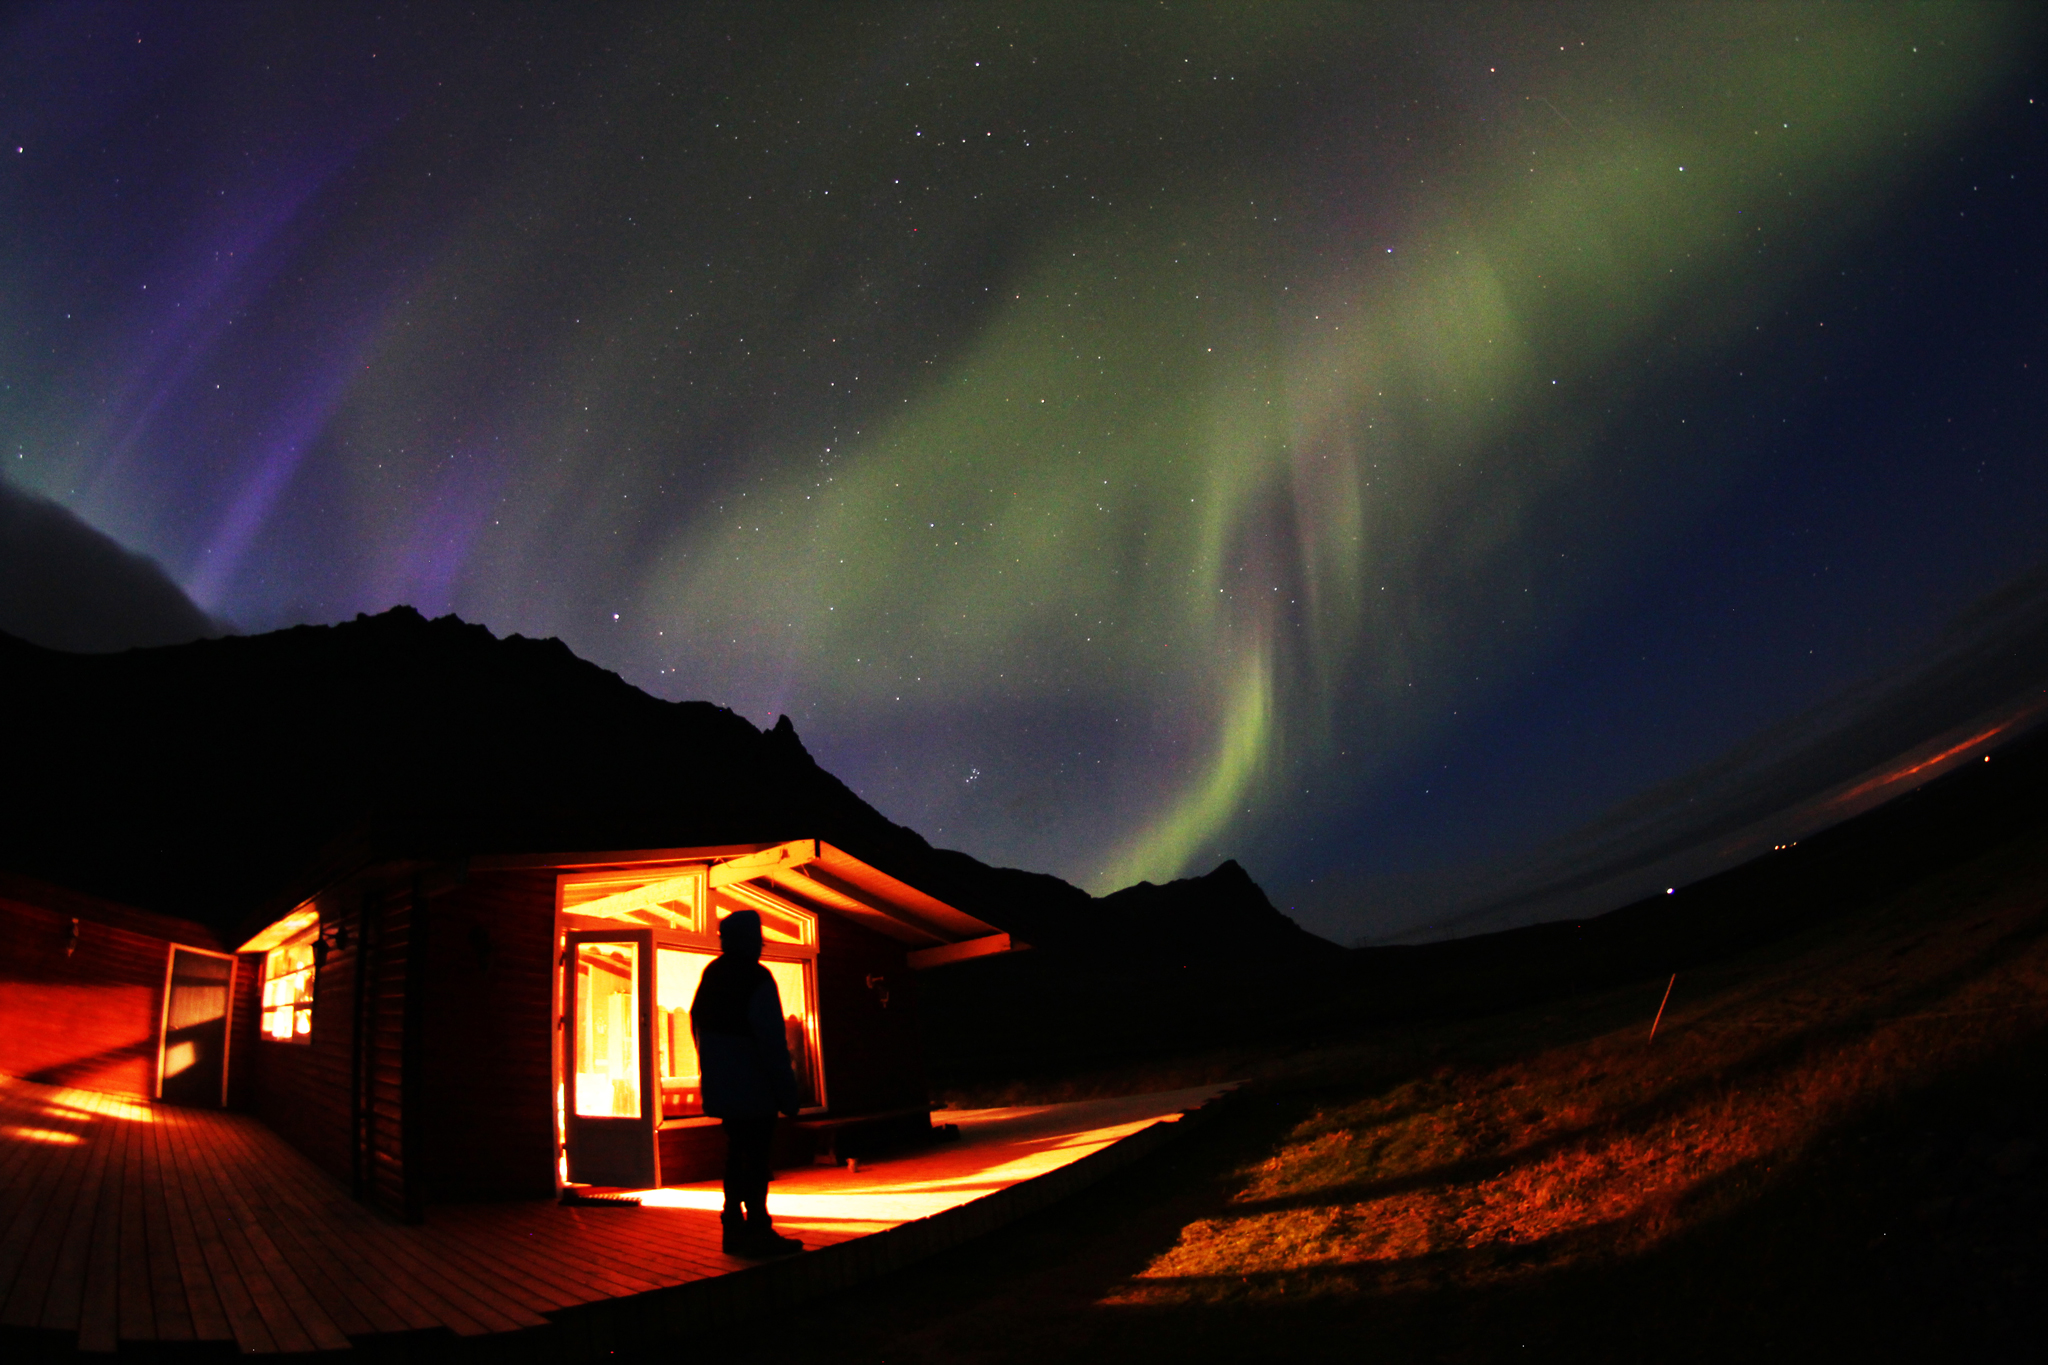
When to Go: The best time to experience the northern lights is between September and March. Statistically speaking, March is the most active month; October is a close second. Spring is clearer but colder. Autumn is warmer, but cloudier; cloud cover will have a huge impact on whether or not you can see the auroras. They are visible in winter too, but temperatures will be much colder and days will be much shorter (which would maximise your opportunities to see them, but would give less opportunity to do other things).
Equipment:You don’t need much.
- Camera – You’ll want a camera that allows for manual exposure control, and one that can make at least 30-second exposures. A full-frame camera like the Canon 6D will allow you to take full advantage of wide lenses and offers superior image quality and high ISO performance to a cropped sensor — but any digital SLR will work; one of the new mirrorless cameras should do the trick as well.
- Lens – A wide lens will allow you capture an expansive view of the auroras and surrounding landscape. The new Canon 16-35mm f/4L IS USM is great for shooting landscapes and works brilliantly when paired with a full frame camera, but any wide lens will do.
- Tripod – You’ll need one to prevent camera shake while shooting long exposures. I’ve been using the Manfrotto BeFree Compact Lightweight Tripod. It’s sturdy, packs down well, and is relatively lightweight given its robustness (I’ve been backpacking around Iceland with it). A lighter, less expensive option that works great for adventure travel is the Joby GorillaPod — although the GorillaPod is definitely harder to work with. A cheap lightweight tripod will do in a pinch, but the winds in these areas can be quite violent, so something sturdier will serve you better.
- Remote (optional) – A cheap remote, like this $US30 generic intervalometer (which is also useful for timelapses) can be nice for triggering the shutter, allowing you to keep your hands in your pockets (it’s gonna be cold out there!).
- Headlamp – Chance are, it’s going to be dark where you’re shooting at; a headlamp will save you from stumbling around.
Clothing: You’re going to be shooting near the Arctic circle in autumn, winter or spring. It’s going to be cold. Dress for it.
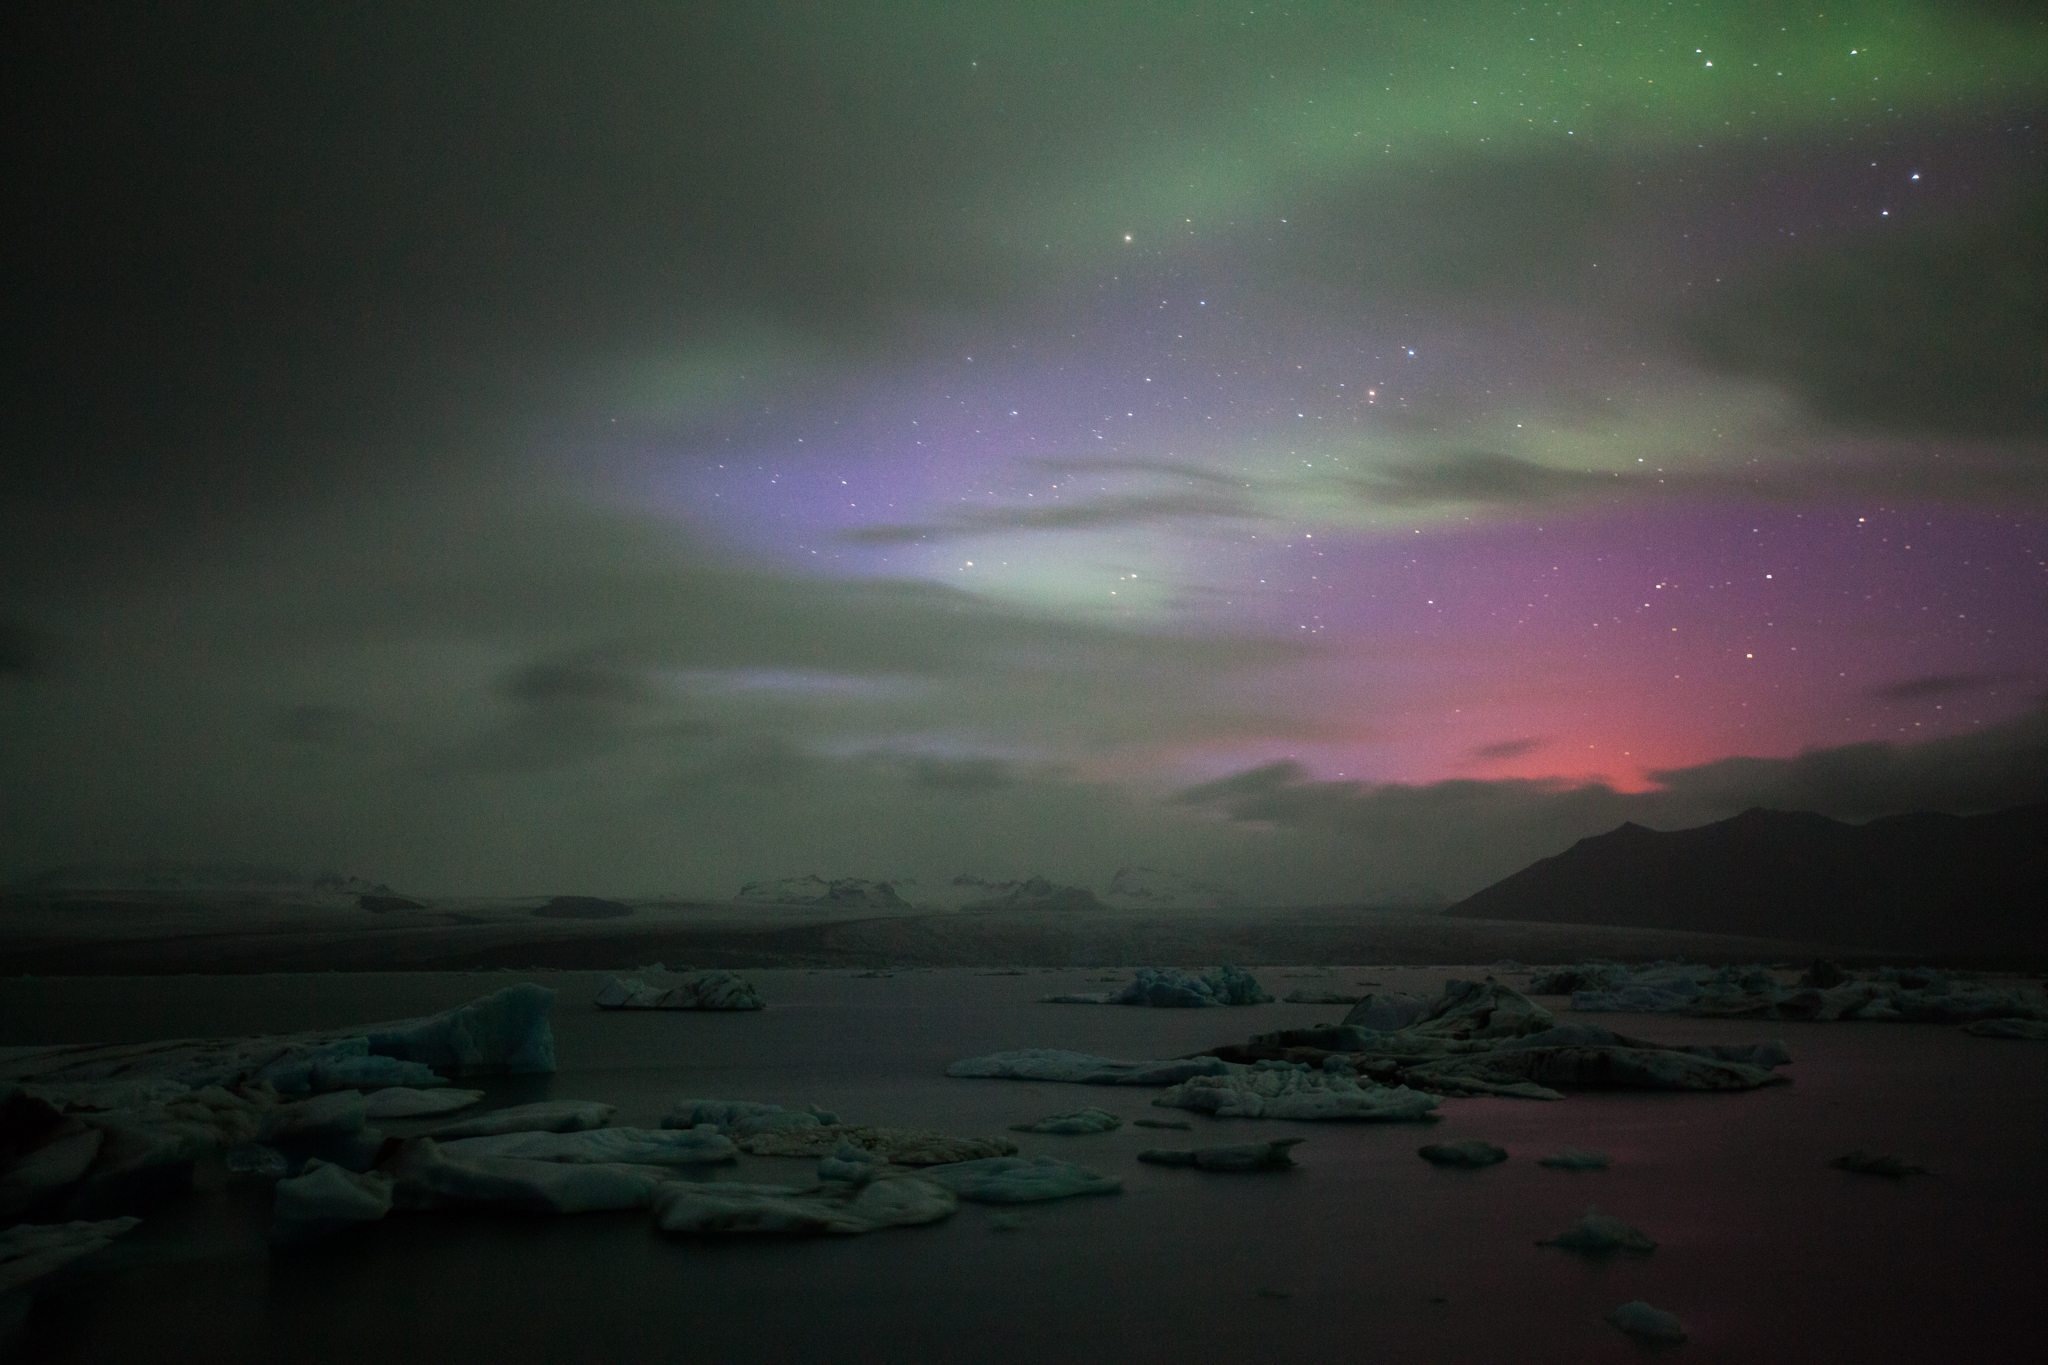
The Bardarbunga volcano erupts in the background as the aurora borealis dodge behind clouds above the Jökulsárlón glacial lagoon in Iceland.
Weather: Weather is going to be a big determining factor here. If there is serious cloud cover, chances are that the aurora borealis will not be visible. In Iceland in autumn, that is often the case. Depending on where you’re shooting at, there should be an aurora forecast for that area. The forecast for Iceland shows a map of cloud cover over the entire island, and it gives a meter of the aurora intensity for about a week at a time. This tool can be useful for planning, but like all things weather, sometimes you have to just step outside and see for yourself. Last night, for example, the aurora forecast for Iceland showed full cloud-cover, yet we could still see them swirling above us while walking to the bar, despite Reykjavik’s light pollution.
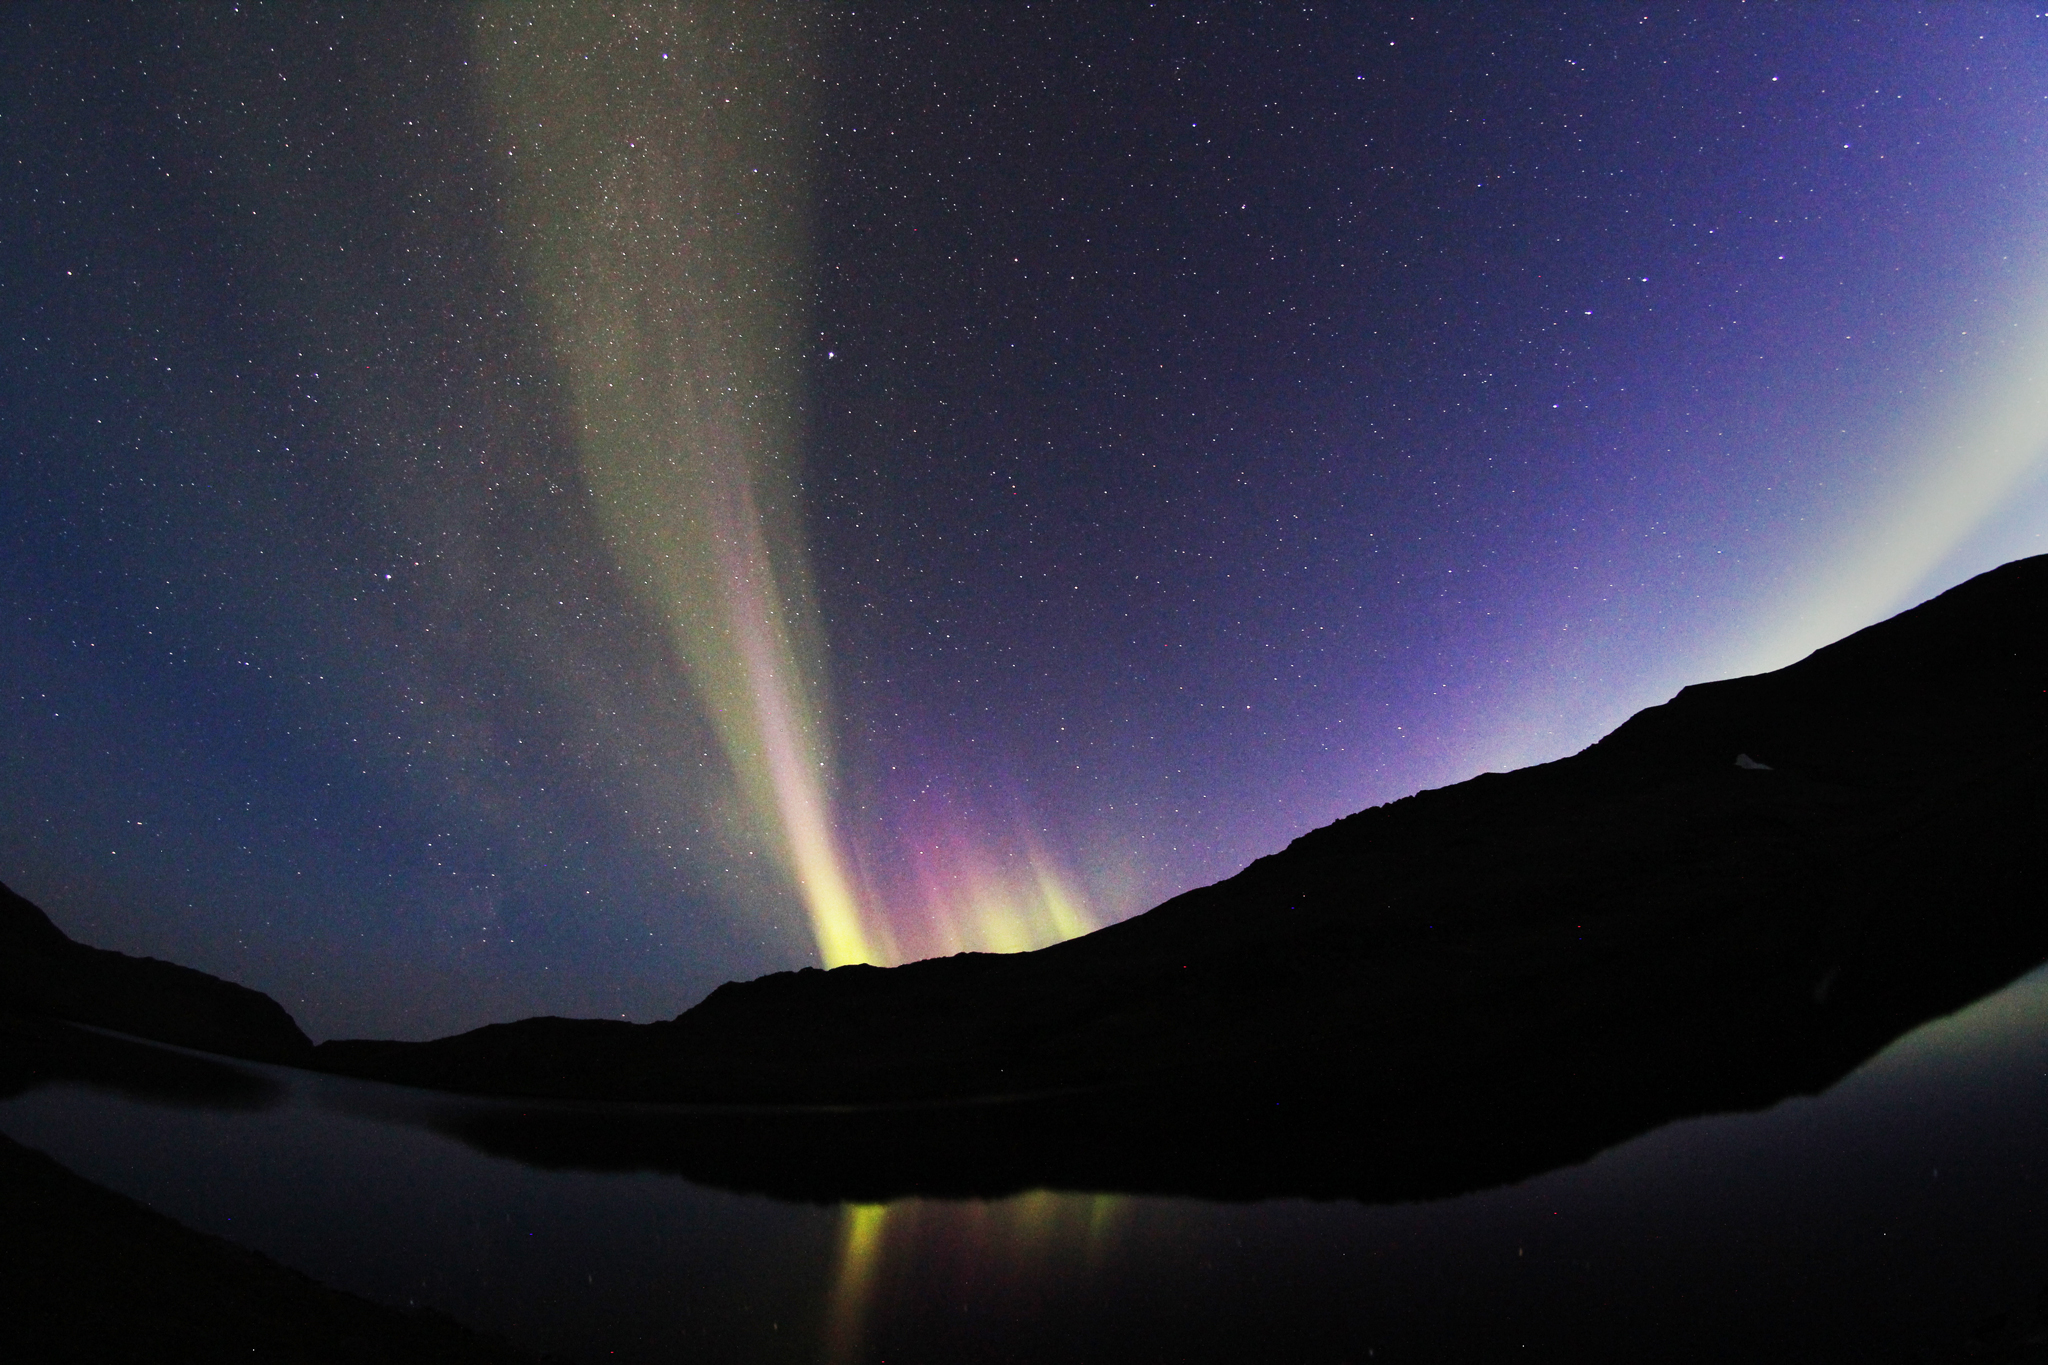
Photographing The Auroras: First things first, set your camera and tripod up, then create an interesting composition. You’ll want to feature some sort of foreground element, whether it’s a lake, mountains, or yourself standing beneath the colourful glow. This will give some context to the illuminated sky that you’re photographing.
Next, focus on your foreground element. It can be tough to auto-focus in the dark, but if you’re close enough to the subject, you can use your headlamp to illuminate it for focusing (just be conscious of other shooters nearby, you don’t want to shine a light through their exposures.) If that doesn’t work, set your focus to manual, turn the focus ring to “infinity” (the sideways 8) then back it down a couple of millimetres. If your foreground element is off in the distance, chances are this will bring it into focus.
Change your exposure setting to “manual”. Shooting in manual will give the most control over your exposure. Because you’re shooting at night, your camera’s sensor will need to collect a lot of light. Open your aperture up wide. When working with the aperture setting, a smaller number means a bigger opening, which allows more light onto the sensor. If your lens will go down to f/2.8, that’s a good place to start. Next set your shutter speed to 15 seconds. This will keep the shutter open for a full 15 seconds, allowing a lot of light to reach the sensor. Finally, set your ISO. This will most likely be the variable that you’ll change to properly expose your image. Start with an ISO of 1600. If it’s too dark, increase the ISO to 3200. A higher ISO will increase the light sensitivity, giving you a brighter image, but it will be grainier. A lower ISO will be a cleaner image with less grain, but it won’t be as bright. The key here is to really capture the intensity of the auroras, so don’t be afraid to push your ISO to get a properly exposed image. I’ve simplified my starting point below, but keep in mind this can vary greatly depending on the intensity of the auroras:
15s,f/2.8, ISO 1600
If shooting with a remote, use that to fire off your exposures. This will prevent camera shake caused by pressing the shutter release. An added bonus is that using a remote will allow you to keep your hands in your pockets while shooting. If you don’t have a remote, don’t worry. Set the self timer on your camera, and use that to release the shutter. I have a 2s self timer on my 5D Mk II; that works great for shooting landscapes in a pinch. If your camera only has a 10s self timer, that will work too, you’ll just have to wait longer to expose your shots.
Tips:
- Shoot a bunch! The aurora borealis are constantly changing, so continue to shoot as long as you can. This will give you the most chances to capture a really great shot.
- Shoot in RAW! This will allow for the most latitude in post processing, which is especially important when dealing with long exposures and night photography.
- Remove any filters from your lenses before shooting as they can leave concentric rings around your images.
- Taking the picture is only the first step. Editing your photos in a program like Photoshop or Lightroom will allow you to get the most out of your RAW images. Try bumping up the contrast and colour saturation — just don’t overdo it!
- Batteries discharge much quicker in the cold, so always have a spare. Keep it inside your jacket so that it stays warm and will be ready to go when the time comes to swap it out.
- Chemical handwarmers can be really helpful for keeping your hands, batteries and camera warm.
Do you have any photos you’ve taken of the auroras? Share them in the comments below!
Pictures: Filip Polách, Chris Brinlee Jr
