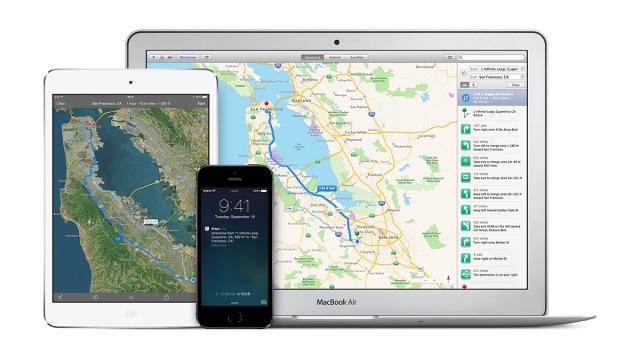
After a less-than-stellar start, Apple Maps is starting to establish itself on the desktop and on iOS as well. Despite its sleek and minimal interface, there are a number of useful features hidden away behind the surface. Here are 10 tips for getting more out of Apple Maps that might even persuade you to make the switch from Google.
1. Switch on the satellite view for walking directions
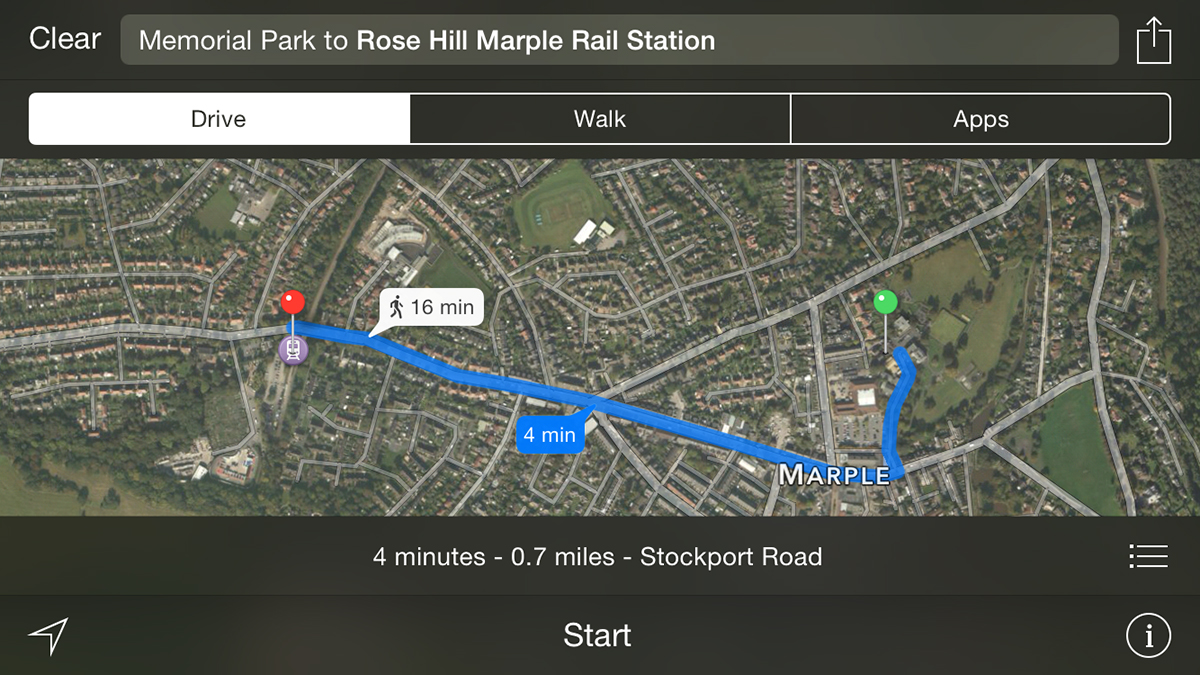
Walking directions can be a bit hit-and-miss, so switch on the satellite view and you can get a better idea of where footpaths end and canal towpaths begin. Satellite view isn’t always ideal for looking at maps, as it tends to crowd out the most useful information, but if you’re planning a walk it can give you some vital clues as to the route. Satellite or hybrid views can be activated by tapping on the Information icon in the lower right-hand corner.
2. Add contact addresses from dropped pins
One of the handy ways in which you can use a dropped pin is to add its location as an address for one of your contacts. Perhaps you’ve just visited his or her house and have no idea what the road’s called, or perhaps you just don’t want the trouble of all that typing. On iOS, tap and hold to drop a pin, then tap its label to see the address. Choose Add to Existing Contact and you can pick out a contact card as well as make edits to the address if required.
3. Take a city flyover

It may have only earned one line on one slide in the iOS 8 keynote, but Maps now supports city tours as part of the Flyover feature, and the number of supported locations across the world is growing. You can find the Flyover Tour option by tapping on the name of a city after you’ve run a search for it, which will launch a quick tour of some of the major sights in your chosen location, handy both for vacations and for getting to know the local area a little better.
4. Send locations to your mobile devices
If you’re running Maps in OS X and you’ve found a location that you absolutely must transfer to your iPhone or iPad then it’s easily done. Click the place label, then the Share button, then your device (both computer and device must be connected to the same iCloud account for this to work). On your iPhone or iPad you’ll see a notification, which when swiped will bring up the same location. You can then explore the place, get directions, and so on.
5. Check or disable your location history
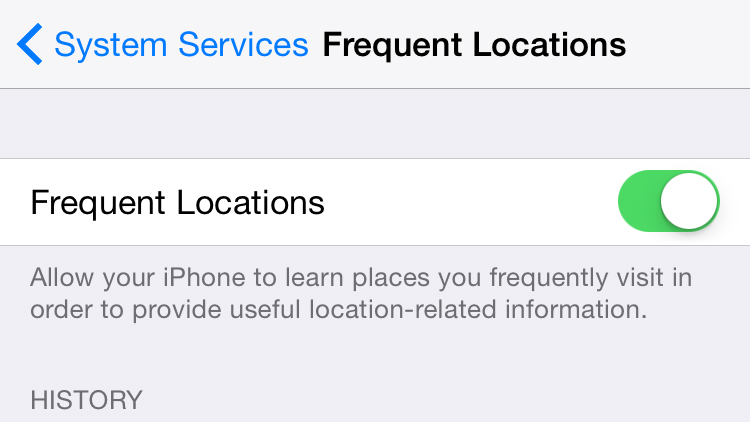
By default, iOS keeps track of where you’re going and the spots that you venture out to most often. Good for retracing your steps and finding places in Maps quickly, not so good if you find this behaviour a bit invasive. From the Settings app, choose Privacy then Location Services. Tap System Services followed by Frequent Locations to check up on your travel history or to turn off the feature if you don’t like it. You can clear your location history too.
6. Switch on compass mode
If you’re stuck atop a mountain and you need to find your way home then it can be very helpful to know which way you’re facing. Thankfully, your iPhone can tell you. Tap on the Location icon down at the bottom of the screen to pinpoint your location, then tap on it again to activate the compass mode. As you turn around the map should automatically rotate at the same time, helping you identify landmarks or get back to civilisation.
7. Export maps as PDFs
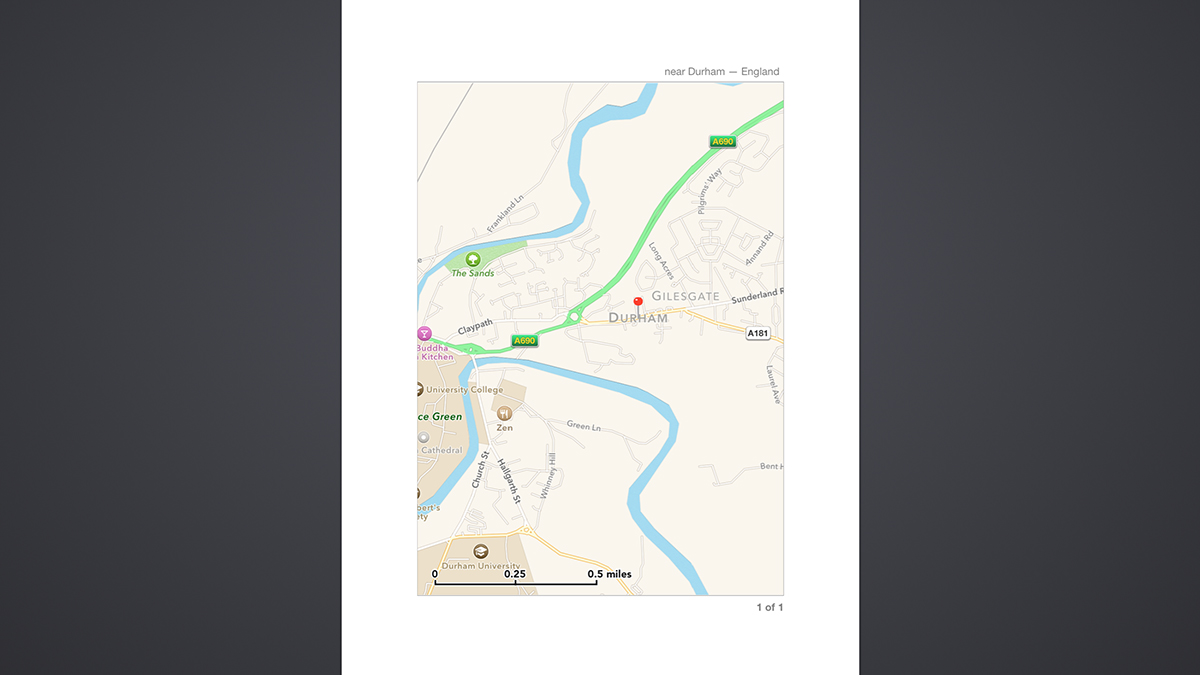
Hidden away in the OS X edition of Apple Maps is the ability to export a map as a PDF. You can take advantage of it whether you need a hard copy of a map for a wedding, a business conference, a website or anything else. Choose File and then Export as PDF from the menu. If you’ve searched for a specific location on the map, then the exported file uses the default zoom level, but you can change this by moving around the map manually instead.
8. Balance the volume
Since iOS 7, Apple Maps has let you adjust the volume of the voice giving you directions in relation to the rest of the audio coming out of your iPhone. If you’re listening to music or a podcast while trying to get from one place to another then you might want to quieten down the voice directions or switch them off altogether. From the Settings app, choose Maps and you can set the volume level, as well as switch between miles and kilometres.
9. Find what apps are popular near your location
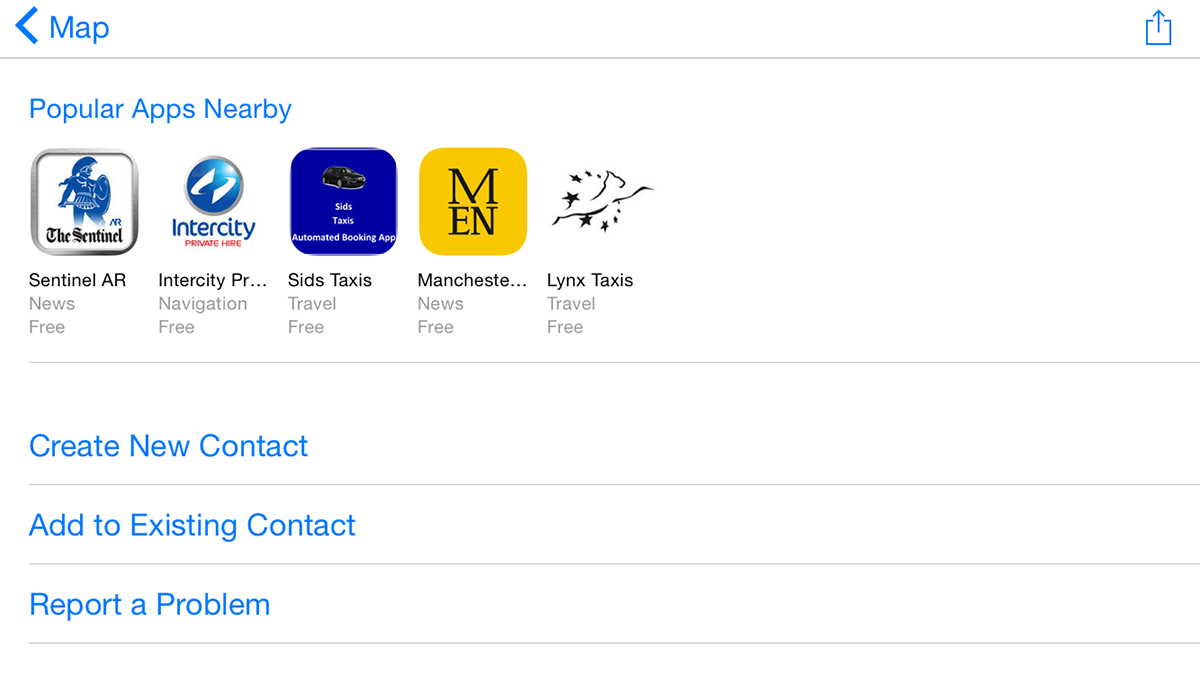
One of the more unusual features available through the iOS Apple Maps app is the option to have a look at what iTunes Store apps are popular with other users in your area. Tap on the marker showing your current location, tap on the pop-up label that appears, and you’ll be presented with a list. Possible uses for this are to find the best taxi firms in the area or to see the news sources that the locals rely on. For now it only works for your current area.
10. Finding places with Siri
Siri really comes into its own when it comes to finding nearby locations and the integration between Apple’s digital assistant and the Maps app is getting better all the time. Try asking Siri to “find the nearest park” (to bring up the closest result) or “find a park” (to bring up a longer list). You can also try “Show me a map of…” to jump straight to a place in Maps without messing around with typing and swiping, or “Directions to…” for navigation options.