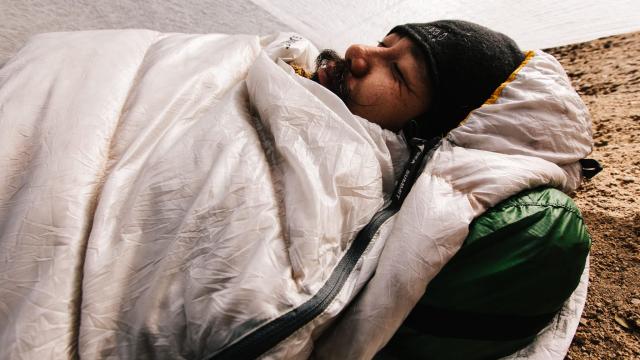
The foundation for comfort outdoors, a sleeping bag is probably the most essential item of camping gear. But, they now come in a lot of styles. Mummy, rectangle, quilt, synthetic, down and backed or backless. Which is right for you?
Why You Need A Sleeping Bag
I have friends who come party camping sometimes who just bring a giant pile of comforters. This works pretty well during the summer, where night time temps don’t tend to fall below about 10C, but even then the shear volume of insulation they have to bring along is positively ridiculous. A proper sleeping bag would provide as much if not more warmth and comfort while packing down to a small, manageable size with much less weight.
Insulation requirements outdoors are simply far greater than they ever will be at home. Not only does your bed keep you off the cold ground, but you aren’t facing wind, rain and very cold temperatures. A sleeping bag is purpose-built to handle all of that, providing the most effective possible cocoon of warmth for the human body in a portable package.
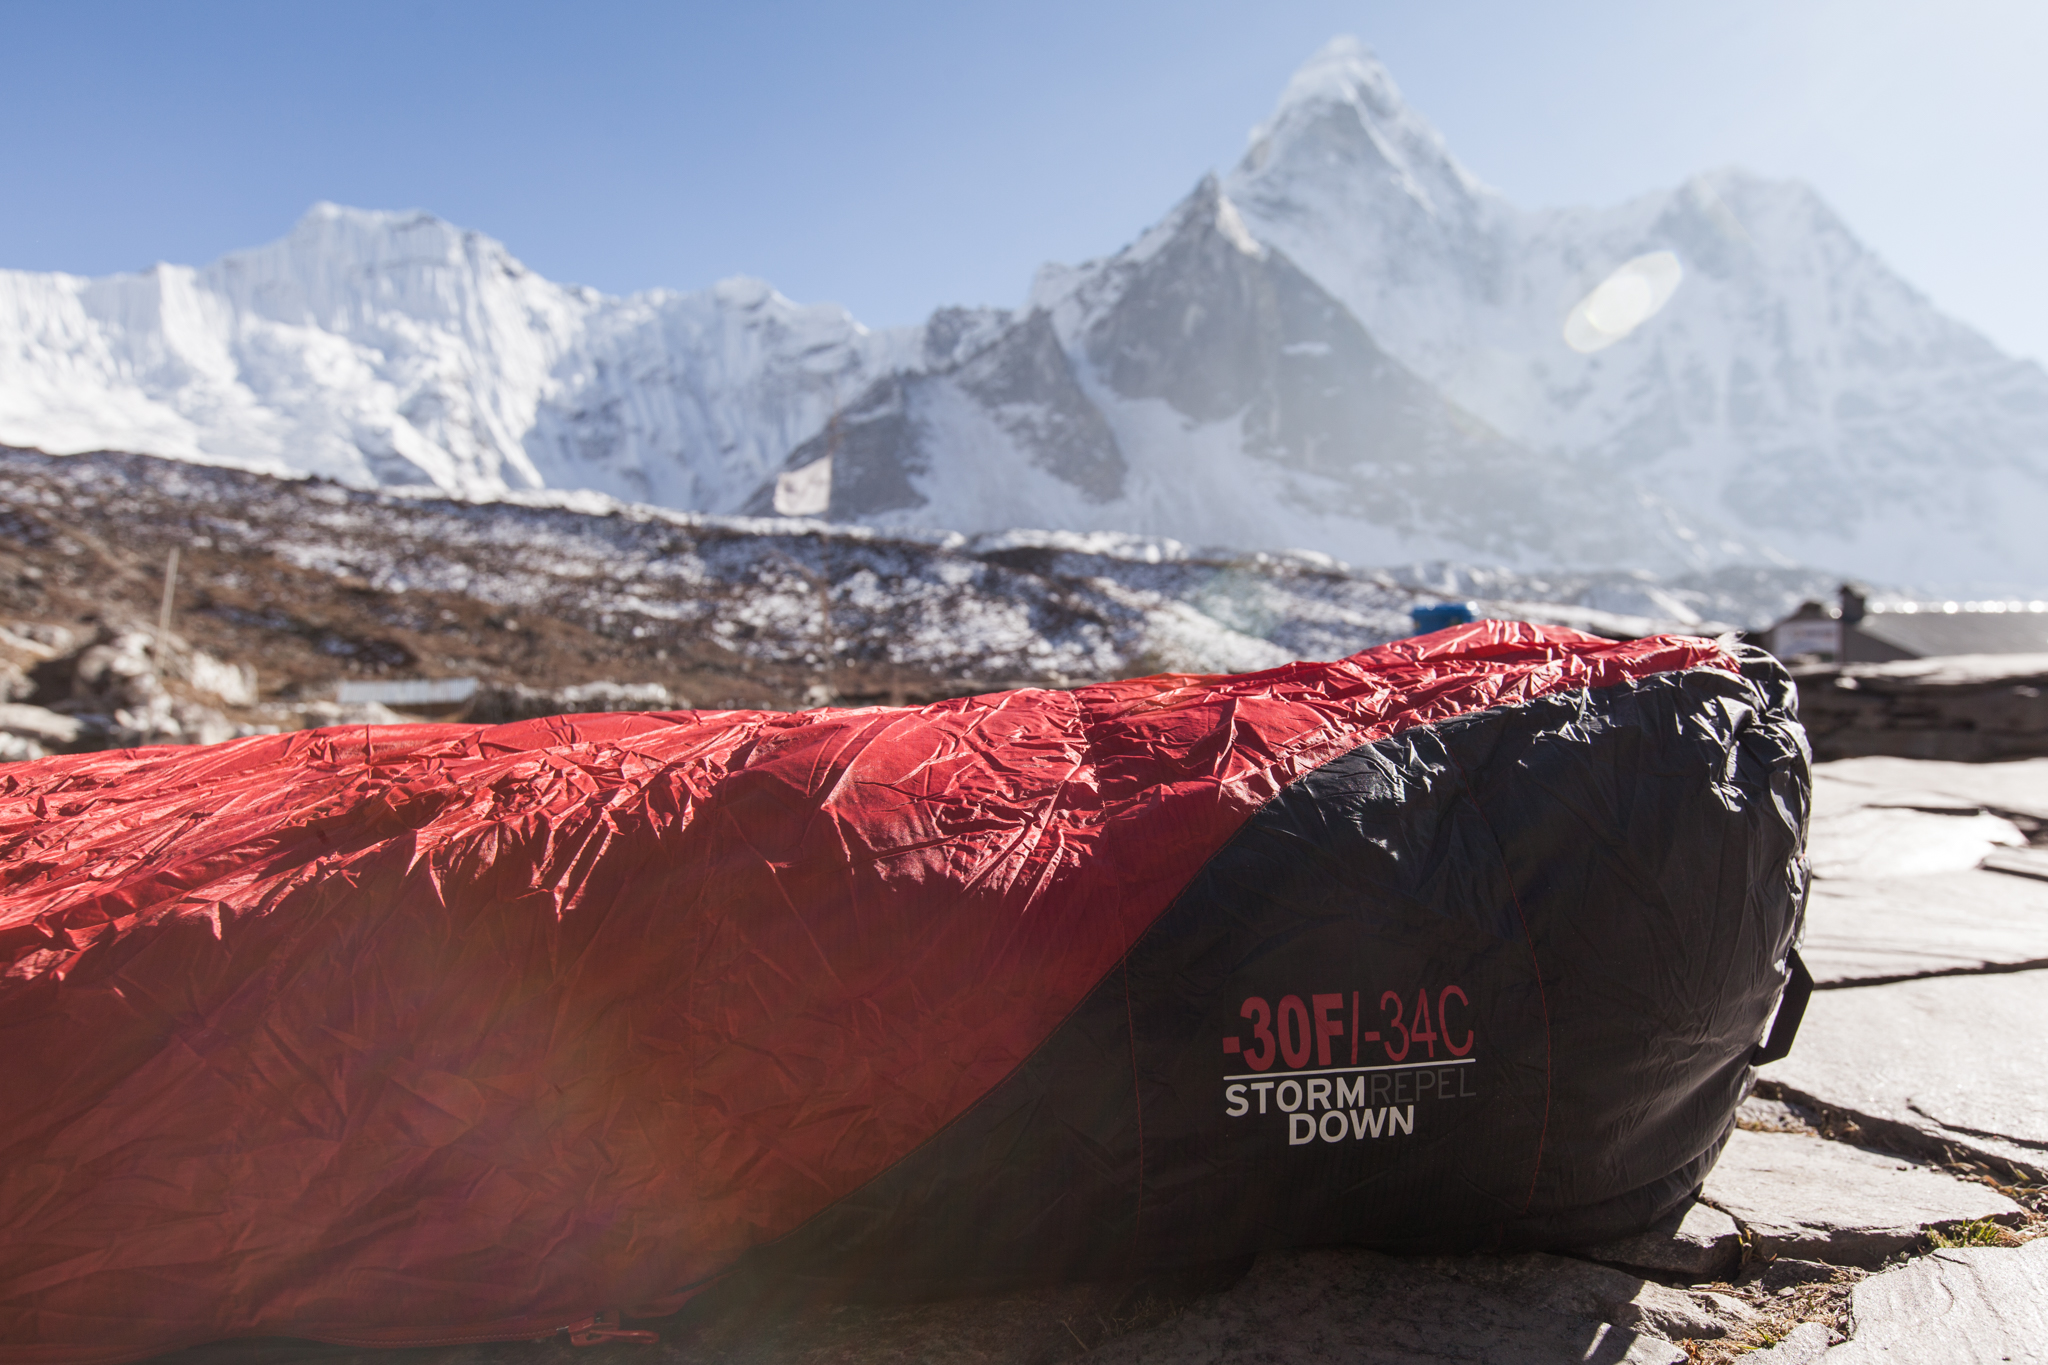
Not everyone needs a -30C sleeping bag designed for backpacking through the Himalayas, but even a basic, affordable summer sleeping bag will be a better choice for camping out at Coachella than just bringing a blanket ever will be.
What Type Of Sleeping Bag Is Right For You?
You’re probably familiar with the rectangle and the mummy, but there’s now way more to sleeping bags than just those two shapes.
Rectangle: These maximise space at the expense of warmth, weight and packed size. A good choice for summer car camping, but not much more. You don’t want to carry a rectangle for any distance. Rectangles do tend to be cheap though.
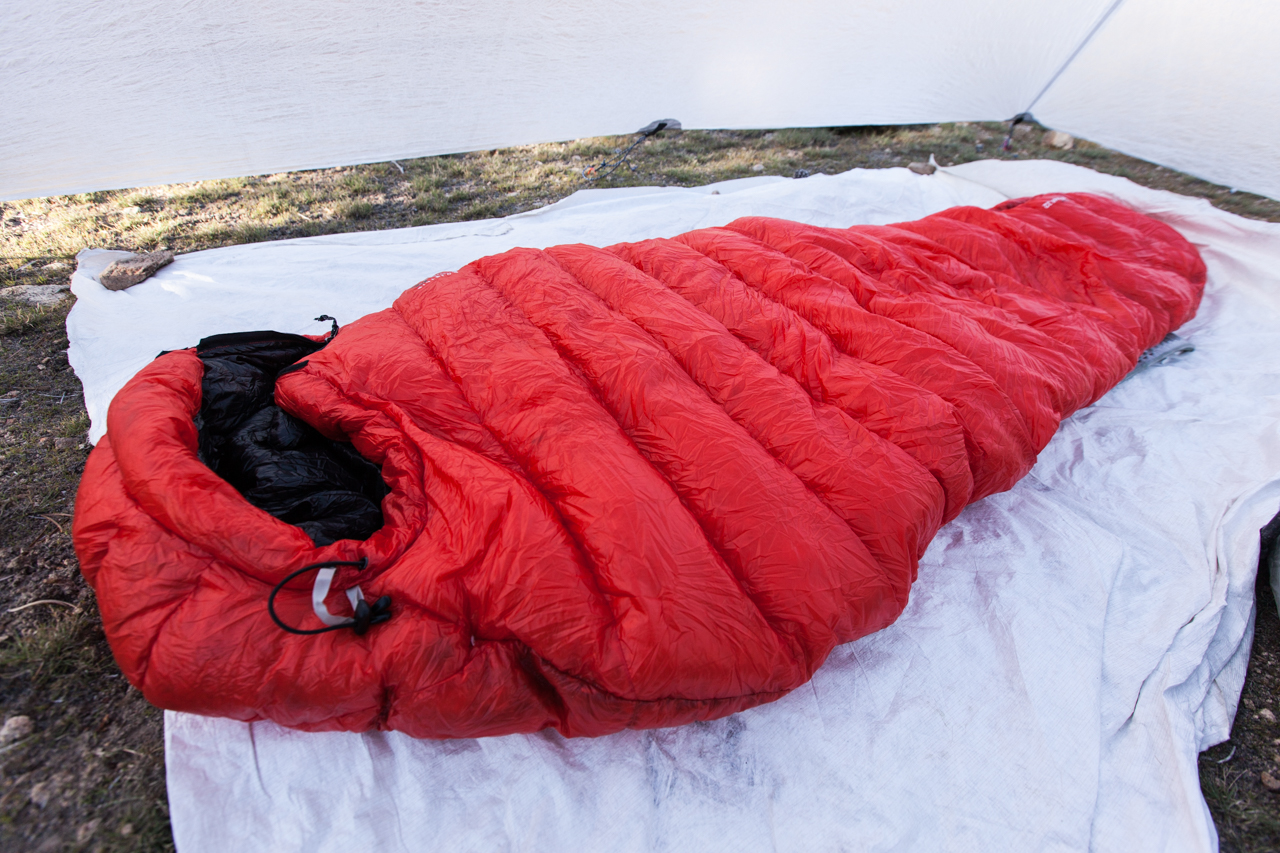
Mummy: By contouring the bag closely to your body shape, mummy bags minimise weight and bulk while maximising warmth, a merit added to by the hood, which retains heat from your shoulders, neck and head.
Semi-Rectangular: Can’t get comfortable within the restrictive confines of a traditional mummy? These are a hybrid between rectangular and mummy bags, offering most of the space of the former with the warmth of the latter. In most cases, expect to be carrying a little more weight and packed size with one of these.
Bed-Style: A new type of bag from Sierra Designs emphasises comfort and versatility across kinds of sleep (side, back, stomach) without sacrificing warmth, but with a little added weight and packed volume.
Quilts: These are able to pack much smaller and lighter than traditional designs by ditching the bottom insulation. You need to use an insulated sleeping pad with these as a result, but you should be doing that anyways. Some quilts incorporate foot boxes and hoods, but the prototypical design is literally just a flat square. More versatile than they sound, you can easily adapt a quilt to a warm night simply by poking your leg or legs out or folding them down. But, it takes a little practice to get the most warmth possible out of a quilt and to feel secure in one. A great option for ultralight summer backpacking and a good way to supplement another bag’s warmth in the winter.
Integrated Bags and Pads: The gold standard. With similar thinking to the quilt, a much greater degree of comfort, warmth, stability and security is achieved by integrating a sleeping bag and pad into a single, often modular unit. The design also minimises packed weight and volume. But, you have to buy the bag and pad together and these are typically only made by quality brands, so this may be out of some campers’ budgets.
What Temperature Ratings Mean
Absolutely nothing. Actually, let me step back for a second. There’s a general problem across the outdoors industry with a lack of transparency and honesty about the performance of its products. This is most apparent in sleeping bag temperature ratings. I’ve slept warmer in bags rated to 0C than I have in others rated to -18C. And, despite the adoption of the European Norm (EN) testing protocol, there is no effective, objective, universal testing procedure you can use to either compare the performance of bags across manufacturers or even to just get an idea of how warm any bag will be.
This problem is doubled by the fact that all us humans sleep differently. I’ve sweated in the same bag, on the same night, where my girlfriend thought she was going to freeze to death. Not only do women and men sleep with different levels of warmth, but your individual results will vary from another member of your sex too. The only way to know how warm a bag is, is to actually sleep in it. Which is a bit of a Catch 22.
Most bags will have two numbers: a comfort limit and an extreme limit. The comfort is the important one. Add 10 or 15 degrees to it, and that’s typically the effective minimum temperature at which you’ll be comfortable.
That applies to quality manufacturers only. While camping with Bear Grylls, I spent a night in one of his own-brand synthetic bags rated to -18C. It got down to about -9C that night and, even with all my layers on, I was so cold I could barely sleep. Buy your bag from a major outdoors brand you recognise and trust and still add that 10 or 15 degrees on top of its comfort rating.
Down or Synthetic?
Are you allergic to down? No? Buy a down bag. The decision is seriously that simple. Down packs more warmth into a smaller volume and lasts longer too. It’s important to store any bag uncompressed and to allow it to fully dry after any trip, but the service life of a synthetic bag is only a few years before its insulating fibres break down. A quality down bag will last a few decades. That makes them worth their small premium.
The only advantage of synthetic insulation is that it insulates even when it’s wet. You obviously want to take pains to ensure your freakin’ sleeping bag is dry anyways, but simply using a waterproof stuff sack such as those from Sealline makes doing so idiot-proof. And, new hydrophobic coatings such as Downtek are eliminating this problem anyways, giving down the ability to retain its loft (and therefore its insulation) even when soaked through. Look for that technology on any quality sleeping bag you plan to buy.
The Power Of Fill
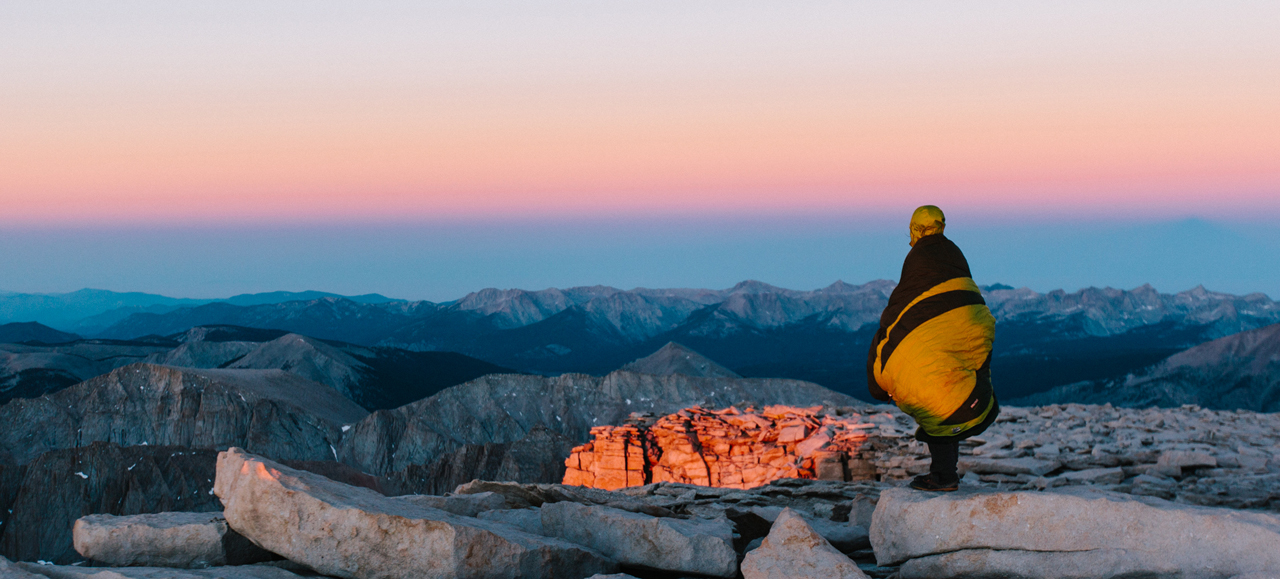
You’ll see down listed by its “fill power”, which is the volume 1oz of it can loft into, in cubic inches. So, 1oz of 600-fill down lofts into 600 cubic inches and 1oz of 900-fill down lofts into 900 cubic inches, etc. Comparing two bags of equivalent temperature ratings and features, the one with the higher fill power fill be lighter and more compressible.
Quality sleeping bag manufacturers will also list the weight of a bag’s fill in ounces. You can look under a bag’s proverbial hood when shopping by comparing fill power to fill weight. A bag with both a high fill number and high fill weight will be a warmer, more lofted bag.
Bag Construction
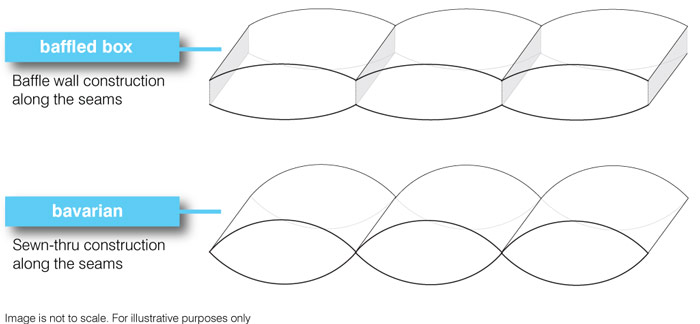
Your down sleeping bag is constructed of baffles that hold the feathers in place. How these baffles are shaped can have a large impact on your bag’s warmth and weight.
The best bags use box baffles, in which there’s a large separation in height at the stitches between baffles that keeps warm air in. This is a simple, light and effective method of making a sleeping bag.
Cheaper bags use quilt baffles (or “Bavarian Baffles”) that just stitch though the layers, bringing them together between each baffle. This is obviously less insulative. Manufacturers address that by using double-height, alternating rows of baffles called an offset-quilt construction. More material equals more weight.
Doubling Up For More Warmth
There’s two ways to add warmth to a sleeping bag, both of which involve adding insulation. But first, we should address the patently false myth that wearing your layers inside a sleeping bag will make you colder. That is absolutely, categorically untrue. So long as the clothes you are wearing are dry, the more you wear of them inside your bag, the warmer you will be. In cold temperatures, I never go to bed without a thick pair of wool socks on my feet, a set of merino wool base layers covering my body and a wool cap on my head. If I get cold during the night, I will add a down jacket and other insulative mid-layers as necessary. More insulation is more warmth, period.
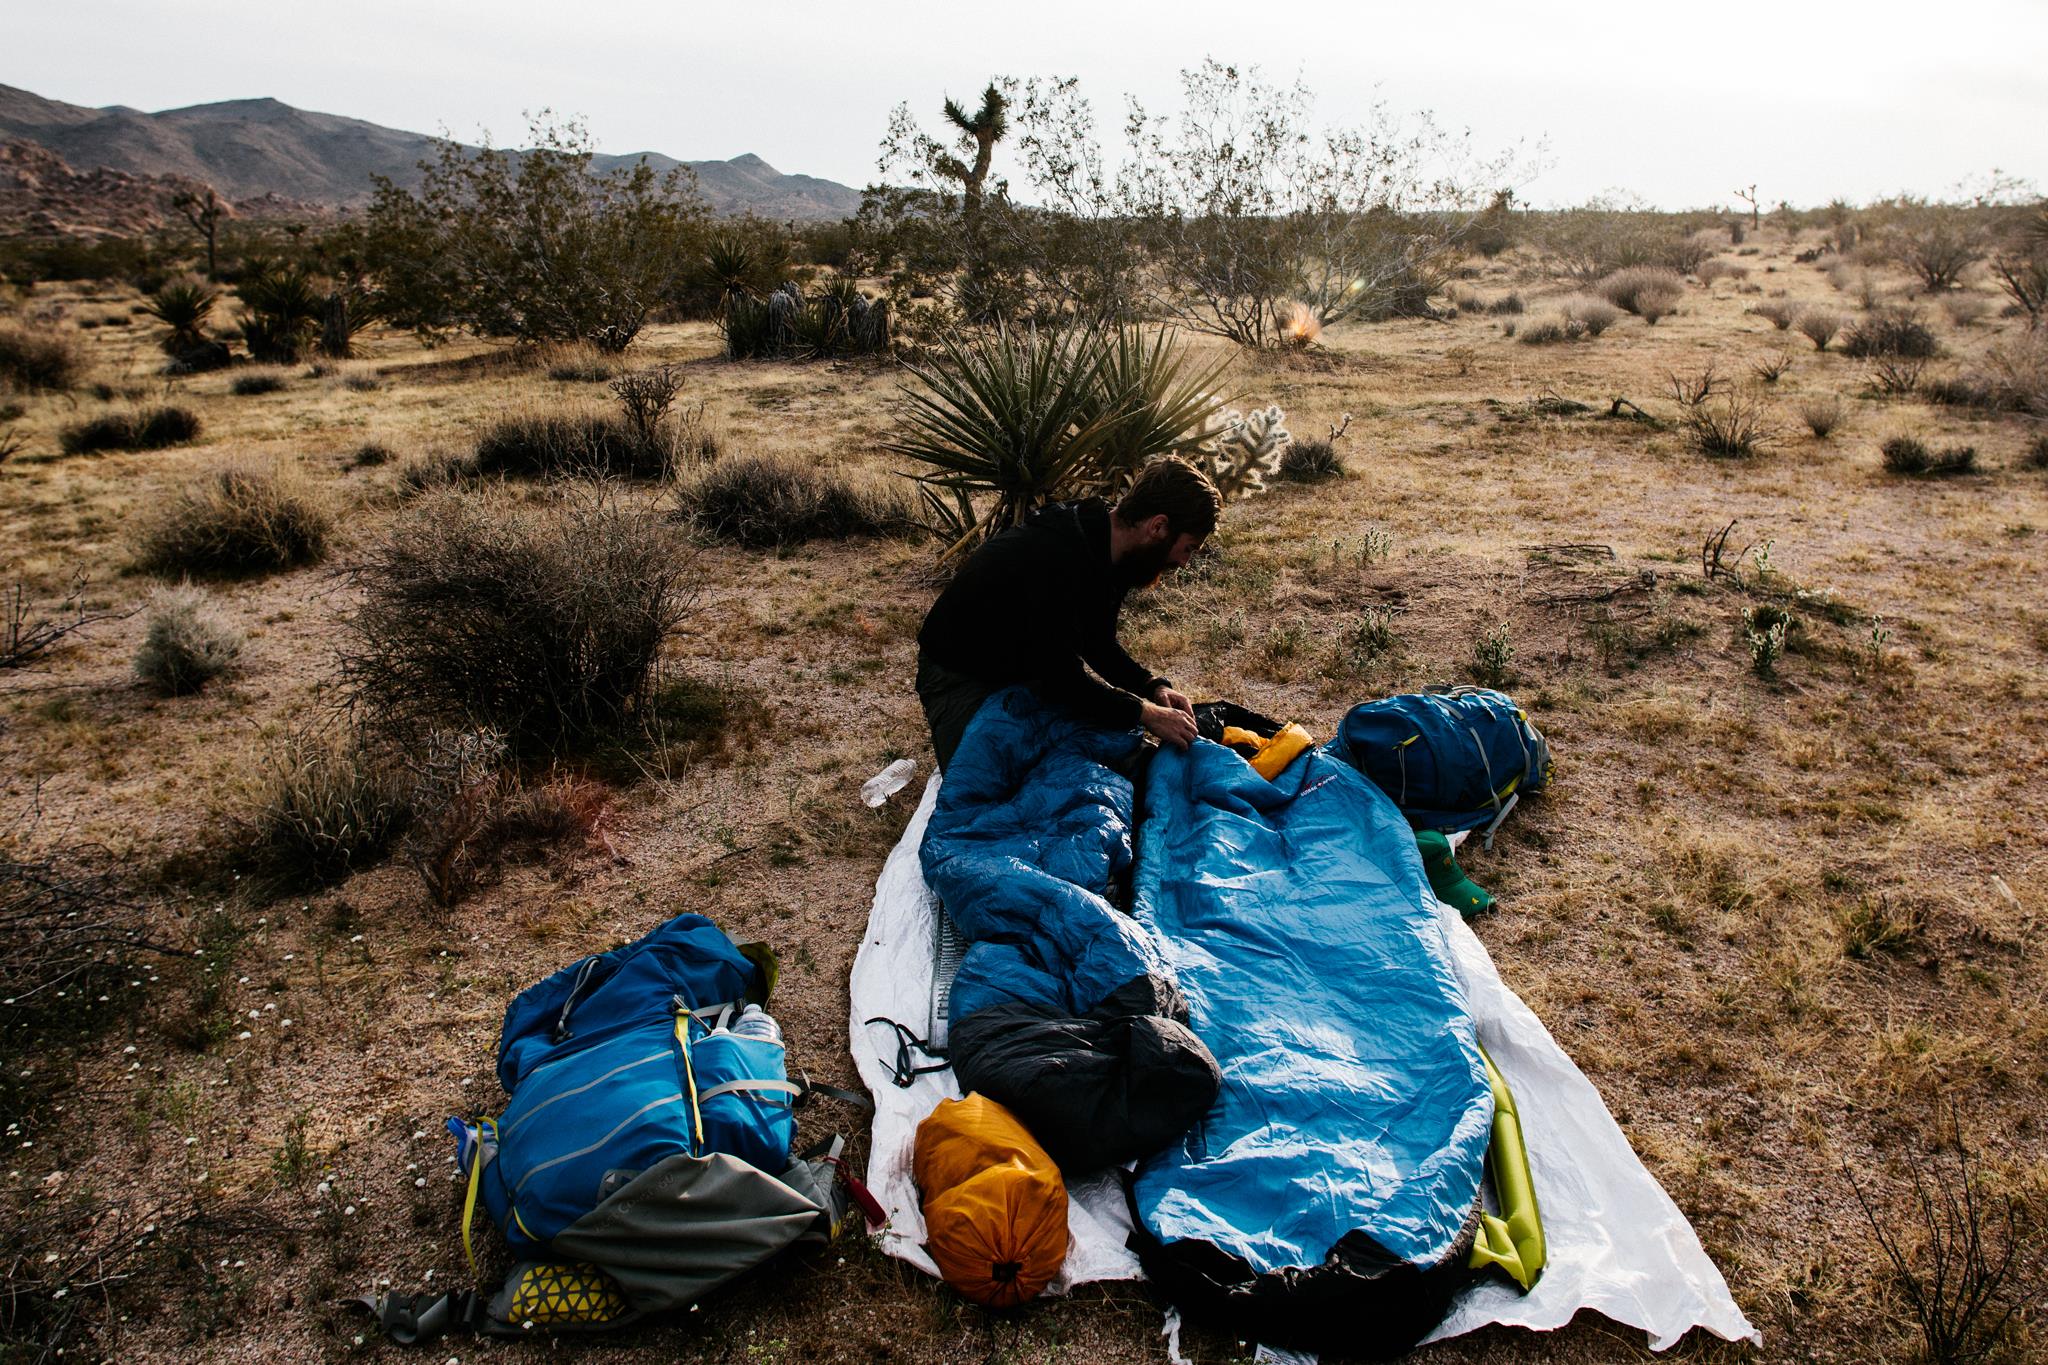
But, sleeping in all your layers should be a last resort. A great way to achieve a warmer sleep without breaking the bank is simply to combine two sleeping bags. This works particularly well if you have a lightweight summer bag you can pair with a mid-weight three-season bag. Don’t overthink it, just figure out which bag fits best in the other and pair them.
Want to figure out how warm a combination of bags will be? I’ve found this formula from the BackpackingLight forum to be fairly accurate:
x -(70 – y)/2 = z
x = first bag (higher rated/lower degree)
y = second bag (lower rated/higher degree)
z = rating of doubled bags
This is in fahrenheit and works best if you use an experience-based figures rather than just a bag’s bullshit marketing claim.
And don’t forget, you need an insulated sleeping pad too!
Packing And Storage
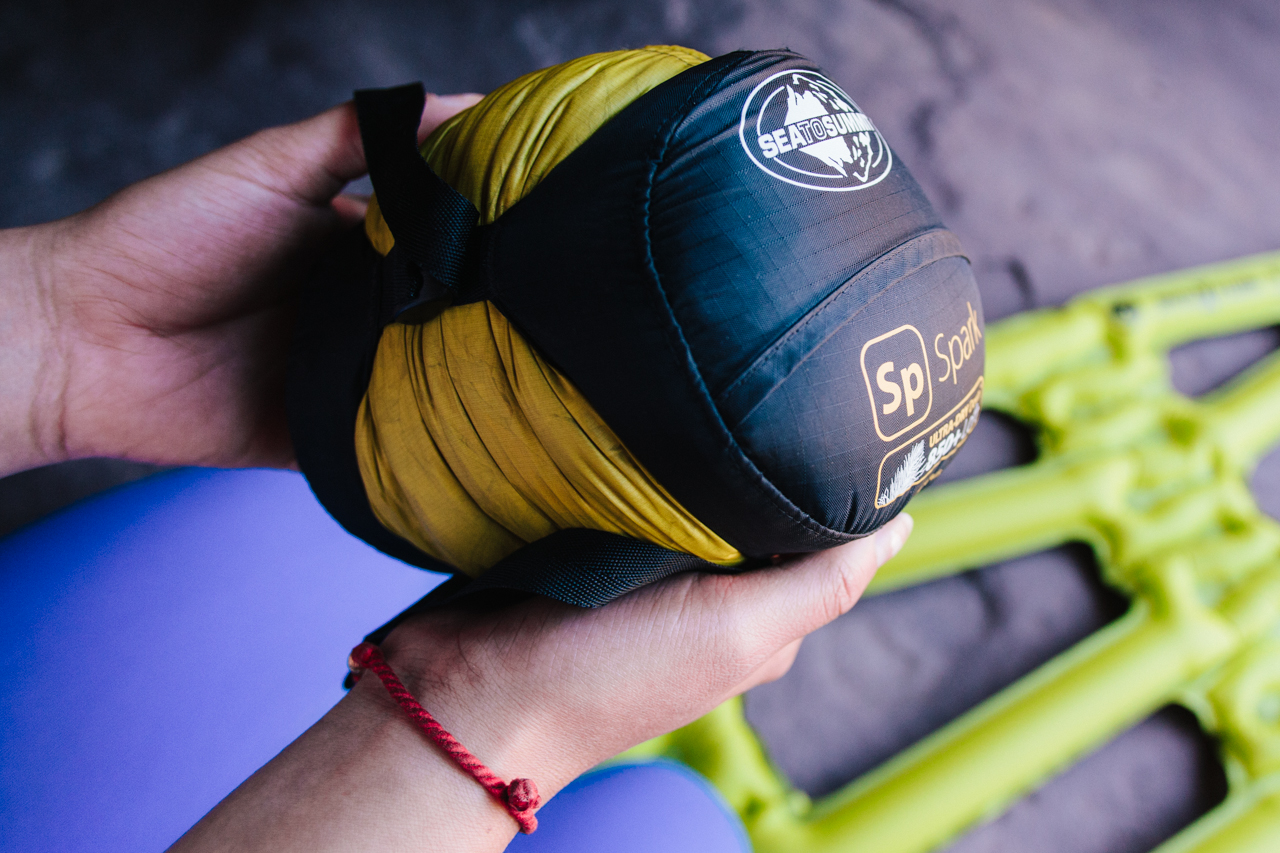
Most bags come with an included stuff sack. With very few exceptions, that stuff sack is neither a good place to store your bag or an effective way to minimise its volume for packing.
Storing your bag compressed will cause its insulation material to break down over time. It can also cause retained moisture to grow mould. Both are bad. Either store your bag in a purpose-built, breathable cotton or mesh sleeping bag storage bag or simply hang it on a clothes hanger in your closet. Make sure you’re storing your bags somewhere dry and well ventilated.
If you’re serious about achieving the smallest packed size for your bag, look for a quality aftermarket compression sack with external compression straps or a roll-top dry bag of the type sold by Sealline that I already mentioned.
Some hikers skip the compression sacks altogether, instead using the sleeping bag to fill empty spaces in their backpack, stabilising their loads. If you do this, be very careful to keep food and other odours off your sleeping bag.
After a day’s hike, your bag will need to regain its loft to provide warmth. When you take it out of its stuff sack, give it a good shake.
The Features You Want
On top of all the above, there’s a number of “features” that can be added or subtracted from a bag to make it more comfortable, more convenient, lighter weight or lower cost.
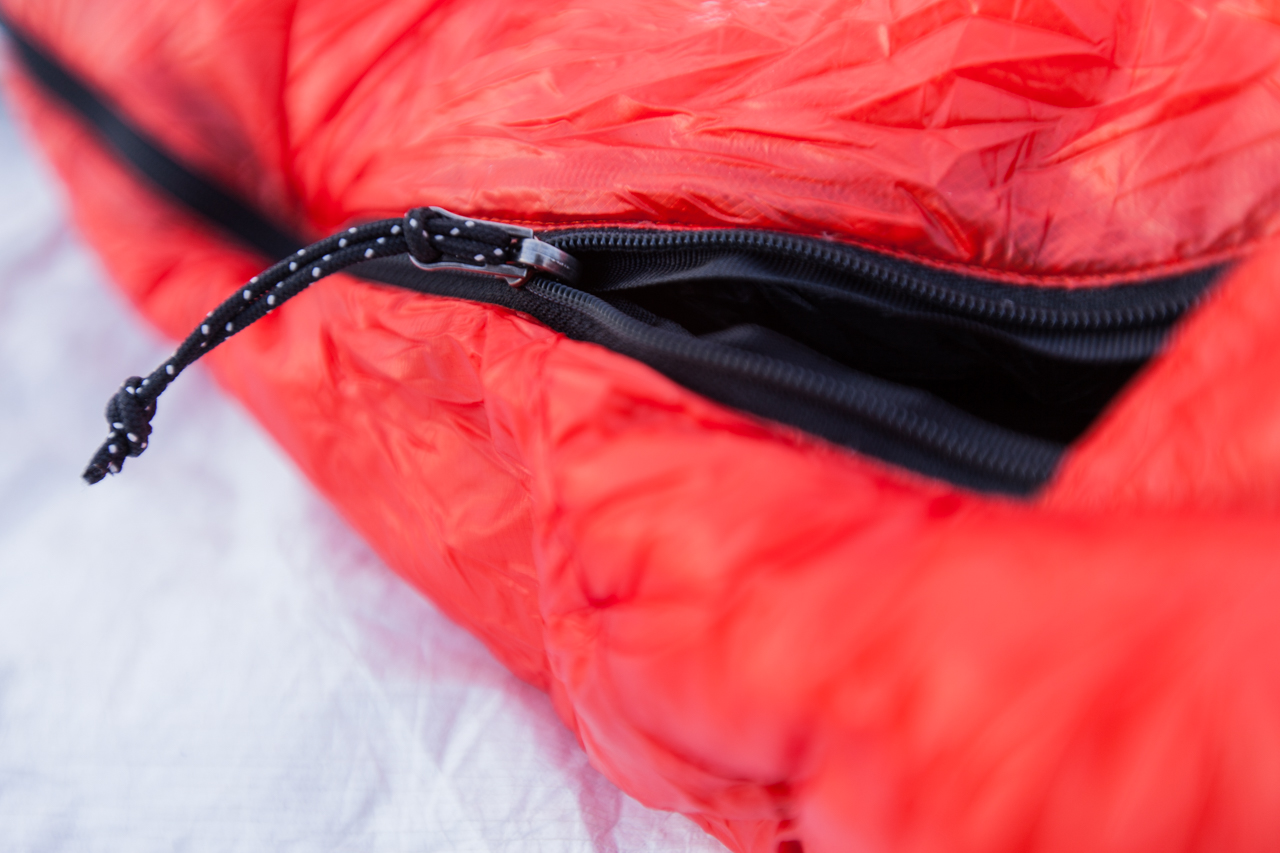
Zippers: These can vary in length from full to 1/4. The longer a zipper is, the easier it is to get in and out and you need full-length zippers in mirrored sides in order to zip two bags together. A zipper’s size is typically listed as a #X number. The larger that number is, the wider the zipper teeth. Look for a name brand zipper like YKK if you want it to a) last and b) be repairable.
Foot Boxes: A common complaint about mummy and similar bags is their tight foot boxes. This can be addressed with a trapezoidal or 3D footbox that will be larger than the portion of the bag just above it.
Baffles: Look for a hefty, down-filled baffle running the length of the zipper run, blocking air from flowing through that. Bonus points if the baffle is faced with a heavier material that won’t tear if caught in the zip.
Face Baffles: These can help seal the area around your face, helping keep warm air inside the bag on a very cold night. They work, so long as they’re comfortable.
Pillow Sleeves: Want to use a pillow? It helps a lot of it stays in place. A sleeve holds your pillow to the bag but often requires that pillow be from the same manufacturer as your bag.
Pad Sleeves and straps: Designed to securely hold your pad and bag together, these range from simple grommets through which you can tie your own cordage to full-length integrated sleeves designed to accept a specific width, length and shape of pad. Consider what pad you’ll be using with the bag and how you want it to connect.
Lady Bags: Women tend not only sleep colder than men, but are also sometimes different shapes. Lady-specific bags will be shorter in length, narrower in the shoulders and wider in the hips. They also pack more insulation.
Bag Lengths: You want a bag sized as closely to your height as possible to minimise weight and maximise warmth, but one you can fit in comfortably.
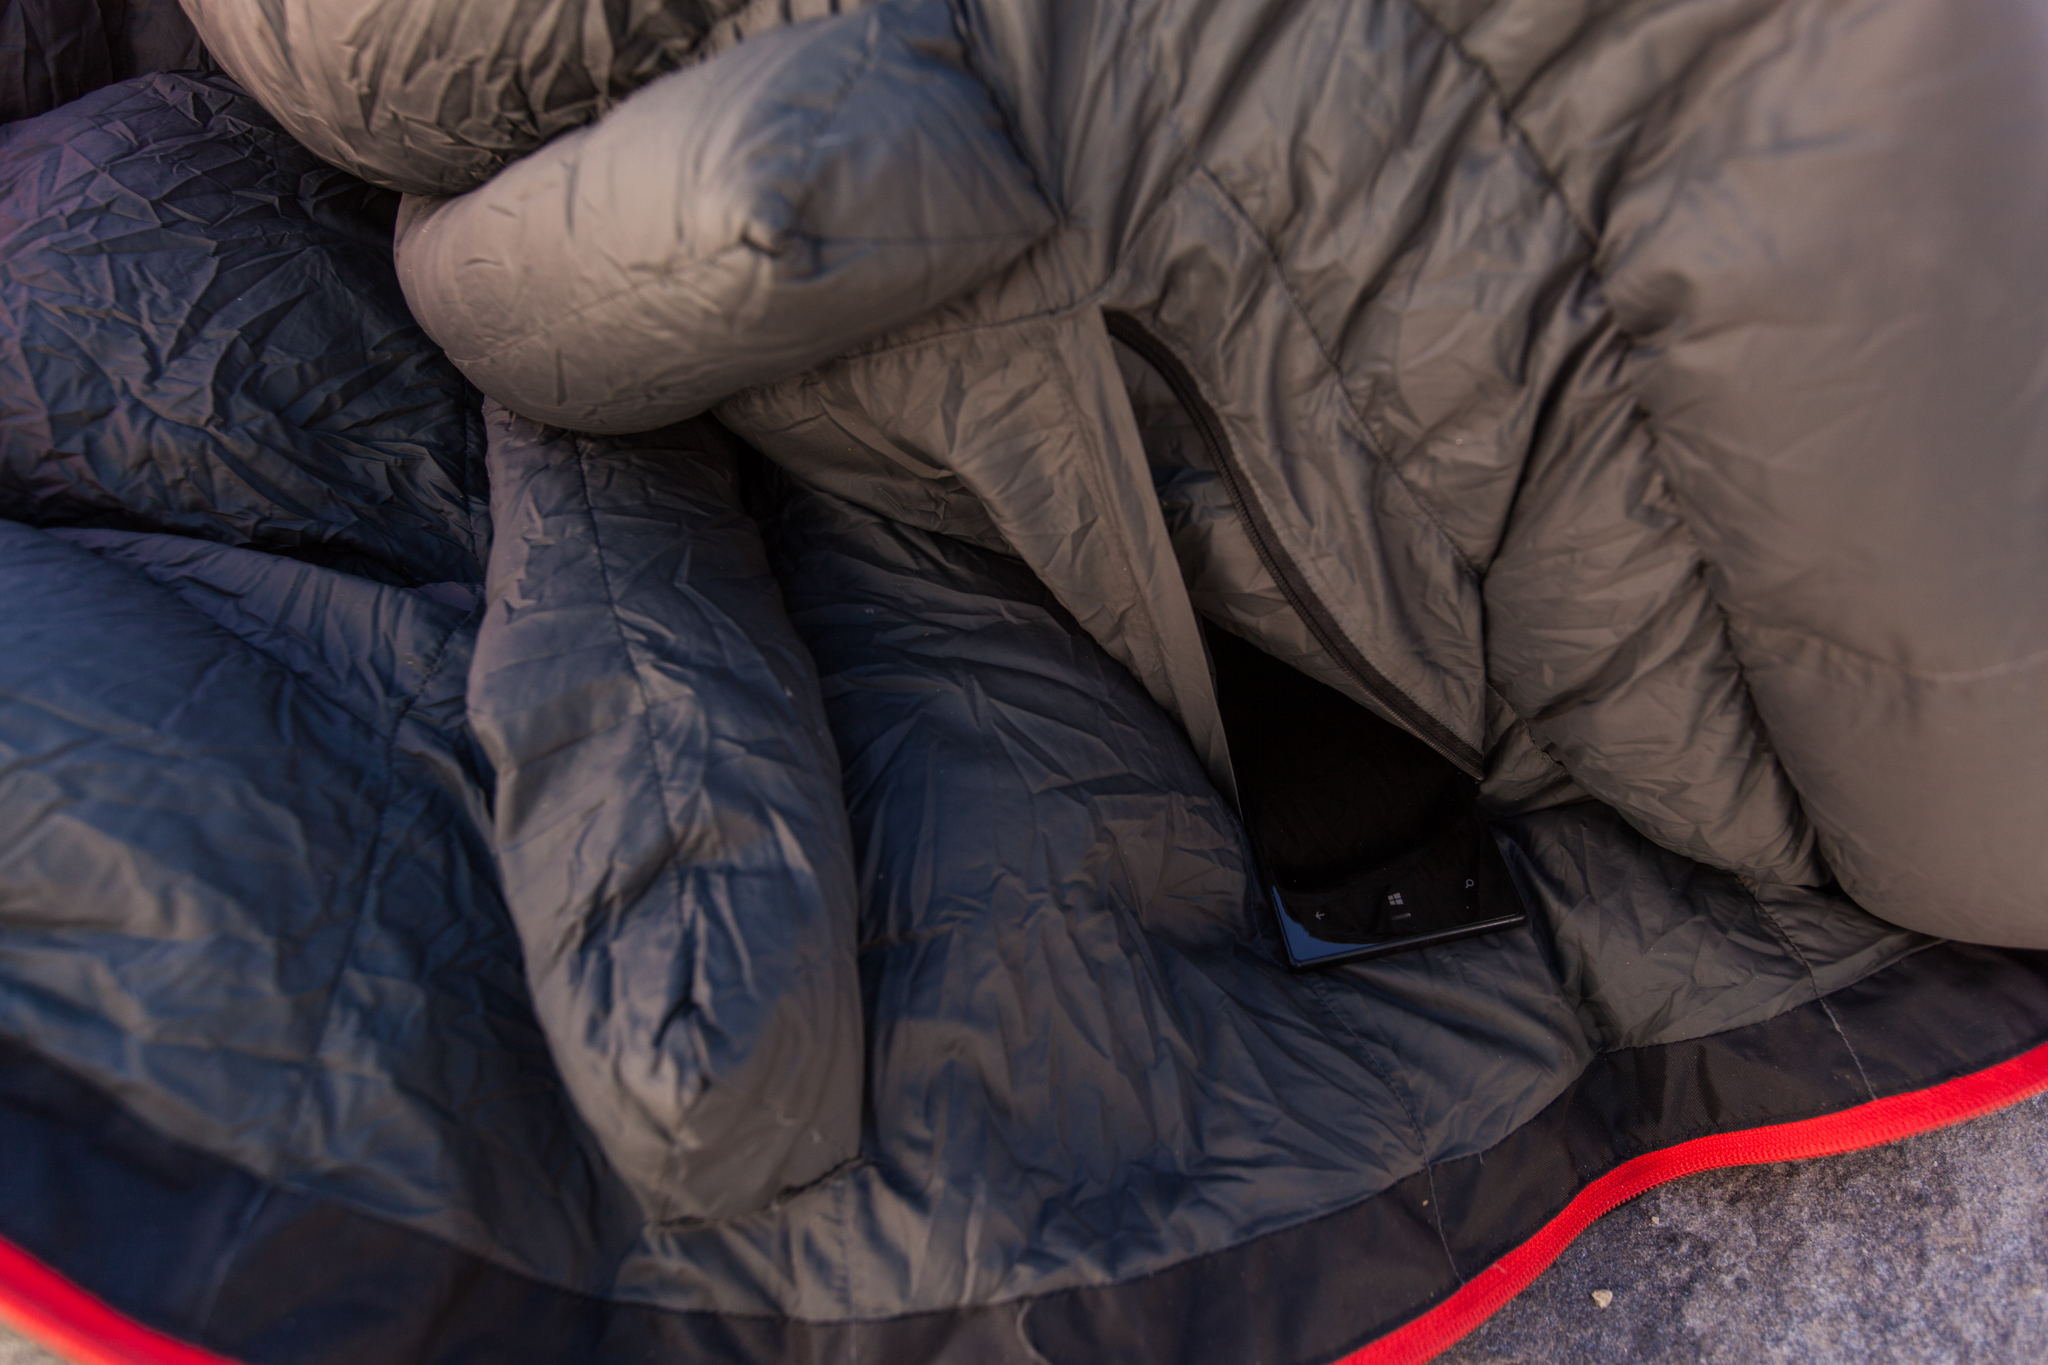
Electronics Pockets: A good idea! These allow you to keep your cell phone or camera or whatever inside the bag with you, preserving its batteries on cold nights.
Hood Cinch: You want the mummy hood to cinch as close to fully-closed as possible. On very cold nights you’ll be sleeping with just your nose poking out.
Zipper Pulls: A zipper you can use from inside or outside the bag or both is a good idea.
DWR: A Durabable Water Repellant Coating helps keep rain and condensation from penetrating your bag. You want this.
Leg And Foot Openings: These are dumb and unnecessary and should be avoided.
Sleeping Bag Tips And Tricks
- Before you go to bed, fill your sturdy water bottle with warm water and throw that in your sleeping bag. This’ll make it nice and warm when you’re ready to climb in.
- A sleeping bag cannot generate heat, it can only retain your body heat. Do jumping jacks to get your blood pumping before climbing in on a cold night.
- You can totally wash a down sleeping bag. Do so in the bathtub with warm water and laundry detergent. This helps remove your body oils, which can degrade both the fabric and the feathers.
- As soon as you get home from a camping trip, unpack your sleeping bag and hang it outside in the sun to fully dry for a day or so.
- Repair any tears or holes with duct tape before they grow.
- Keep your sleeping bag away from the fire, sparks easily put holes in it and too much heat will melt it.
