As I’ve been using the Keychron Q1, I keep thinking to myself: Where was this mechanical keyboard when I was first attempting to build my own? It’s by far one of the easiest DIY-optional mechanical keyboards I’ve used, and from the moment I took it out of the box to the thousands of words I’ve since typed on it, it’s been an absolute delight. I found myself waking up and looking forward to using it (yes, I am that nerd) and it’s the kind of board that begs for customisation.
Keychron isn’t a new name in the mechanical keyboard space: The company is already known for its approachable, connoisseur-level keyboard offerings. The Q1 keyboard, in particular, appeals to both enthusiasts who enjoy the company’s quality builds and to those who are just finding their way into the mechanical keyboard hobbyist world. I would have felt much less overwhelmed with my first build if I started with a kit like this.
Keychron Q1
What Is It?
A customisable mechanical keyboard
Price?
$US150 ($214)-$US170 ($243)
Like
Layout includes directional keys, kit comes with everything you need, keycaps and switches are swappable
Dislike
Open source software is limited, no height adjustment available, aluminium build might be too heavy for some
Mechanical Keyboard Modding for Beginners
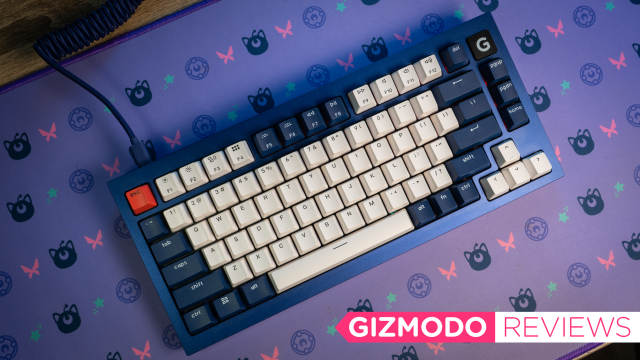
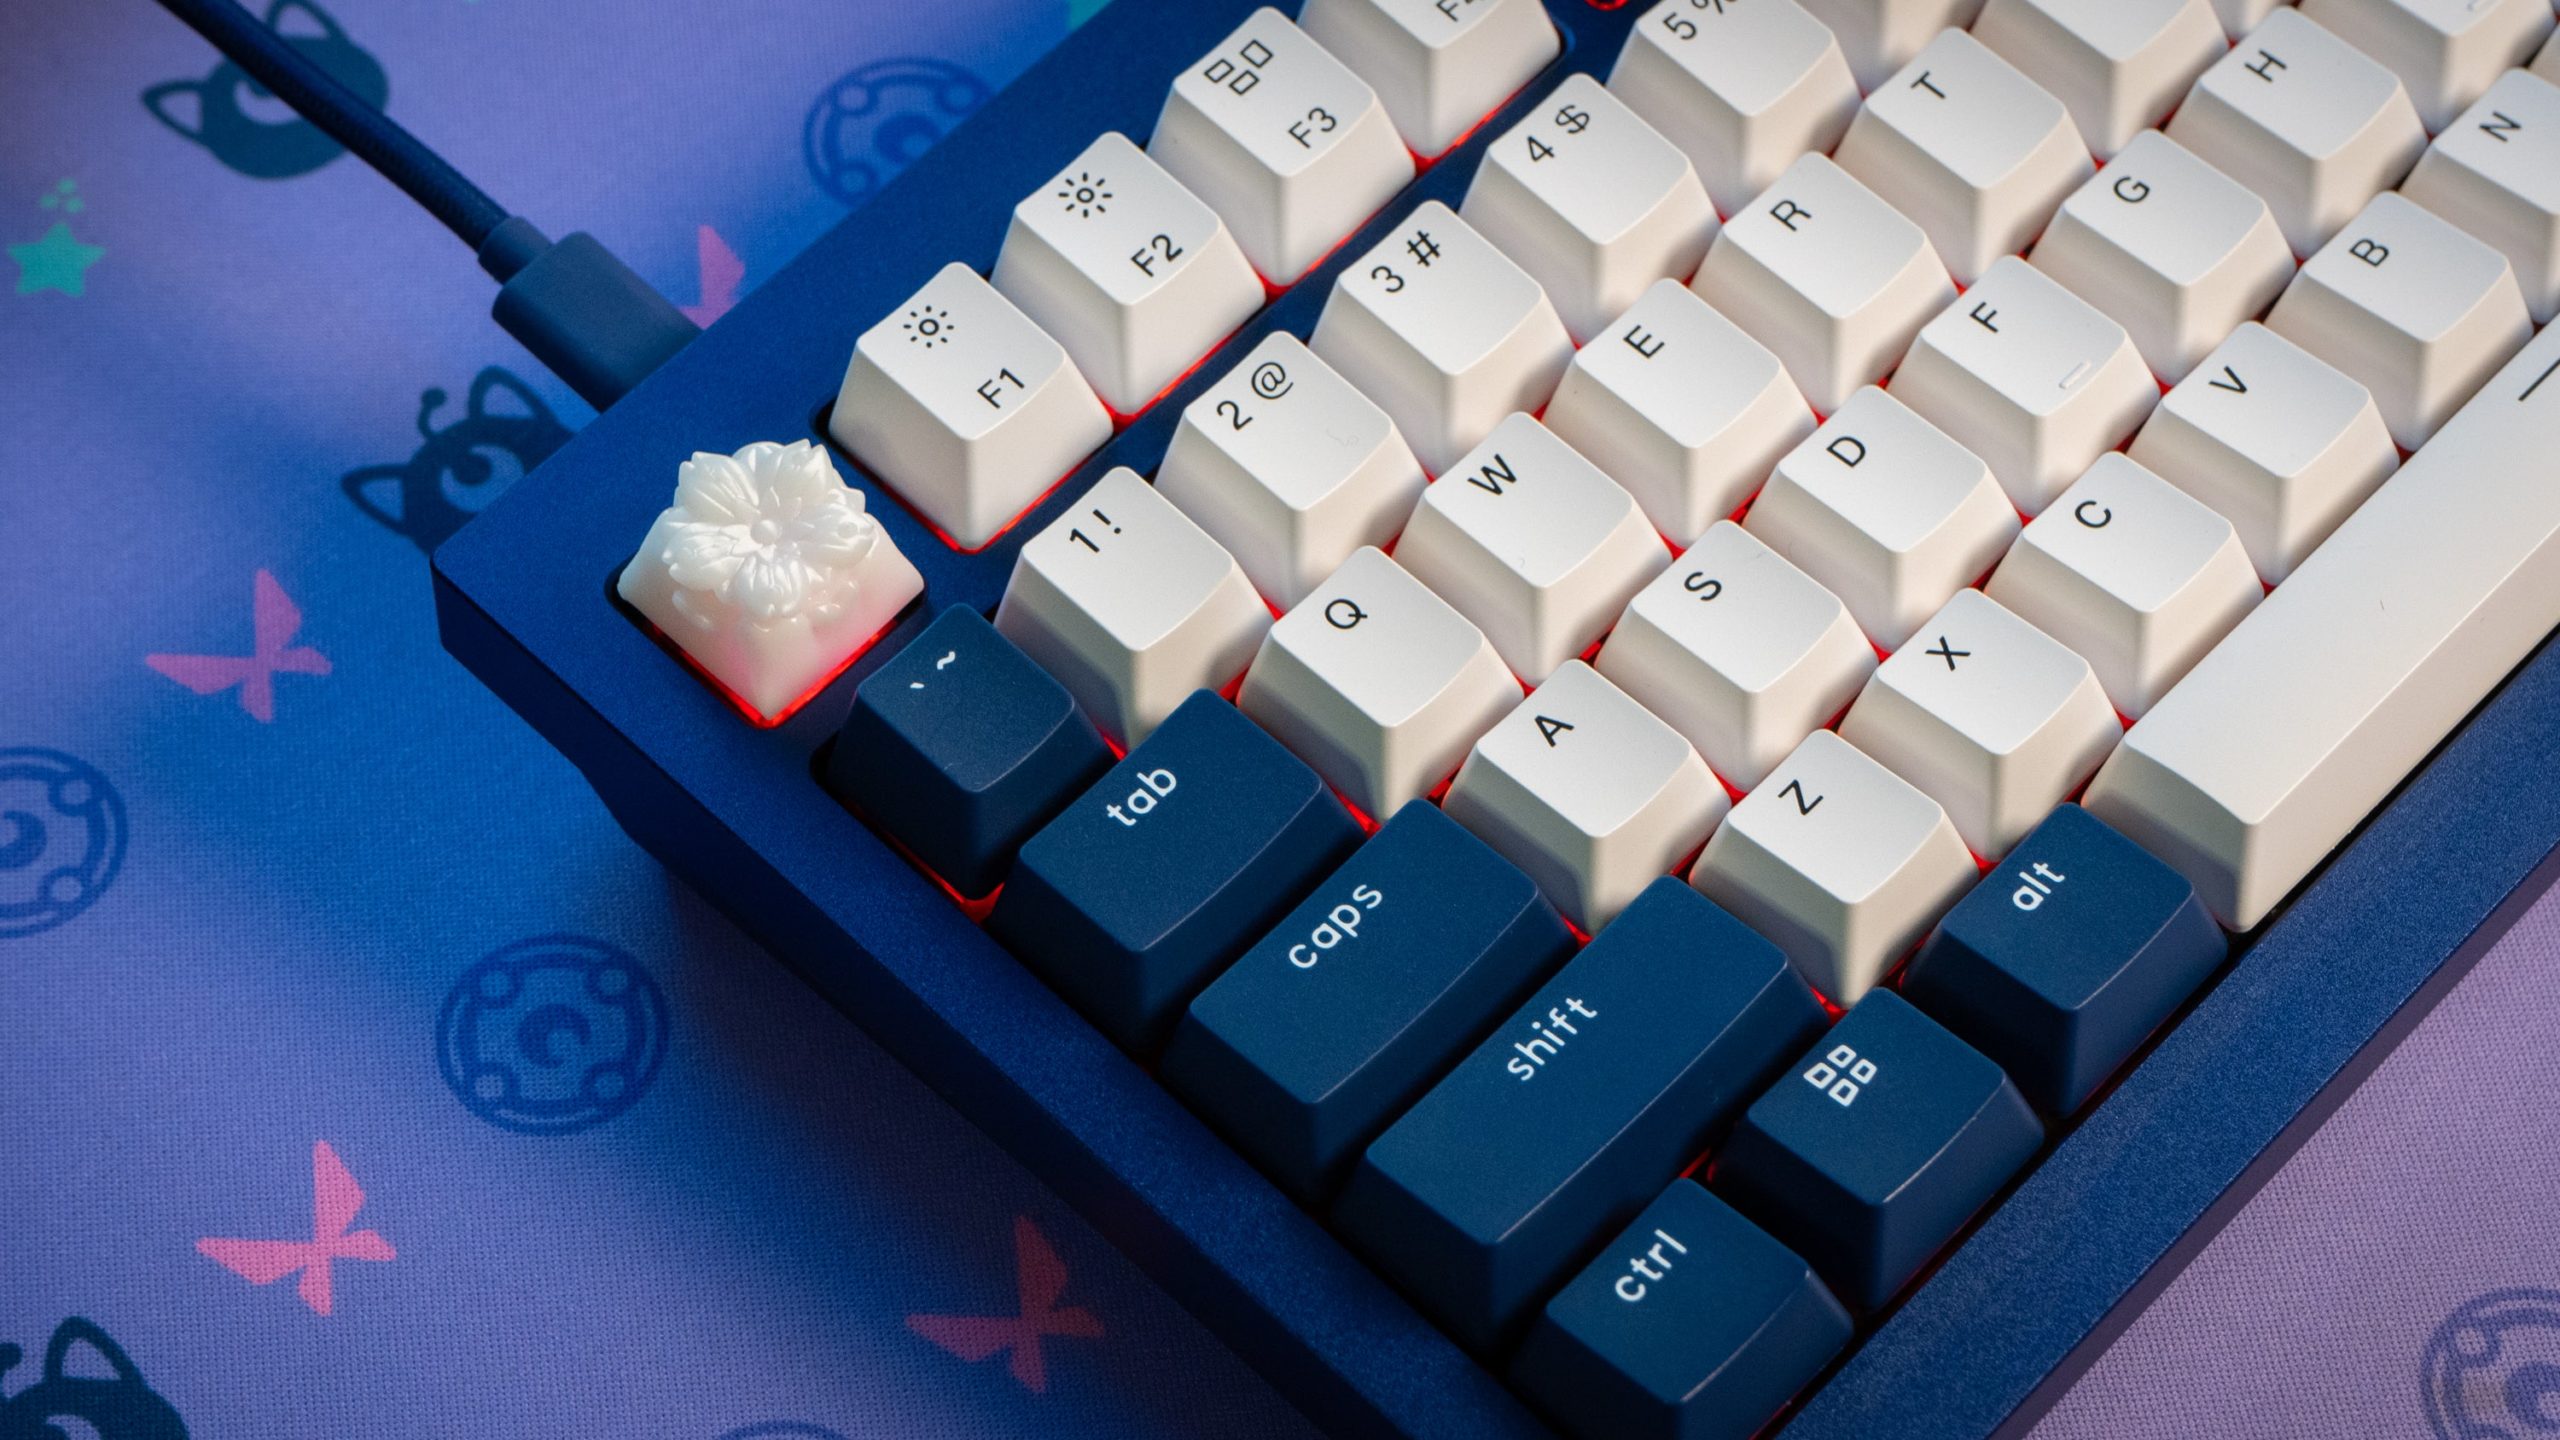
The Keychron Q1 is a wired aluminium keyboard with a 75% layout. It comes in three colours: carbon black, space grey, and navy blue (the latter of which I reviewed). The Q1 has a “badge” area in the upper right-hand corner, which you can swap out for a keycap. Keychron outfitted my unit with the Gizmodo “G.” Out of the box, the board already has its theme: blogging on the internet.
The Keychron Q1 is a hot-swap keyboard, which means there is no soldering required. You can easily extract each switch for another as long as the pins are pushed in place.
You can buy the Q1 barebones for $US150 ($214) and outfit it with your own keycaps and switches. Or you can pay an extra $US20 ($29), for a total of $US170 ($243), to get it outfitted with Keychron’s stock keycaps and switches. Even if you have other colours and switches in mind, it’s a small price to pay for an extra set.
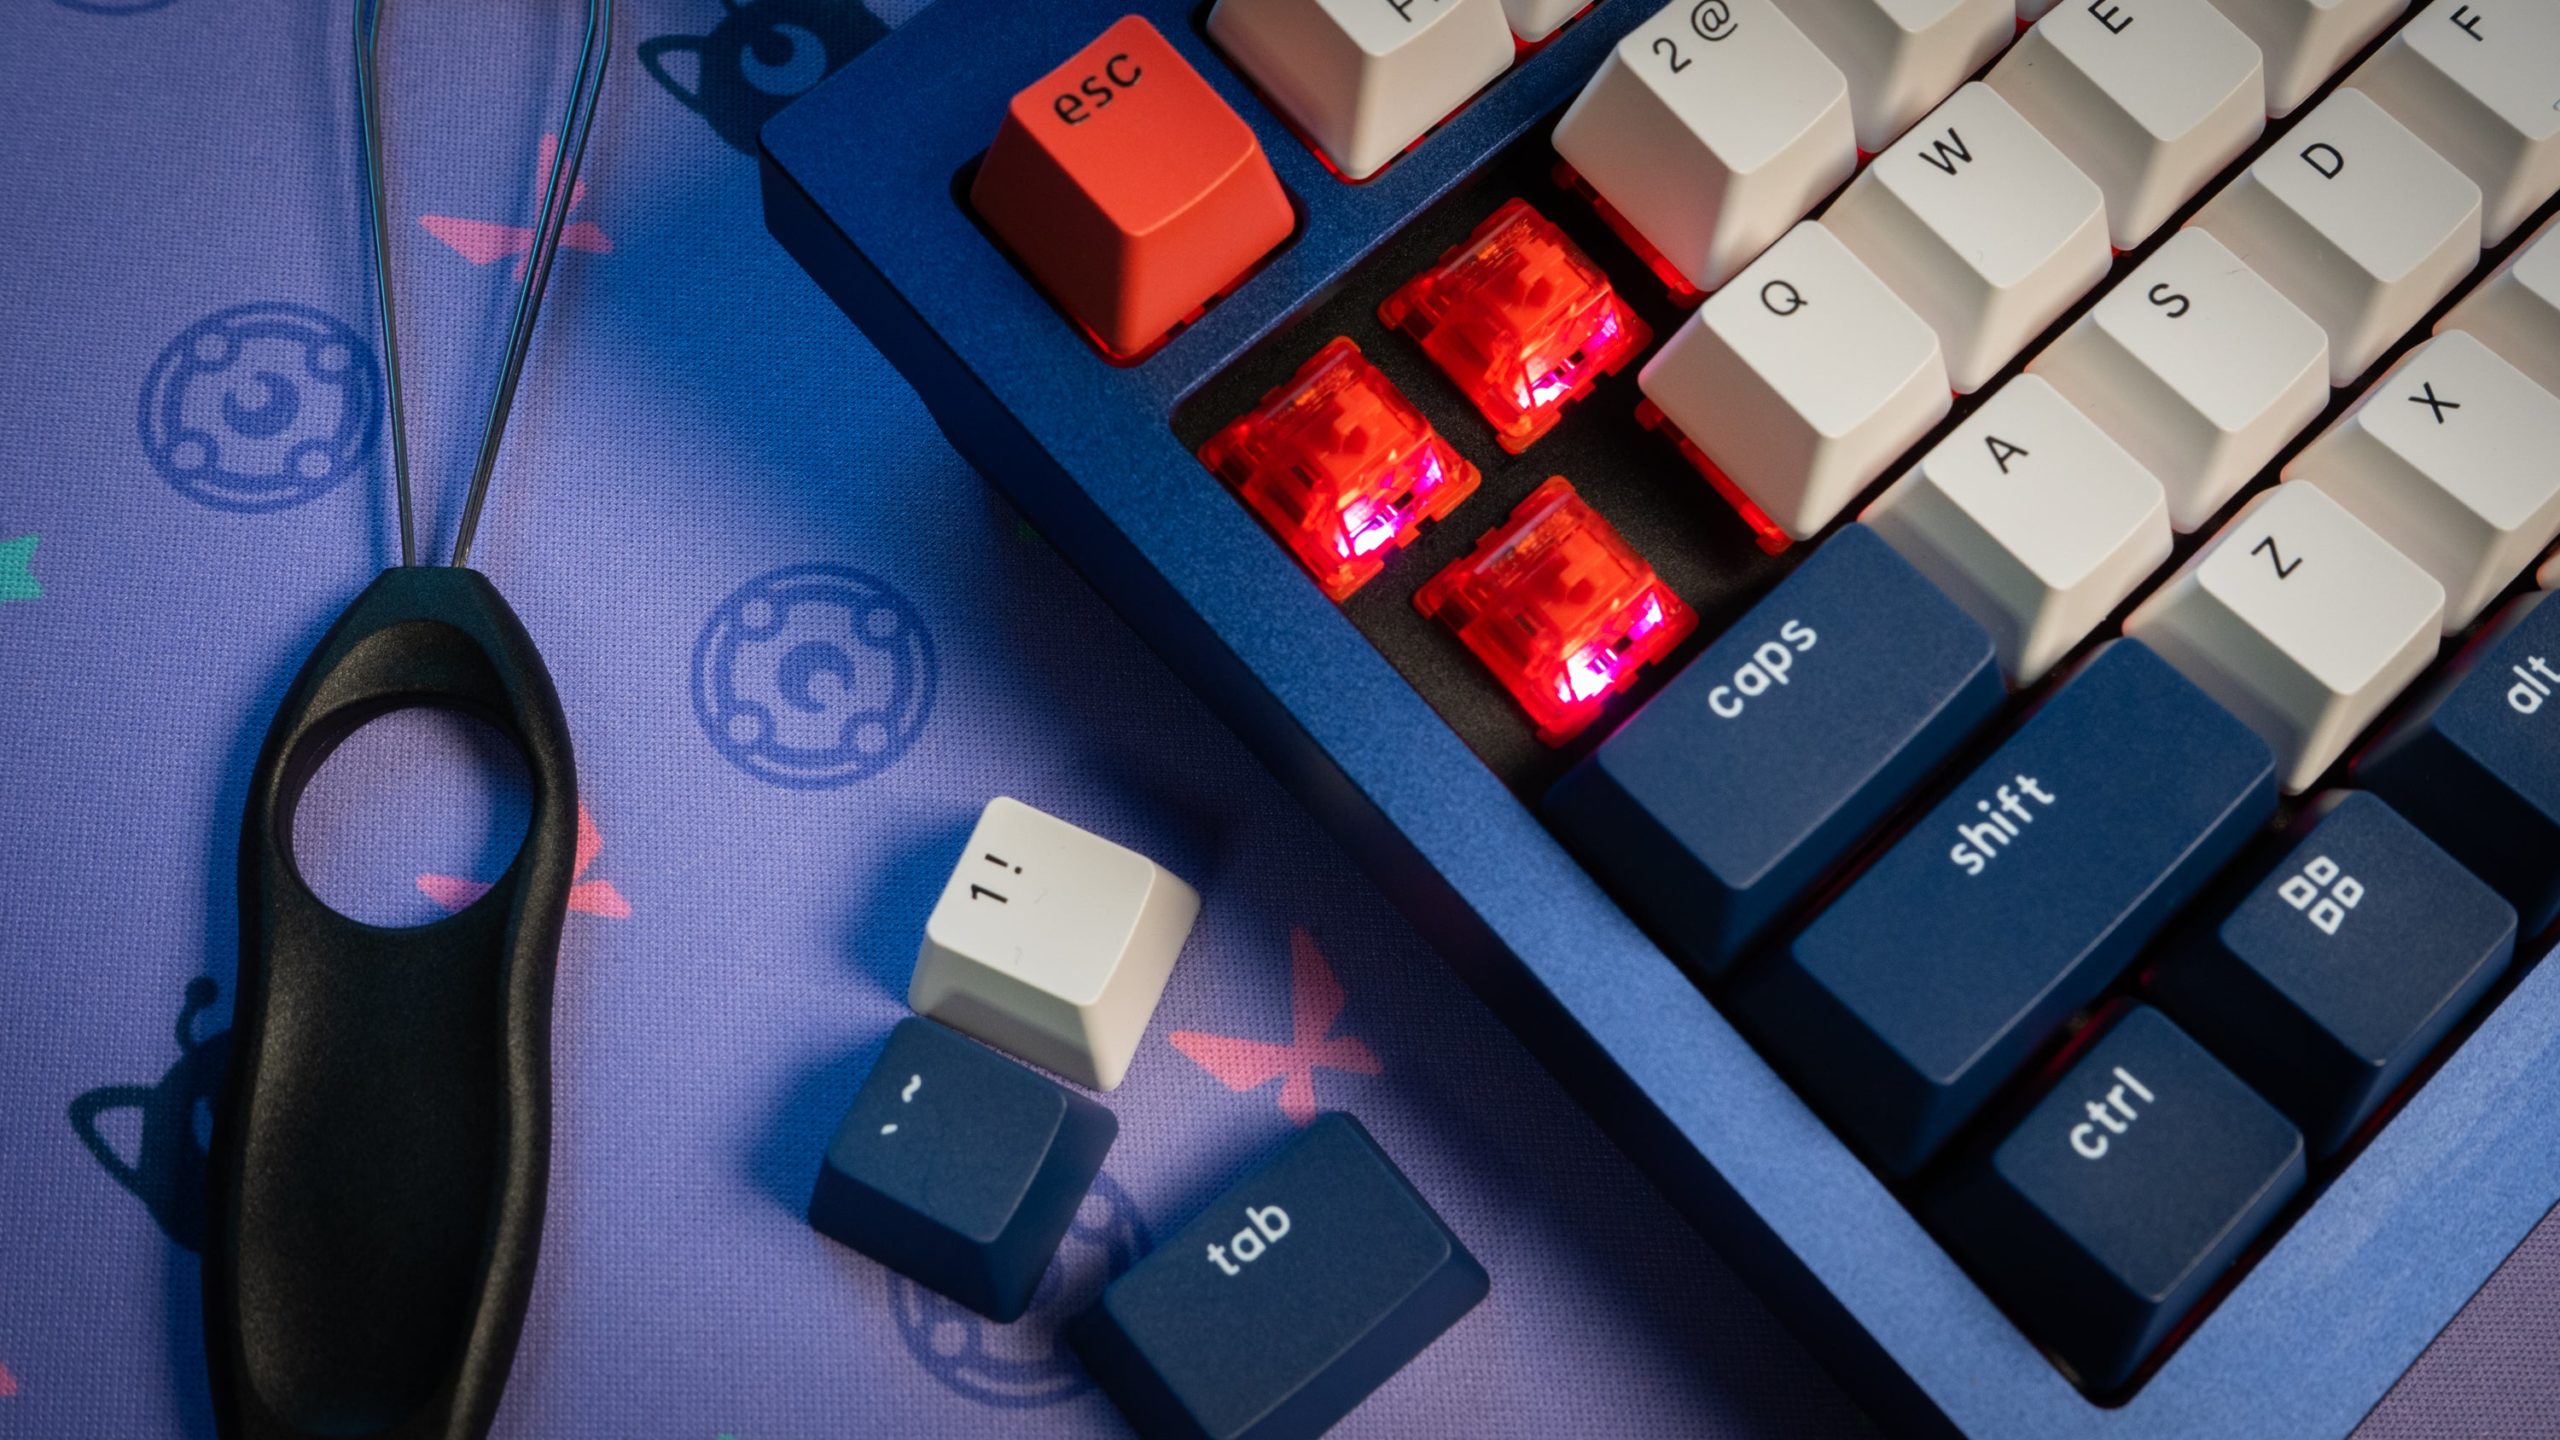
The Q1 is available with Phantom Red, Phantom Blue, and Phantom Brown switches, which were co-created with Gateron, another brand to know in this niche space. My Q1 unit is equipped with the Phantom Red switches, which are Linear and the quietest of the bunch.
The Keychron Q1 comes with everything you need to get started right out of the box. It includes a handy toolset with a keycap extractor, a switch extractor, an Allen wrench, and a screwdriver. It’s like an official initiation into the world of modding a mechanical keyboard.
Keychron included a few enthusiast-level bits as part of the Q1 experience. For instance, the stabilizers and switches arrive pre-lubricated, often considered an aftermarket mod. The result is a smooth typing experience with a noticeable lack of wobble.
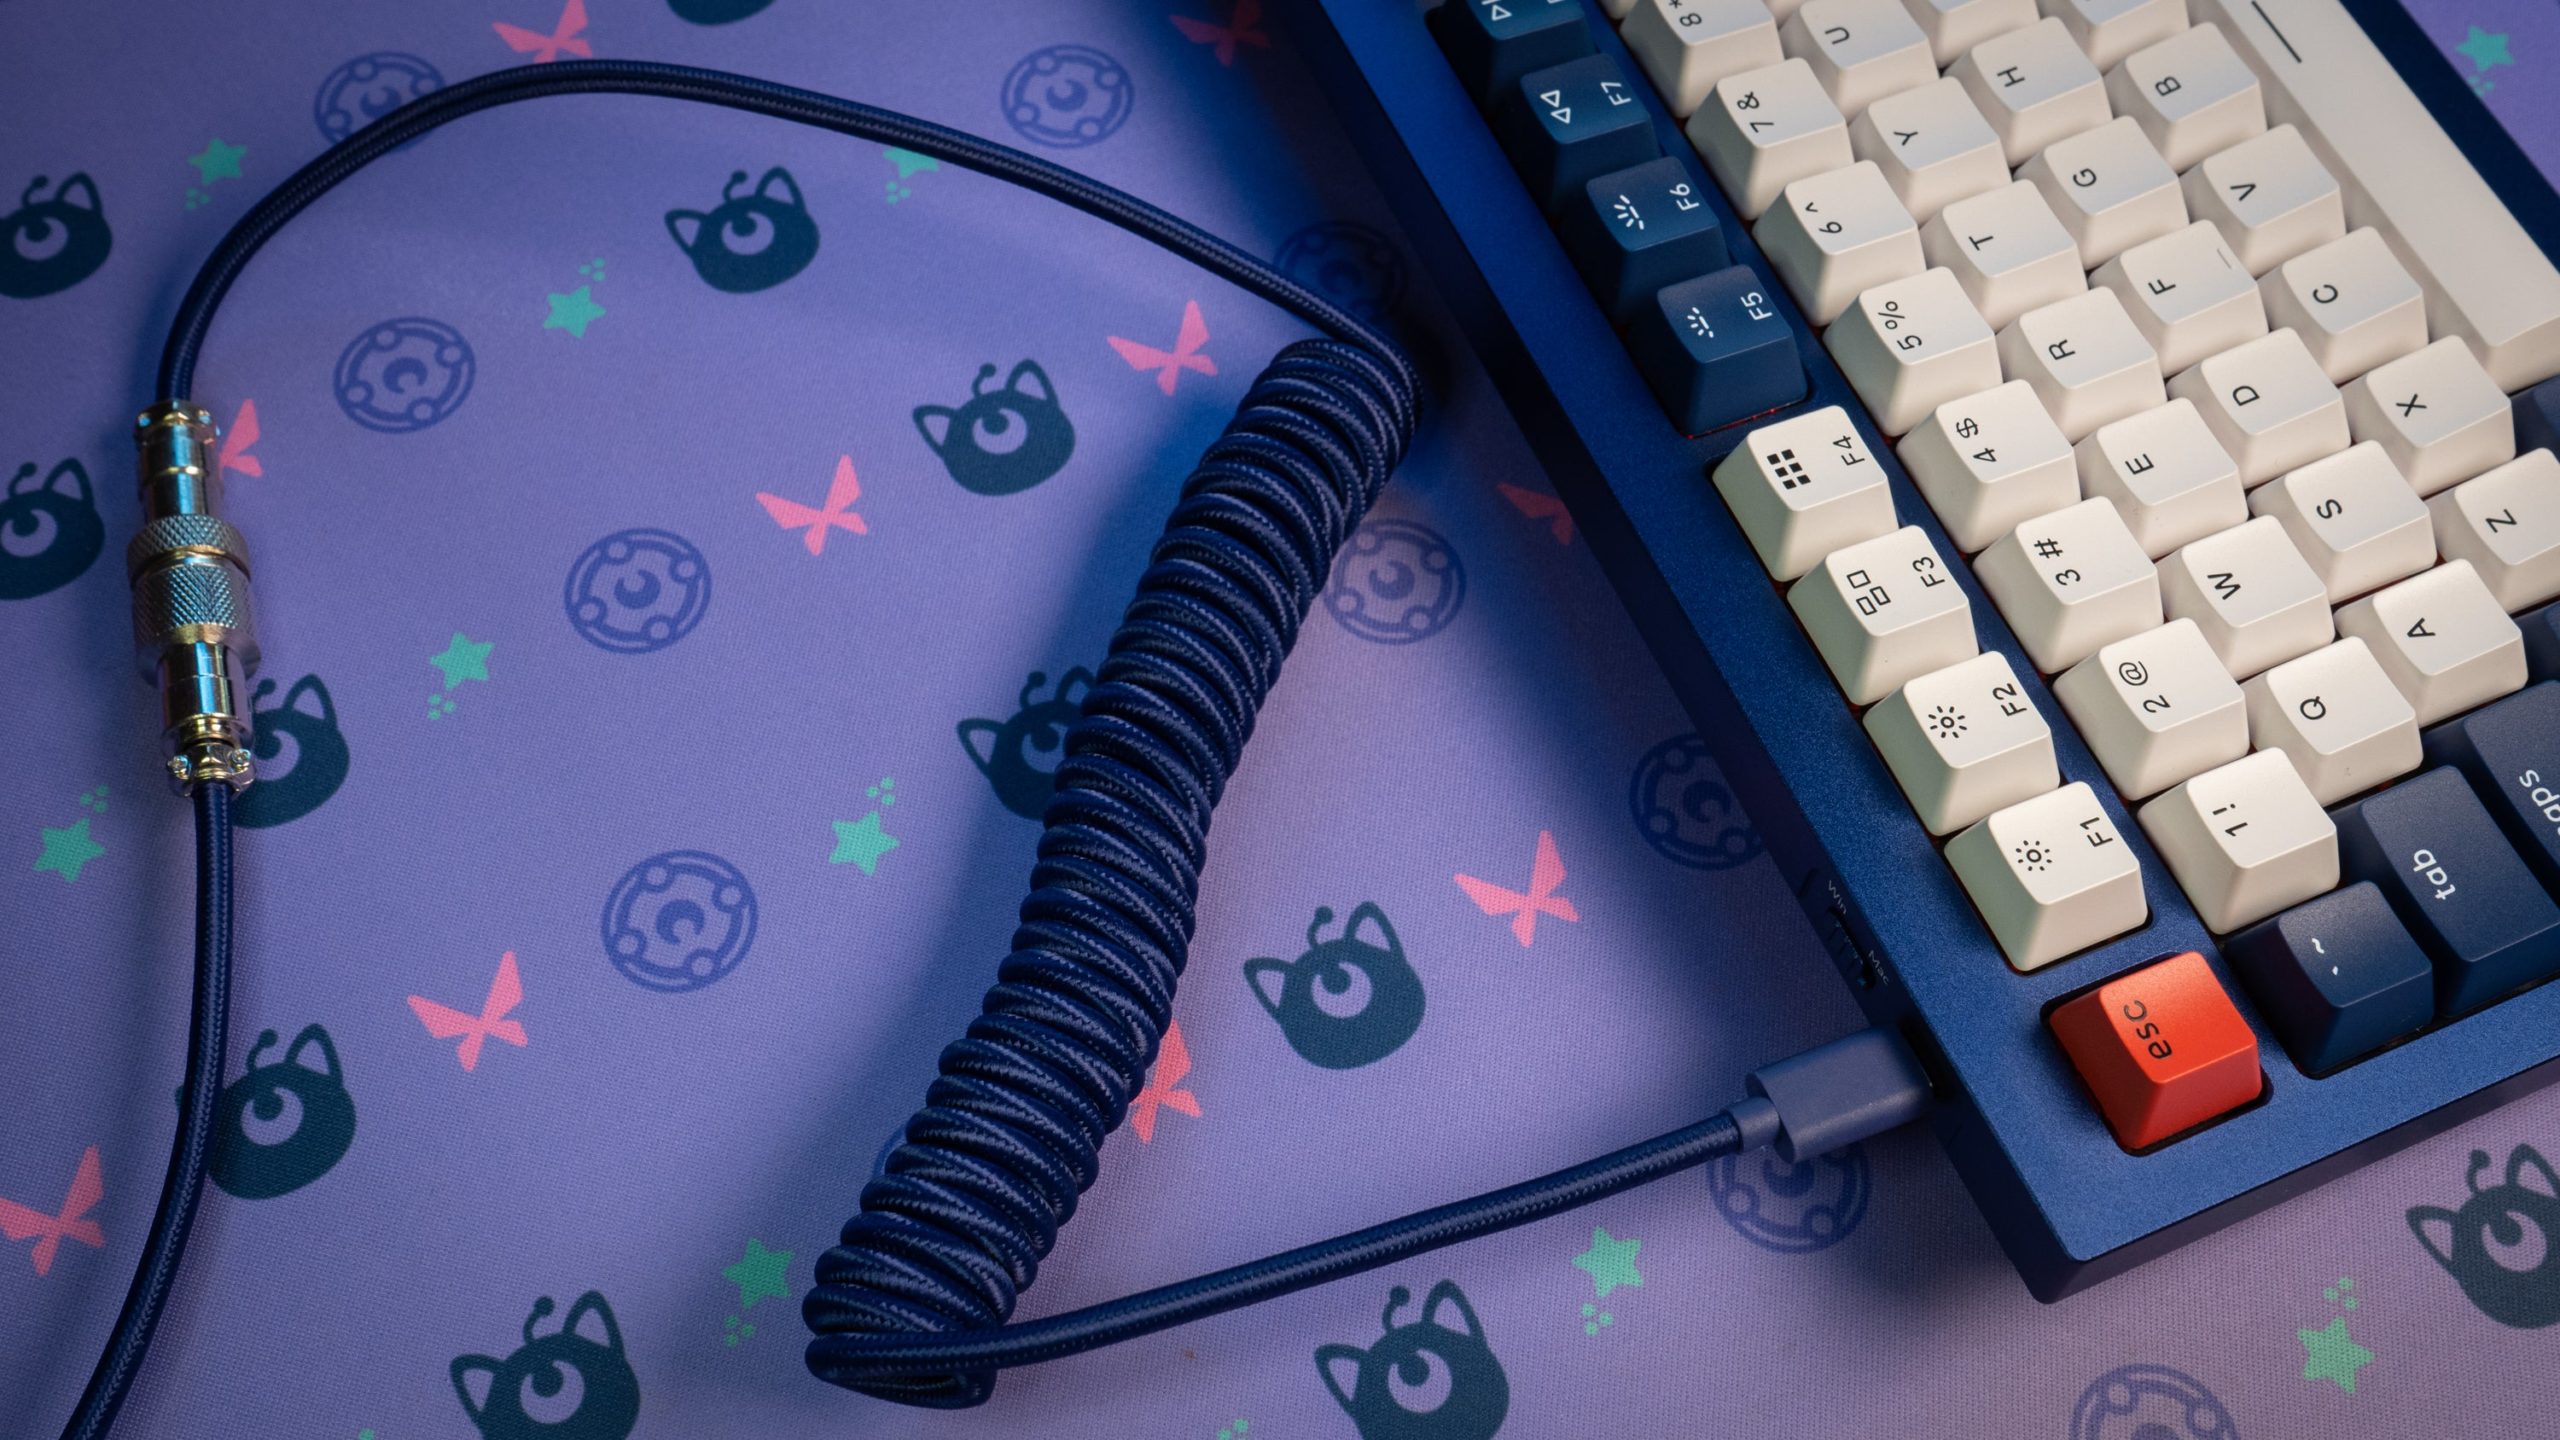
Another nod to the modding community is the included aviator cable. Serious keyboard users prefer this kind of cable because its coiled form easily sits on the desk. The plug that’s on this USB-C connector also offers a little anchoring and lets you easily swap with other connection types. On its own, a quality aviator cable starts at around $US50 ($71). The one included with the Q1 is a good deal, though it feels a little less premium than I’d expected. There’s a definite lack of weight to it, especially compared to something like a Zap cable I’ve used before. It feels on par with the cables that come included in Razer’s off-the-shelf keycap kits.
Smaller Than What You’re Used to
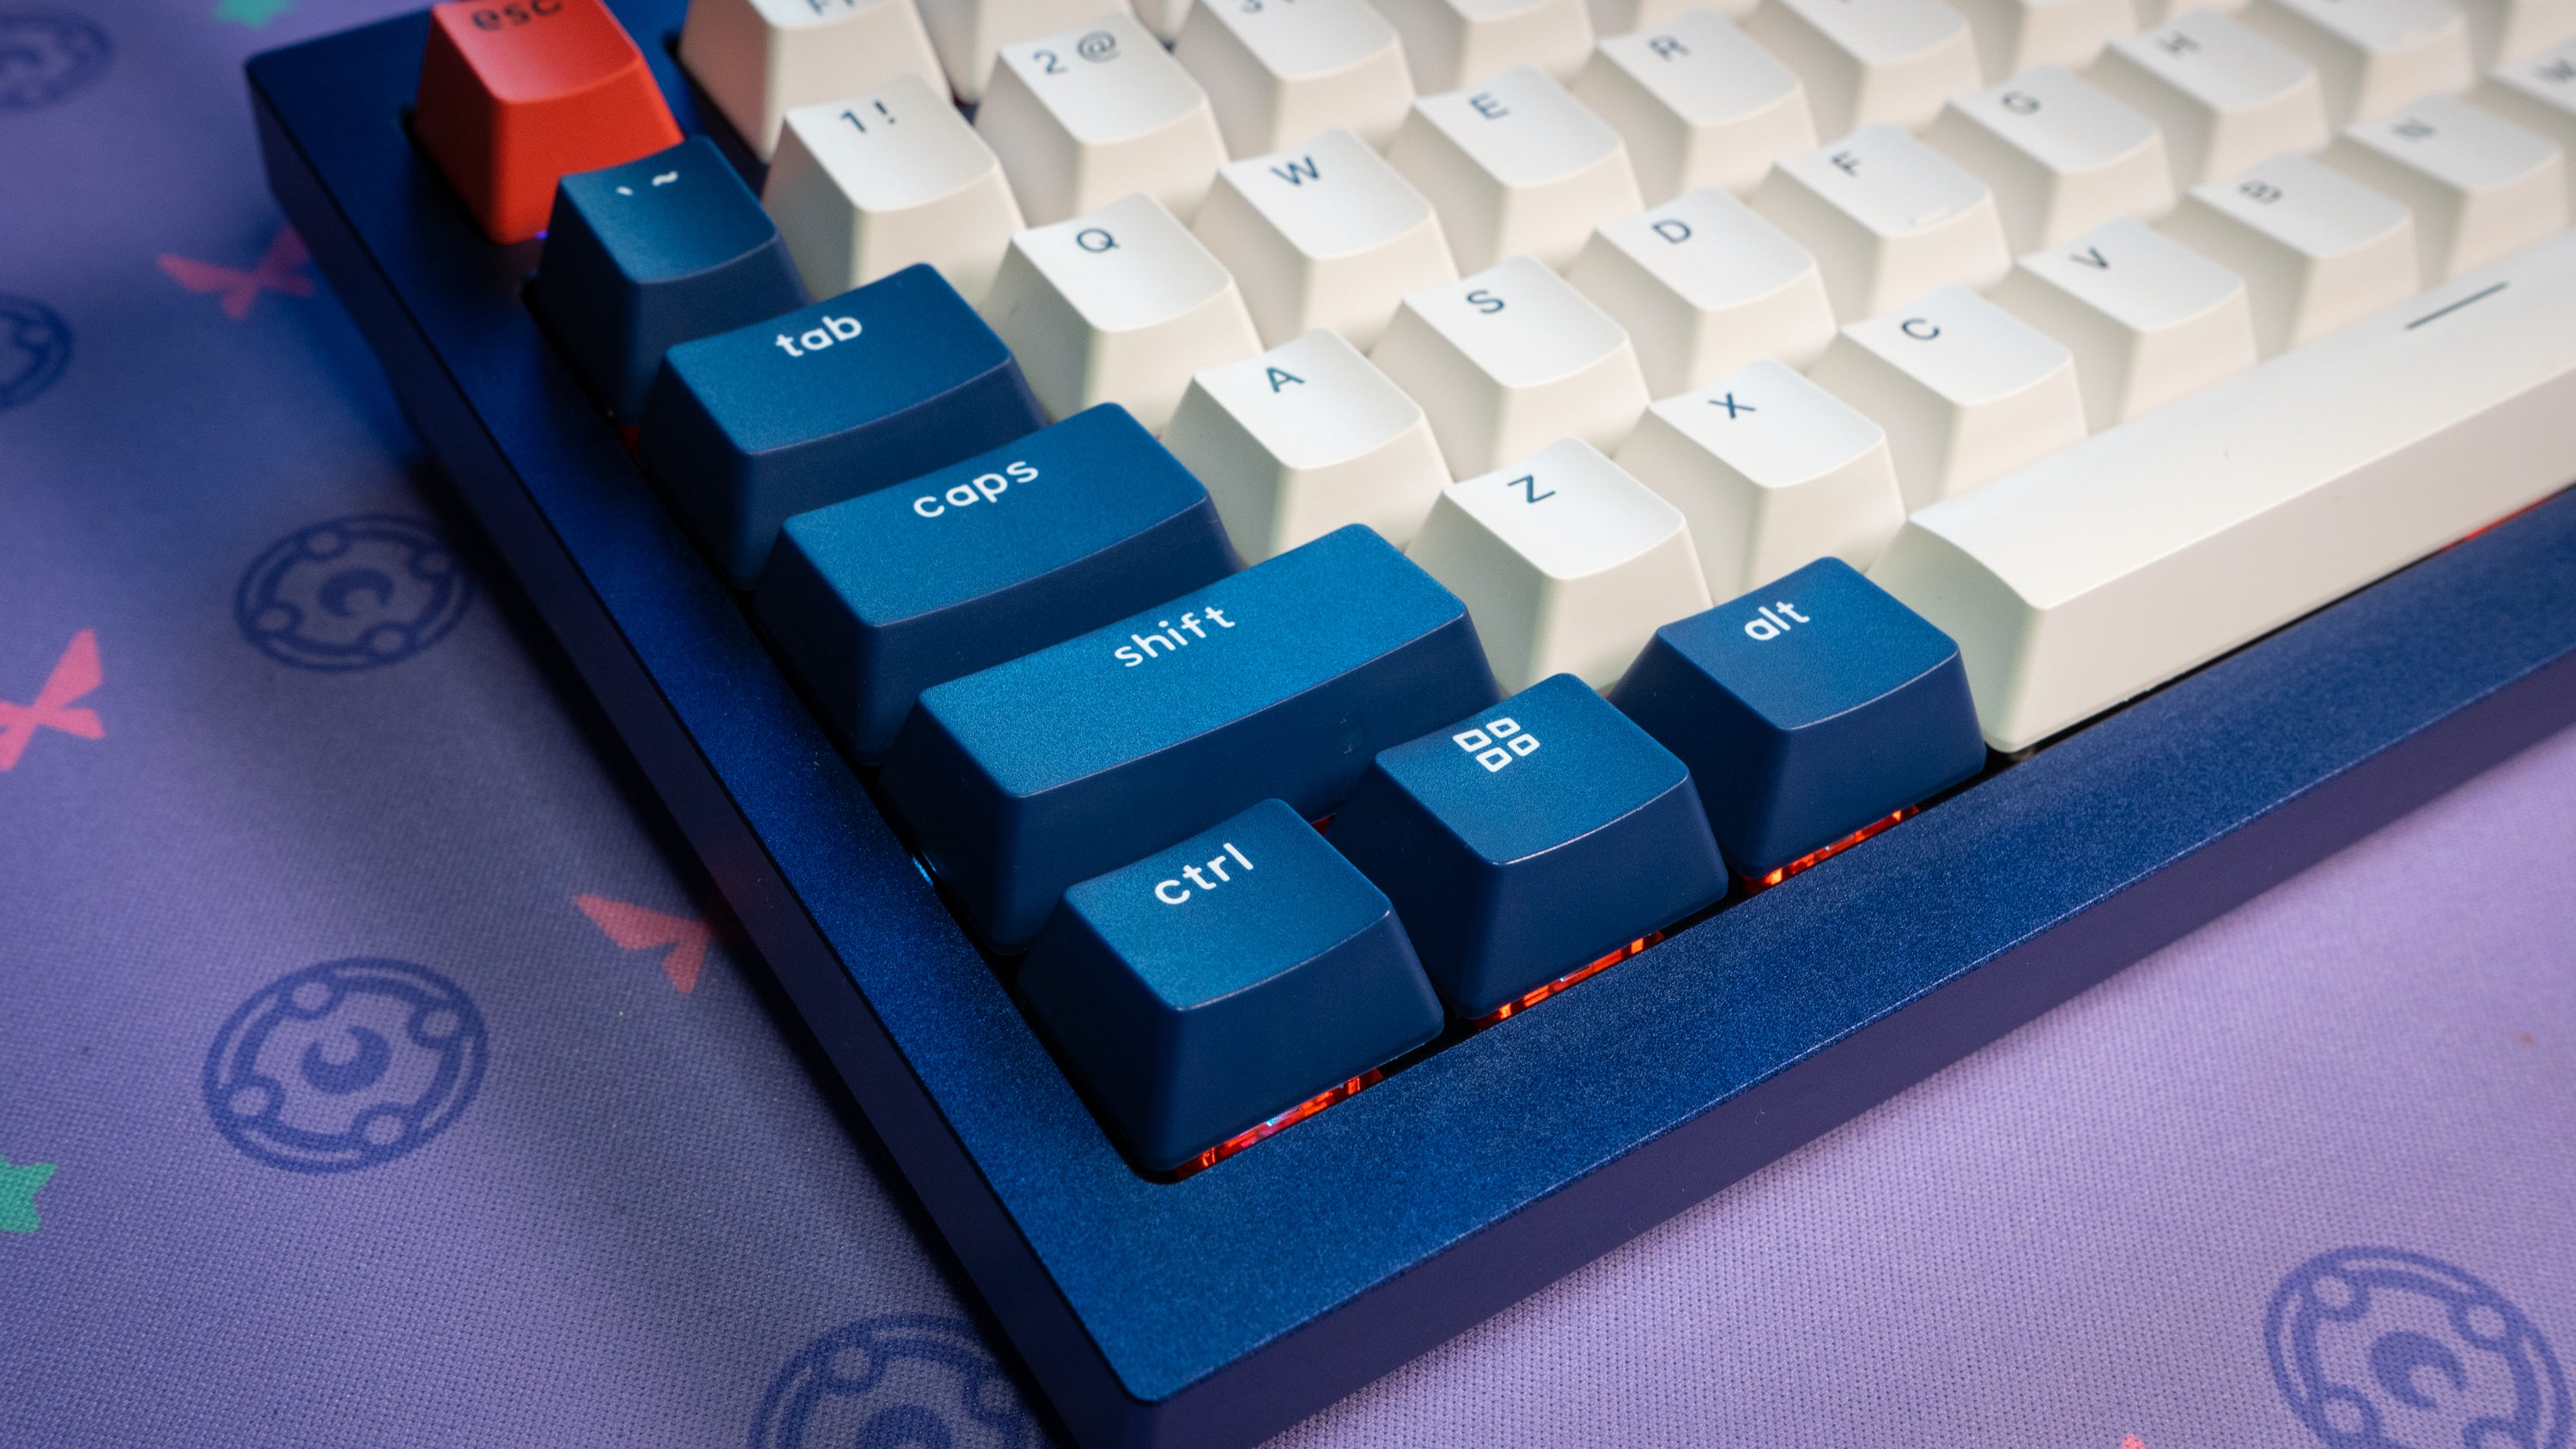
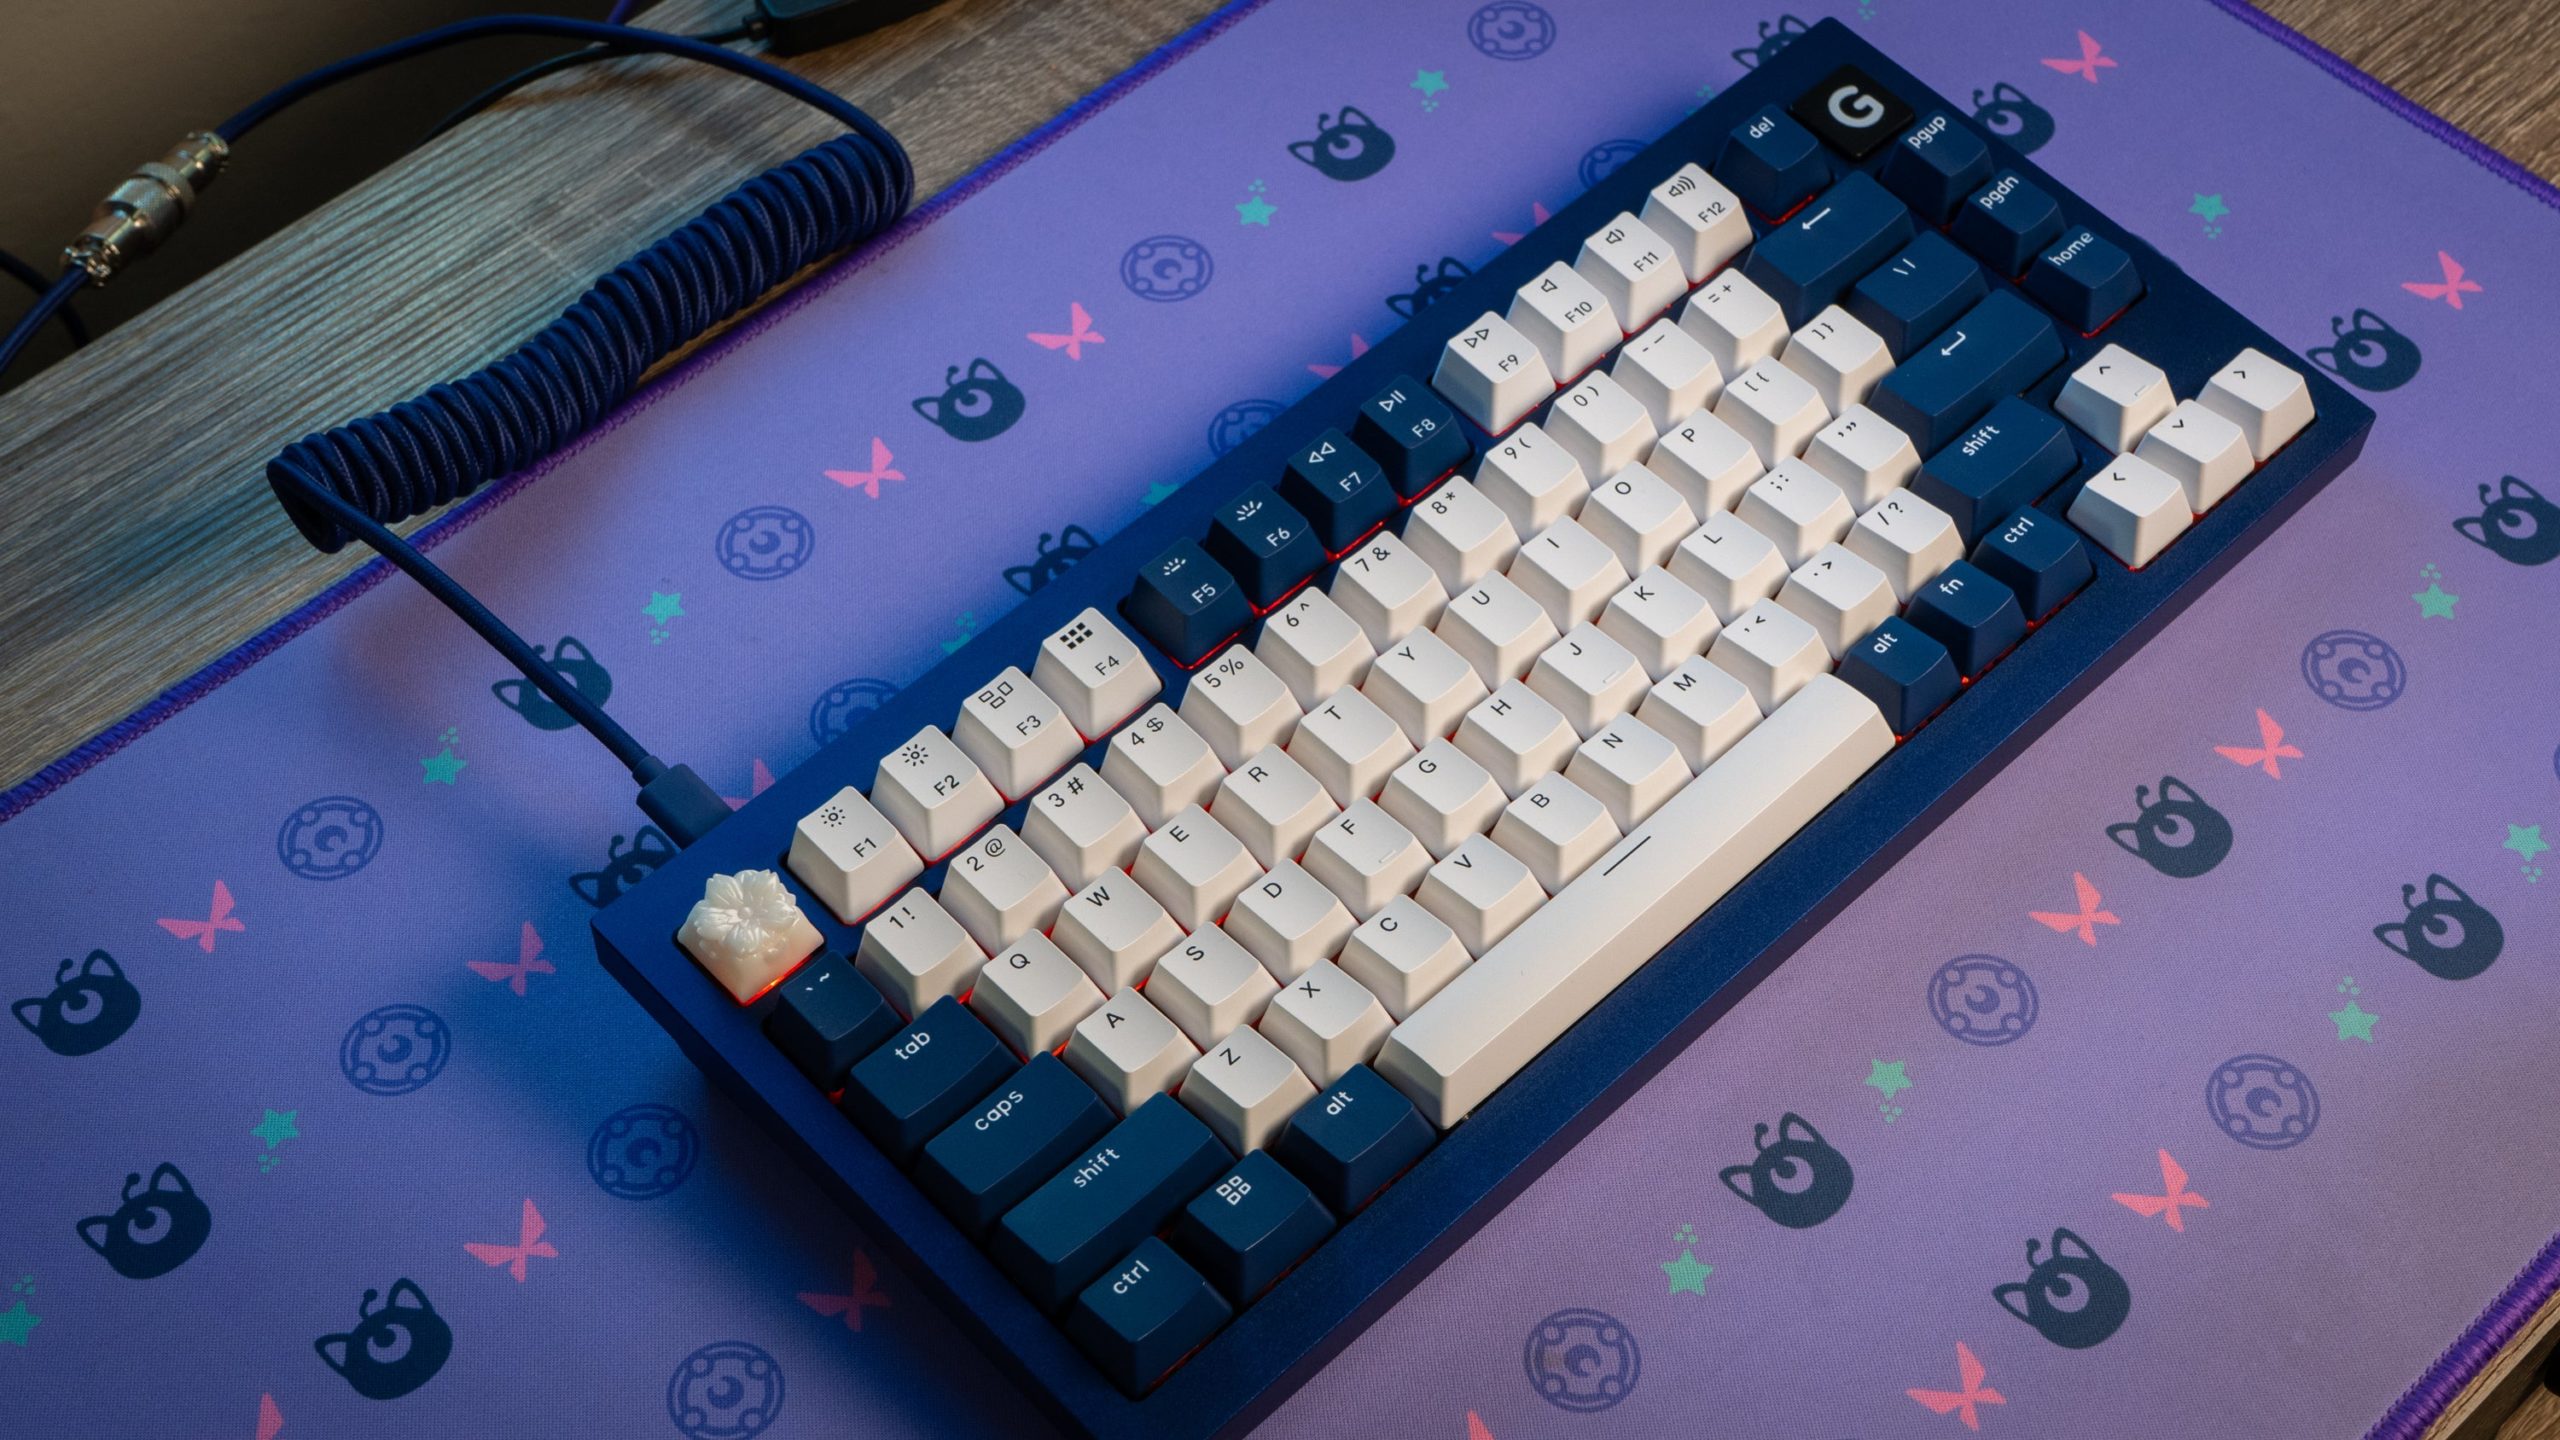
The Keychron Q1’s 75% layout is much more palatable than a full-size keyboard, and it has navigation keys, which I absolutely can’t live without. The page up, page down, and home buttons are placed in a row along the right side of the keyboard, just as the universe intended.

You could technically convert those three keys to an array of macros using the Q1 keyboard’s built-in support for QMK, which is an open-source firmware standard that powers some of the most popular indie keyboards. Keychron suggests you use VIA, which I’ve used before with another keyboard. It’s simple and relatively user-friendly and not at all like the bloated software that comes with Steelseries and Razer keyboards, for example. But you won’t need VIA unless you’re aching to modify the layouts and program macros.
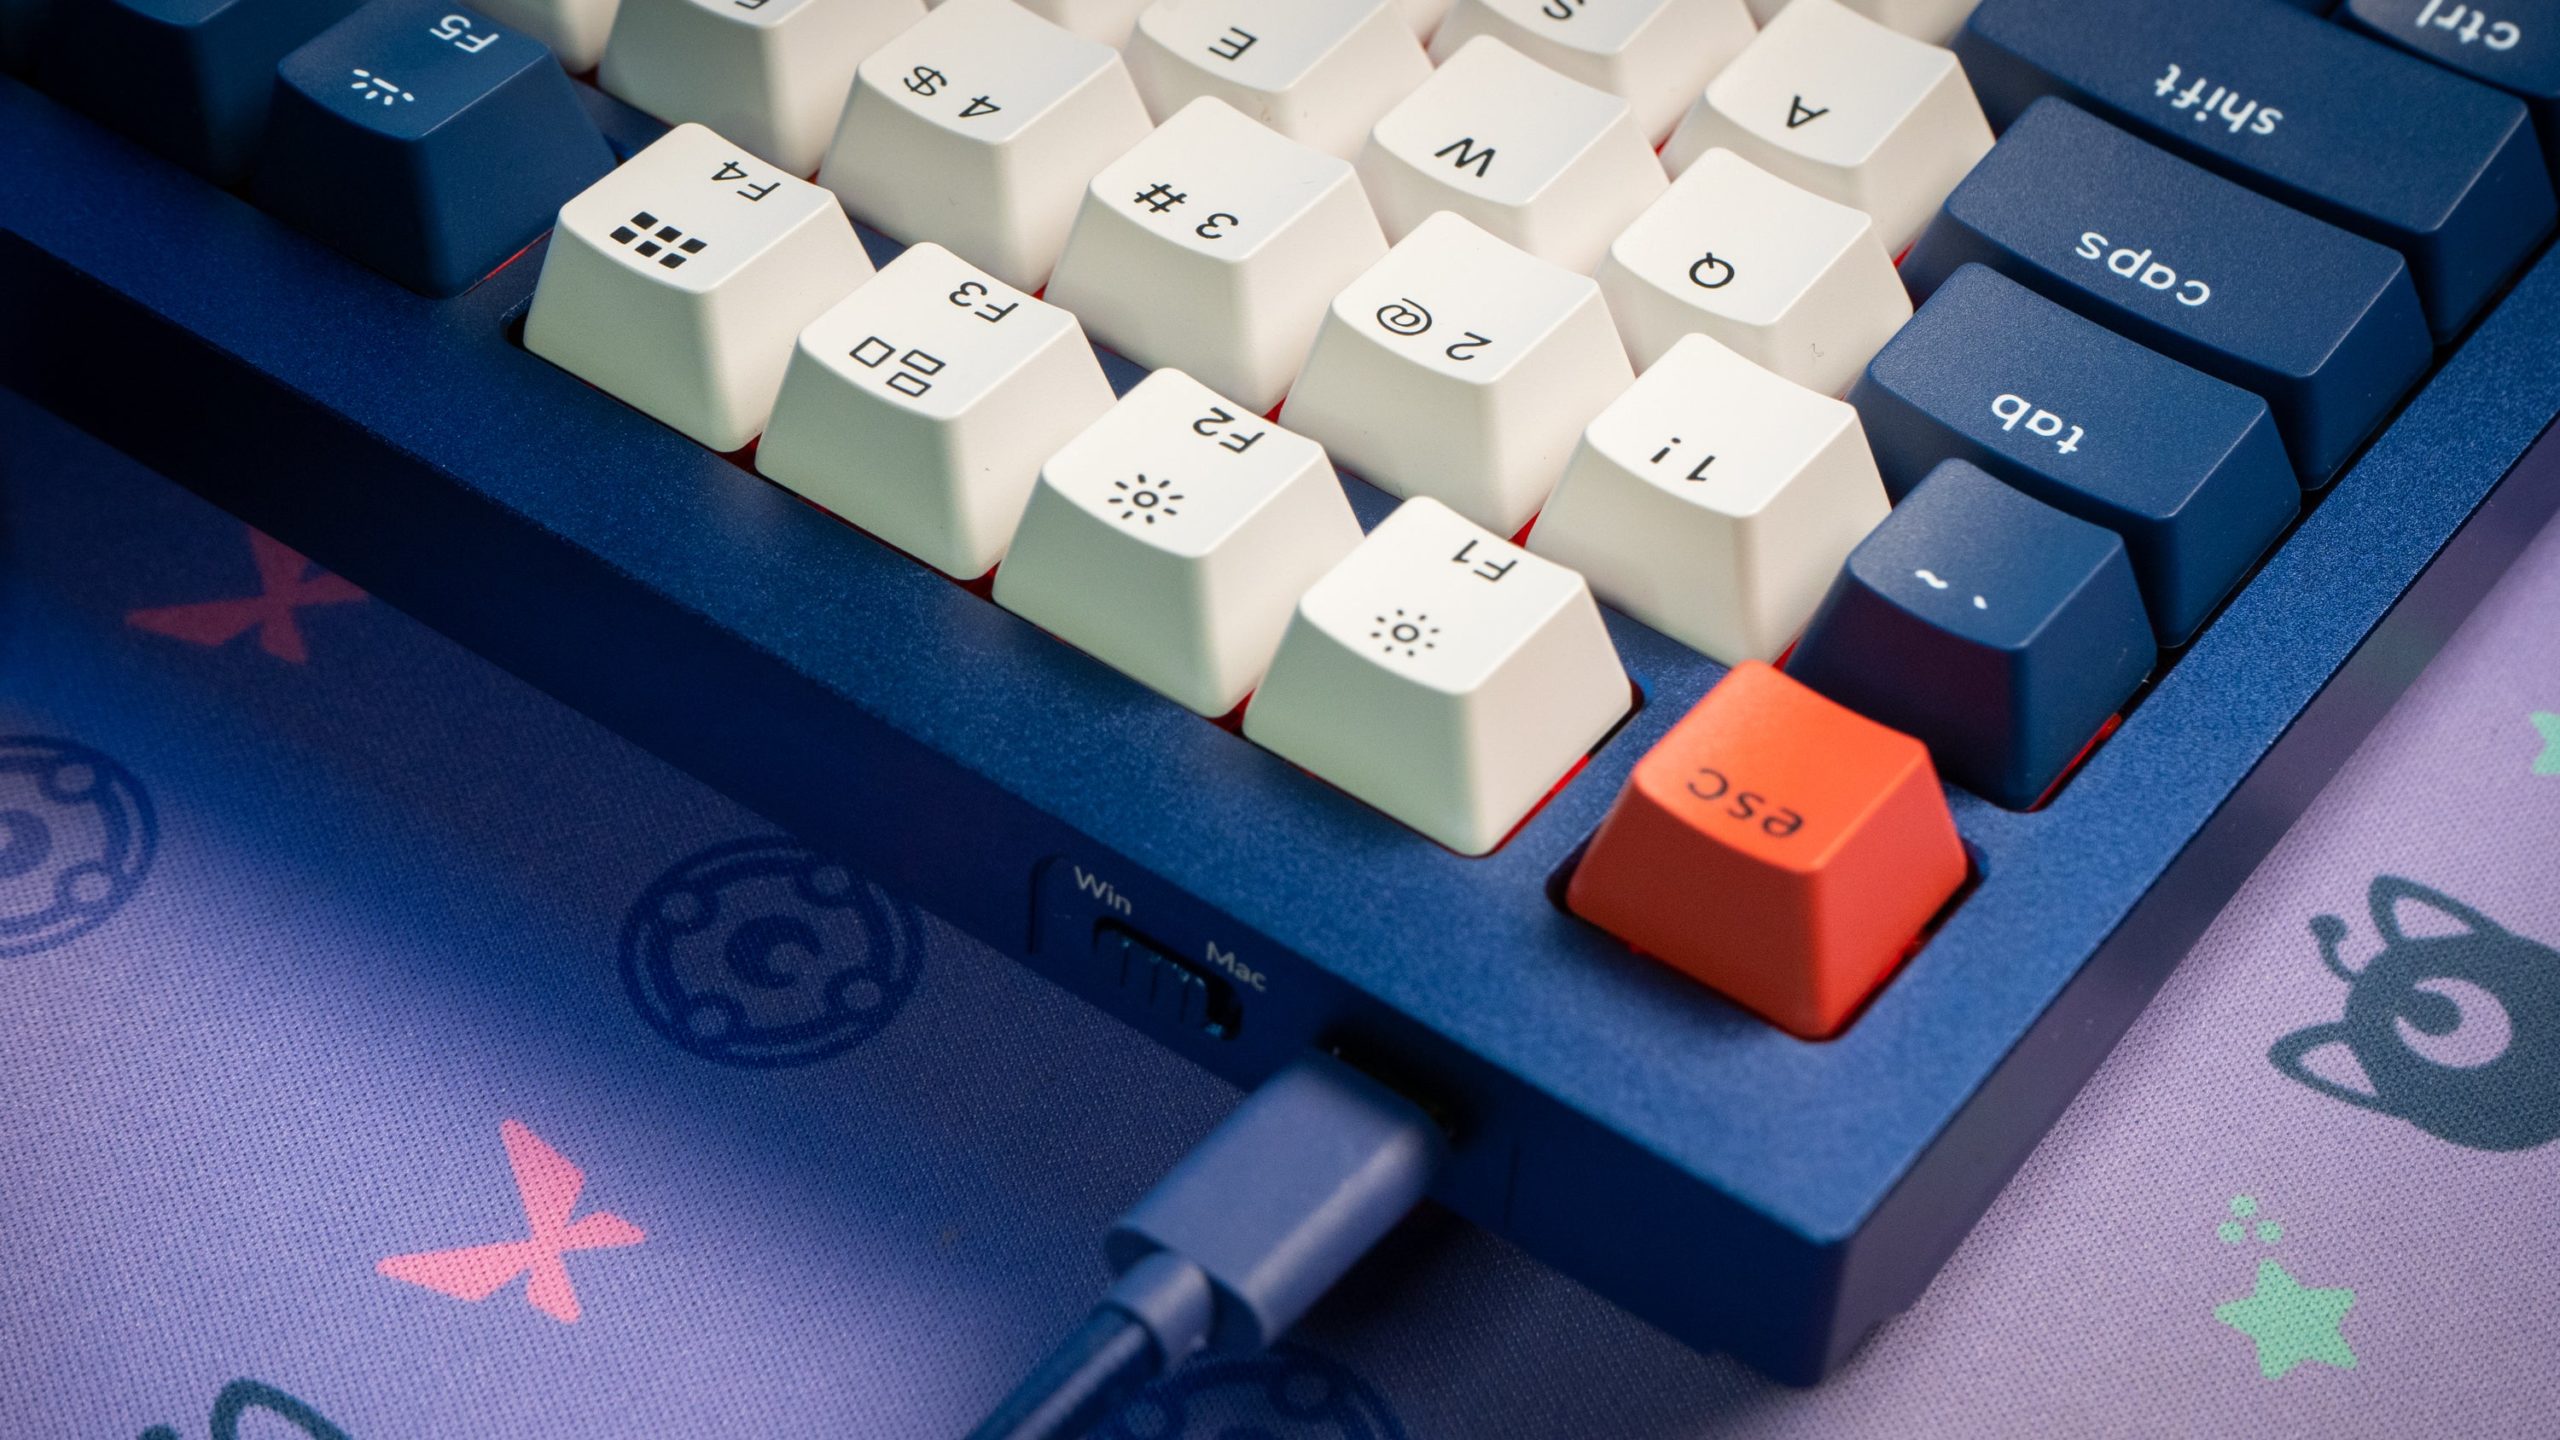
The Keychron Q1 can be used with a Mac or PC, but the keycaps come pre-configured for Apple’s keyboard shortcuts. If you’re a Windows user, you can swap them out with the included Windows keycaps and then flip the switch at the top of the keyboard, so it knows to operate in “Win” mode.
How It Types
By default, the Keychron Q1 comes prefixed with double-shot ABS stock keycaps. You can buy additional PBT keycap sets for $US40 ($57) that match the Q1. I have a set and swapped them in when I did a keycap change (more on that in a bit). Most of my experience centres around typing with the stock keycaps, but I enjoyed the smooth, matte feel of the PBT compared to the sheen of the ABS keys.
The Keychron Q1 is not a dainty keyboard. It feels like it was built out of a solid chunk of aluminium, weighing about 2 kg, and it’s much denser than the usual plastic keyboard cases. This is a keyboard that’s best anchored at a desk, as travelling with this thing would be like carrying around an extra laptop.
Typing on the Keychron Q1 is an absolute delight. There’s a gratifying “stomp” each time I hit a key. I had no problem typing with my long nails, as the spacing between the keys and the gradually-angling keyboard meant my claws could easily land on the cap to press it. That said, you can probably imagine how loud my typing sounds.
The Gateron Phantom Red switches, which are Linear, are comfortable for blogging and posting on social media. But my fingers sometimes felt like they were in a trampoline park, jumping from key to key, especially on the busiest typing days.
Despite the jumpiness, I had no issues with typing accuracy. I managed 105 words per minute in the 30-second Monkeytype typing test, and my speed spiked to 114 wpm on the second round, both with a 97% accuracy rate. Keychron advertises that the Red switches are best for the office, and I’d generally agree.
Customising the Q1
Eventually, you may find you have to take apart the Q1, especially if you want to swap out any keycaps. While you could technically yank one out with the keycap puller as the board is sealed together, it’s tedious, and you run the risk of pulling too hard and popping out the switch.
I haven’t had the best experience building keyboards outside of swapping keycaps (I’m a baby!), but I was thankful to see Keychron provides ample documentation as a helpful crutch. Keychron included a magnetized screwdriver and Allen wrench in the kit, too, which is a nice value-add.
The Q1 is effectively a layered keyboard sandwich, beginning with the bottom case, which is the first thing you’ll take off. The case foam, sound-absorbing foam, and plate are separate layers tied together by the top case. The keycaps and switches are also considered “layers,” but as I mentioned, you can’t easily swap them out without removing the bottom and top parts of the aluminium casing.
The trickiest part of taking apart the keyboard is ensuring that you don’t sever the wire between the main PCB board — the keyboard — and the daughter PCB, which hides under the aluminium frame and serves as the switch for Mac or PC mode. I watched Keychron’s YouTube video repeatedly to ensure I was unhooking the right part of the ribbon.
I can proudly say I managed to swap out the keycaps I needed and put the board back together within half an hour without butchering anything. Having all that documentation readily available helped ensure I was making the right moves, which offered a confidence boost I needed to put everything back together without repeatedly referencing the instructions. Compared to my last mechanical keyboard build, this experience was a cinch.
A Great Choice For Anyone
This review is turning into a novel about my journey into building keyboards, but I need to explain: When I first fell into this hobby, it felt so gatekeep-y. That might explain why I felt overwhelmed trying to put together the Candybar Premium V2, a 65% aluminium keyboard, which I had pre-ordered for $US220 ($314), or about $US50 ($71) more than the assembled Q1.
However, I completely botched that build. It was my first time installing a PCB board, screwing it into a chassis, placing in the stabilizers, and punching in each of the accompanying switches. I messed things up, somehow, and bent a few of the switches, which I didn’t realise after I put the board back together. Now, the pricey keyboard — which cost a total of $US315 ($450) after I bought the $US95 ($136) Astrolokeys keycap set to outfit it — is collecting dust on the shelf, waiting for me to address my mistakes. I’ve been putting it off for almost a year.
The Keychron Q1 makes me realise I didn’t have to go through all that trouble to get the typing experience I want — and that I didn’t have to spend all that money. I can buy a mechanical keyboard off the rack, like finding a designer dress for sale after it debuts on the runway. It helps that Keychron has thoughtfully laid out its support documentation so that anyone with a bit of patience to read through the material can readily dive in.
The Keychron Q1 offers the best of both worlds: It’s accessible enough for a first-timer or a scaredy-cat like me to buy and tinker with, and it provides a level of customisation that enthusiasts crave. The Q1 is also a solid choice for anyone hoping to start down the path of keyboard modding that either doesn’t know where to start or doesn’t want to bother with anything gamer-centric. It’s perfect.