
It is a truth universally acknowledged that a lot of us are spending a lot more time peering into webcams than we once did, as well as looking at video from other people’s webcams on our own screens. Video calling and conferencing is now an accepted norm rather than an occasional oddity, and for the sake of your fellow callers, you want your audio and video feed to be as smooth and as high-quality as possible.
While you might be used to simply opening up your laptop lid or firing up your video conferencing software of choice to get started on your calls, there are ways to optimise and improve the quality of your output. With just a few minutes of exploring what your options are, the other people on your calls will thank you. So, we’re here to help you through that process.
We’re going to look primarily at software settings here, but there’s more you can do as well: investing in a better webcam or a better microphone, making sure that you’re in a room that’s adequately and evenly illuminated, and reducing the likelihood of any external sounds are all good practices.
How to adjust built-in settings for a better webcam picture
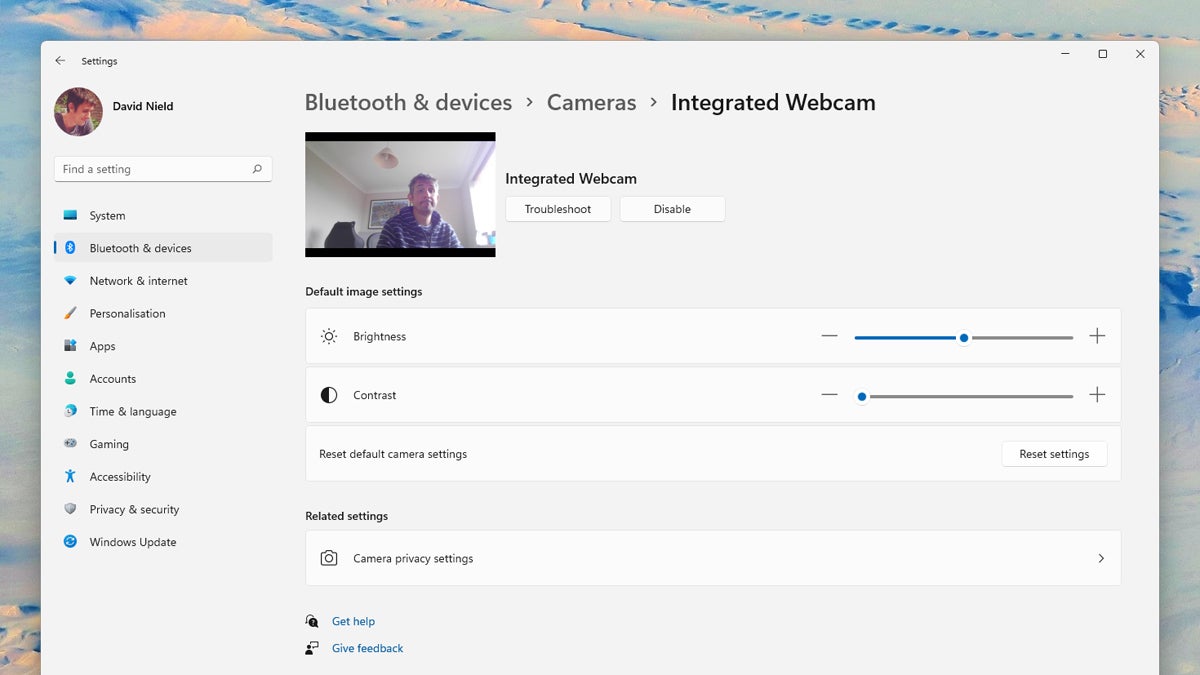
Windows comes with a few basic settings you can tweak to improve the quality of your webcam audio and video. On Windows, open the Start menu to find Settings, then pick Bluetooth & devices and Cameras: You should then be able to select your webcam of choice to get some basic brightness and contrast sliders.
Adjusting these can quickly give you a better video picture, and you can see how the changes are going to look using the preview window above the sliders. If you want to go back to the square one and begin again, click Reset settings; and if you’re having serious problems getting your webcam to work in the first place, click Troubleshoot.
Over on macOS, it’s a different story: There are no built-in settings for managing your webcam, and it’s really down to whatever app you’re using to access the camera. As FaceTime is supplied by Apple itself and comes installed with macOS, it sort of counts as a built-in settings option, and as soon as you launch the app, you’ll notice that your default webcam becomes active straight away.
If you then click on the Control Centre icon on the menu bar (it looks like two toggle switches), you’ll see a Video Effects button (for turning on background blur through Portrait mode), and a Mic Mode button: This lets you pick between Standard, Voice Isolation (surrounding sounds are suppressed), and Wide Spectrum (surrounding sounds are let through).
Best third-party tools for a better webcam picture
If you want more in the way of optimisation options than an OS’ built-in settings can give you, you can get help from third-party tools. These utilities have been designed to sit on top of your operating system and work with whatever webcam you’ve got attached, so they’re not specific to particular devices.
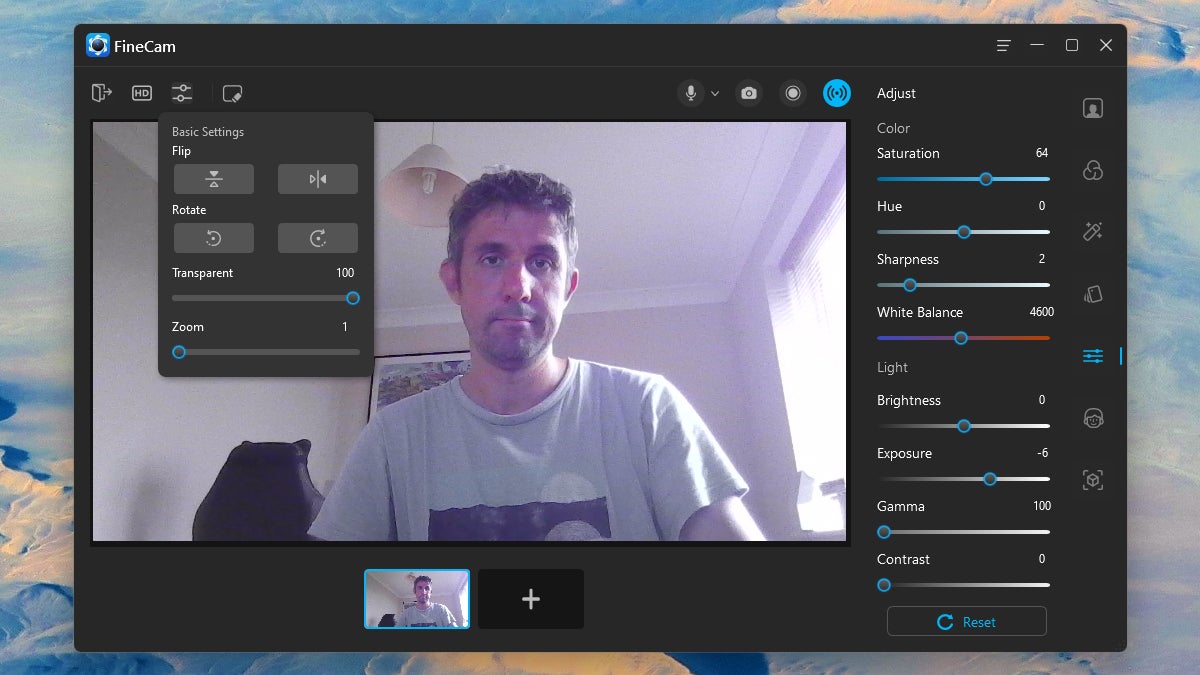
Take FineCam for Windows and macOS, for example, which gives you adjustment options for saturation, sharpness, brightness, contrast, white balance and more, and which can automatically improve the quality of a feed in low light conditions. What’s more, there are plenty of one-click filters and effects available. You can use the software for free, but a lot of the advanced options require a paid subscription, which starts at $US6.90 ($10) a month.
ManyCam is another software package that’s worth a look, and again it’s packed with features to explore. You can tweak the brightness, contrast and saturation of your video feed, you can combine multiple layers (if you’re presenting slides, for example), and you can experiment with picture-in-picture effects. It’s a suite of useful webcam tools that goes way beyond video and audio optimisation, but most of these tools require a paid subscription that starts at $US49 ($68) per year.
You also get a variety of optimisation options with CyberLink PerfectCam, which will set you back $US9.99 ($14) a month for the premium edition (there is a free trial, so you can test it out first). There are sliders for brightness, contrast and exposure, you can smooth out the appearance of your skin, and you can even let the program adjust some of these settings automatically. On top of that, you get extra effects like background blur and the ability to drop in custom backgrounds too.
There’s also a good chance your webcam came with some software of its own, which means you’ll want to look at…
App settings for a better webcam picture
If you’ve bought an external webcam, then it probably works as soon as you plug it in — but there’s likely to also be some free software you can download for it that gives you access to more settings and options. Logitech webcams, for example, have Logi Tune.
From the main app panel, pick your connected Logitech webcam, then open the Video tab. You’ll see that you can change the zoom level, the field of view, and make manual adjustments to brightness and contrast, as well as turn Autofocus on or off. Under the Settings tab, meanwhile, you can toggle HDR mode on or off, which should keep bright and dark areas of the video feed visible.

It’s also well worth digging into the apps you use to make your video calls, because it’s quite possible that there are extra options here too, even if you’ve never used them. Zoom is a good example: Click the cog icon up in the top right corner of the interface, then switch to the Video and Audio tabs on the left to make some adjustments.
Under Video, you can opt to enable Touch up my appearance (which softens a few wrinkles) and Adjust for low light (making you easier to see in the dark). You can also select Advanced to find the denoise optimisation option. Under Audio, there are settings for automatically adjusting volume during calls, as well as suppressing a variety of background noises (from pen taps to dog barks).