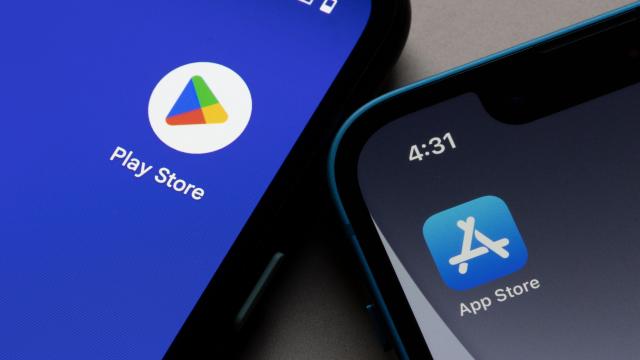
When you download or buy an app on your smartphone, that record seems to stay with you forever. Sure, you can easily delete the app from your phone, but when you browse the App Store or Play Store later on, you’ll always see the option to download it again. That is, unless you scrub the app from your iPhone or Android’s purchase history.
Neither Apple nor Google makes it obvious how to remove previously downloaded apps from your account history, and for good reason: It makes more sense to keep it easy to redownload previously purchased and downloaded apps. Remember the days when you couldn’t redownload an iTunes purchase? Those were dark times.
Still, they’re our accounts, and we should be able to remove whatever apps we want from our histories. If you’re sick of seeing the download symbol next to that terrible app you tried out years ago on your iPhone, here’s how to get rid of it for good.
How to delete an app purchase on your iPhone
To delete an app purchase from your Apple ID on your iPhone, open the App Store, then tap your profile in the top right. Tap “Purchased,” then “My Purchases,” if prompted. Search or scroll until you find the app you want to remove, then swipe left on the app and tap the “Hide” option that appears. Once you do, the app detaches from your purchase history. The next time you see it in the App Store, you’ll either have the option to “Get” or buy it, rather than see the download symbol, indicating a previous purchase.
How to delete an app purchase on your Android
It’s not as obvious which deleted apps you’ve downloaded or purchased on the Play Store: Free apps that aren’t currently on your Android phone show up with an “Install” button whether you’ve downloaded it in the past or not. To really scrub the history from your account, though, you’ll need to open the Play Store, tap your profile, then choose “Manage apps & device.” Hit “Manage,” switch the list from “Installed” to “Not installed” (assuming you’ve uninstalled the app already), then choose however many apps you want gone. Tap the trash can in the top right, then hit “Remove” to confirm.
