Dropbox is one of those huge, ubiquitous apps — like Gmail, or iMessage, or Spotify — that is constantly adding new features. But if you’re not using the service on a daily basis, you might miss some of the tools that have been added. The most recent Dropbox upgrade is worth paying attention to, because it gives you a better way of managing masses of files more easily.
We’re all looking for better ways to organise our digital stuff, whether it’s emails, photos, playlists, or important documents, and that’s exactly what a new Dropbox feature called automated folders is designed to do. Once the folders are set up, files sent to them can be automatically named, sorted, or converted as needed.
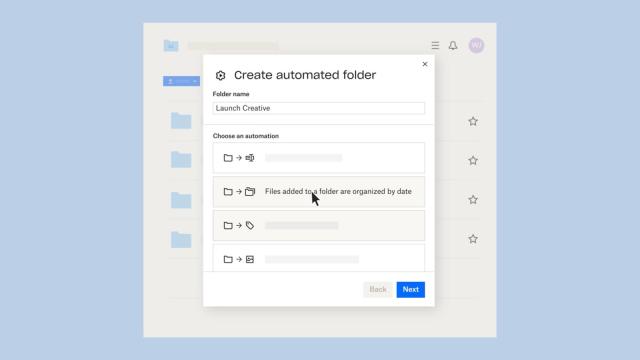
It’s easier to understand how it works once you try it out. Open up Dropbox on the web, navigate to wherever you’d like your automated folder to live, then click Create and Automated folder. You’ll be asked to give your new folder a name, and to choose the type of automated processing you want to apply to the files within it.
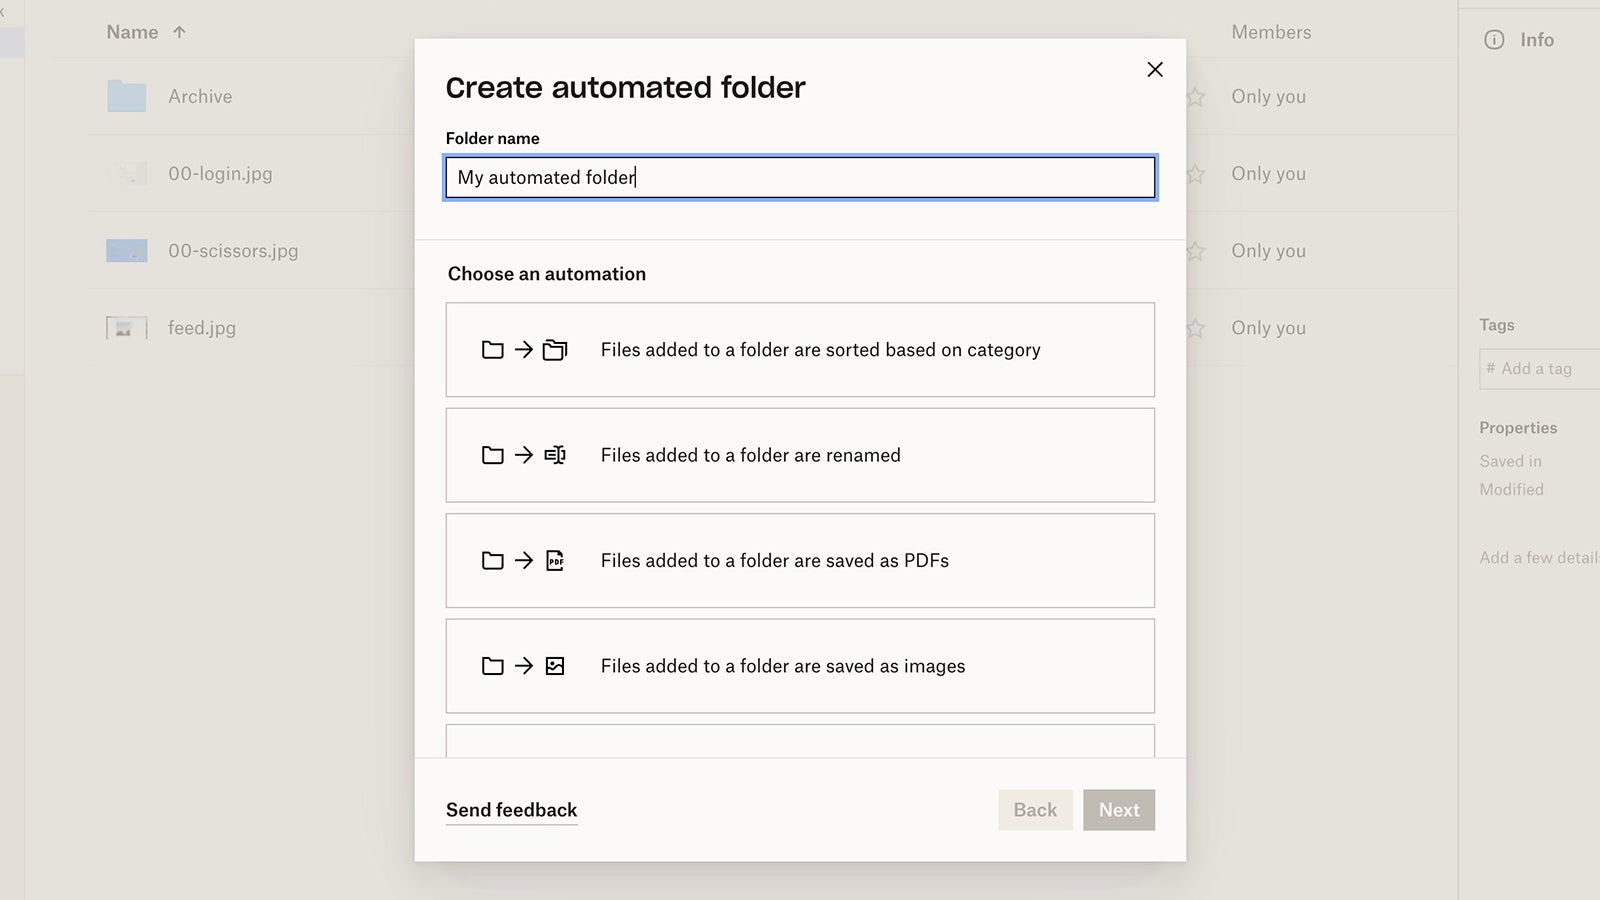
You’ve got six choices: to sort files into month and year folders, to rename them, to unzip them, or to convert them to images, videos, or PDFs. Pick the last option, for example, and any files added to the automated folder, from Word documents to JPGs, will be converted into PDF format using Dropbox’s integrated conversion tool.
Choose your automation, click Next, and you can customise it. The options you see here will vary depending on the automation. If you’re renaming files, for example, you’ll be able to set the template for the renaming (you can start filenames with a date, for example, and include the parent folder name.
The automation you’ve picked gets applied to new files, no matter how they’re added — through the desktop client, through the mobile apps, or through the web interface. You can modify the folder’s settings by clicking the three dots next to it on the web interface, and choosing Edit automation.
The same dialog lets you temporarily pause the automation, if you need to (via the Active/Paused toggle switch), or get rid of it entirely (via the trash icon) — though the folder and the files will remain. You can also add another automation by going into a folder and clicking the three dots at the top, then Add automation. The same option lets you turn an existing, normal folder into an automated one.
One automation promised by Dropbox and mentioned in its support documentation is the ability to tag files automatically as they’re added to a folder. This option isn’t showing up for us at the time of writing, though hopefully it will show up soon, because it does seem to be one of the more useful automations Dropbox could offer.
You can also add tags manually, via the Dropbox web interface. Select a folder, a file, or a group of files, and you’ll see a Tags field on the right hand side: Enter your tags here, hitting Enter after each one. The benefit of adding tags is to make it easier to find your files later, especially if files relating to a certain topic or idea are spread out across multiple folders in your Dropbox account.
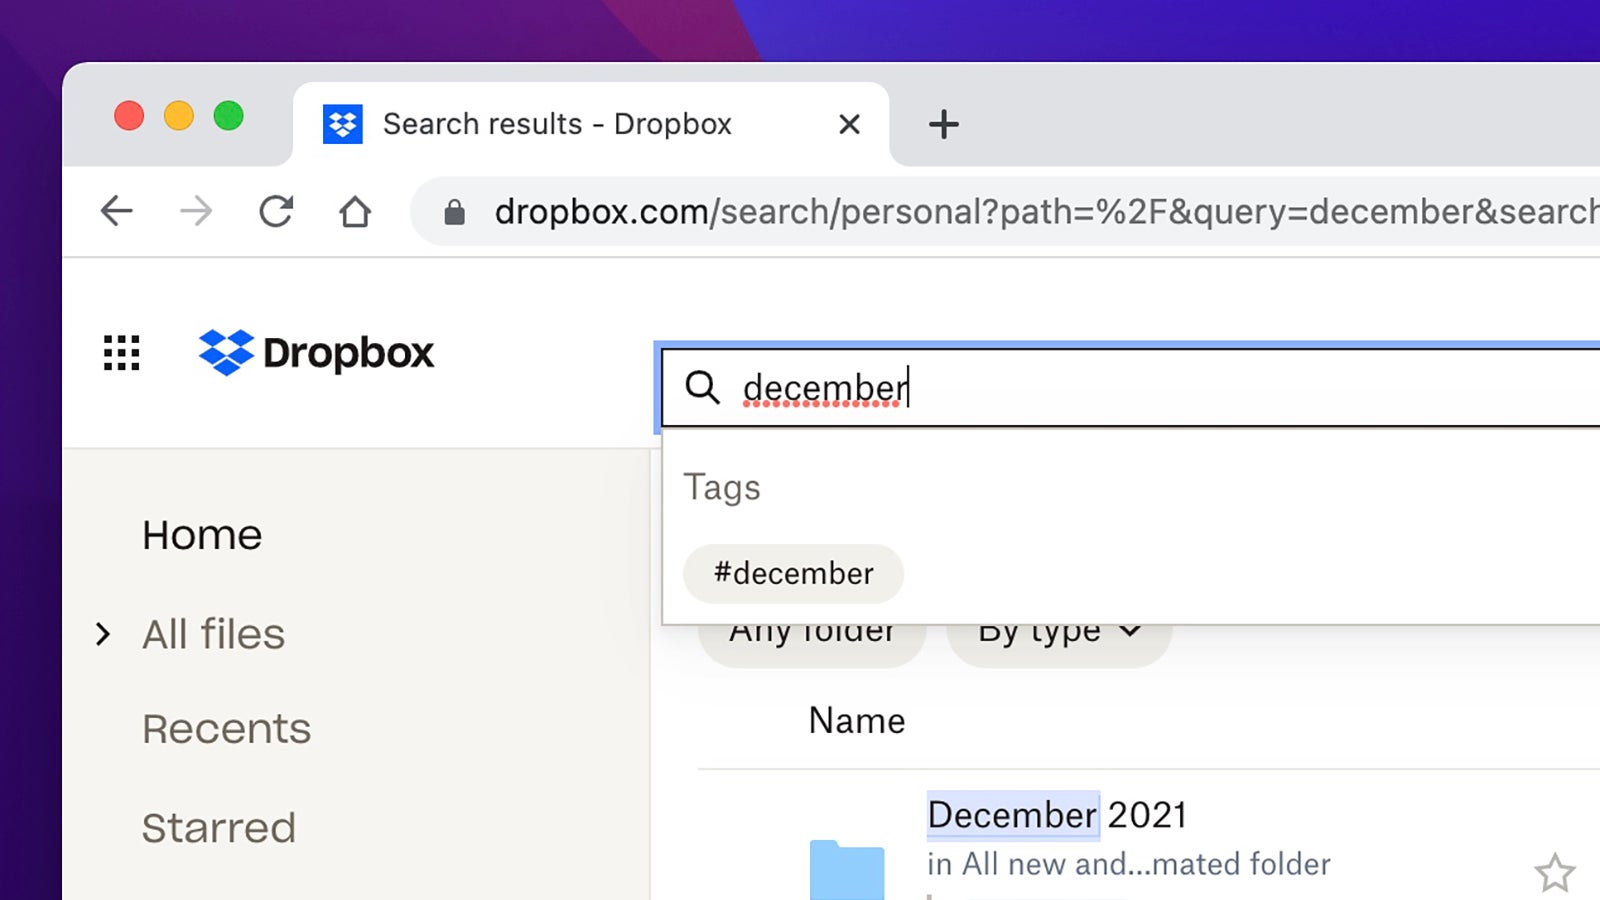
The Dropbox web app has a better search function than you might have realised (use the search box that appears at the top of every screen). You can narrow down your results based on folder or file type, and if your search terms match a particular tag, you’ll be able to select the tag under the search box.
There’s another related feature that Dropbox has added that it calls multi-file organise. It automatically sorts files into subfolders based on dates, keywords, or how often you’re interacting with them. You can use multi-file organise through the web app in any folder that isn’t an automated folder: Click the three dots at the top, then choose Multi-file organise from the list.
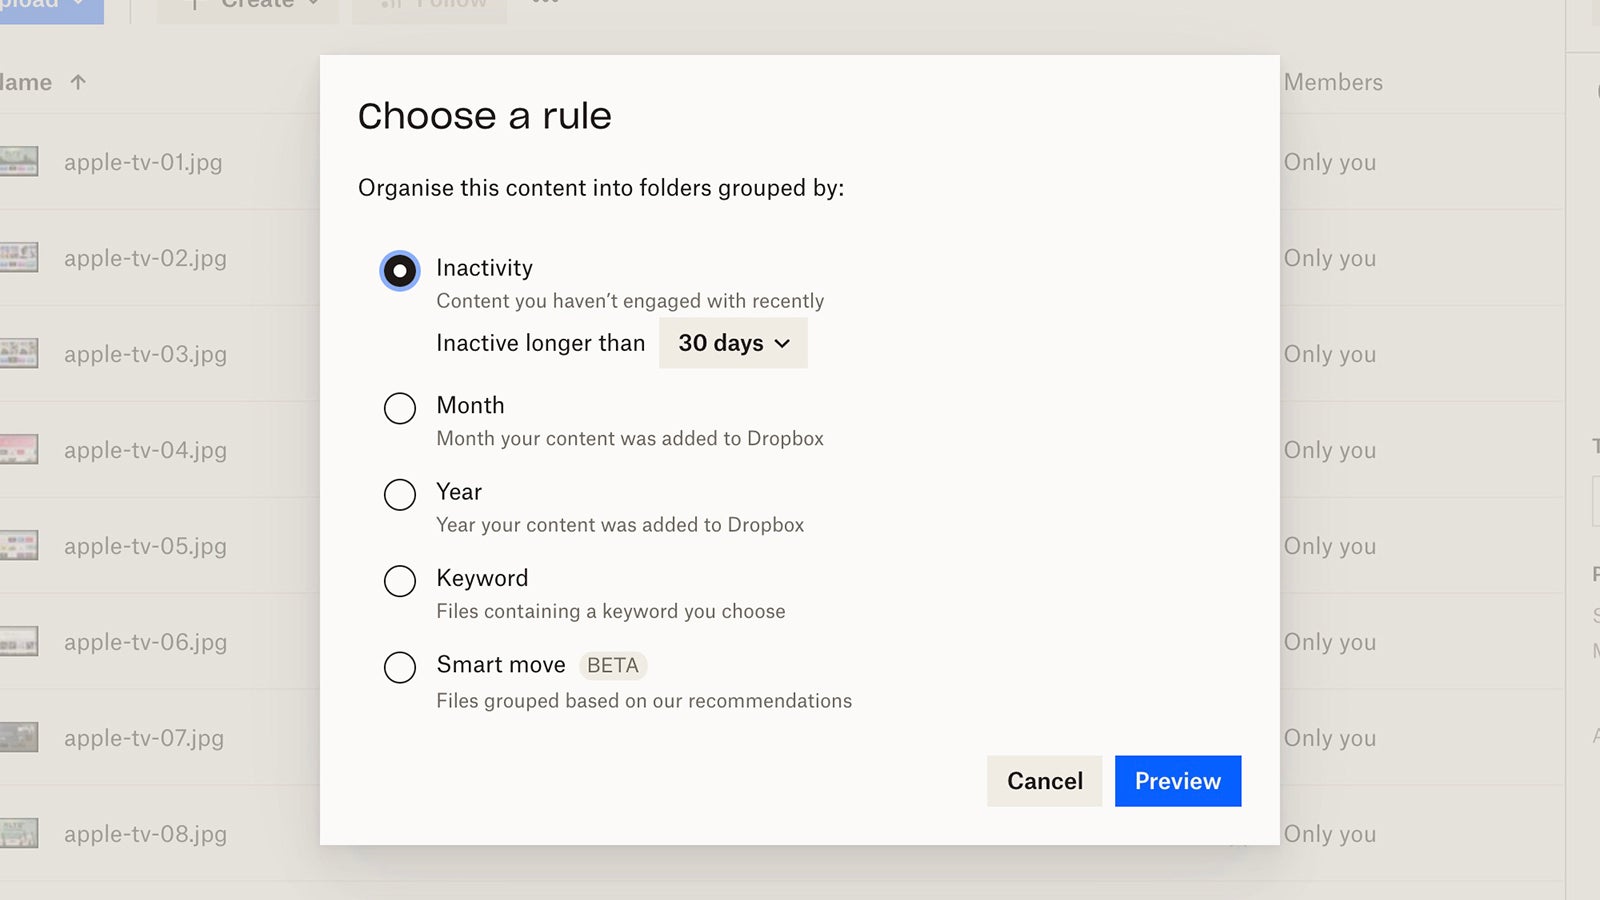
Some of the options you’ll see match up with the automated folder options. You can pick from Inactivity, Month, Year, Keyword, and Smart move — Dropbox doesn’t say exactly how the smart move option works, but you can at least preview the ‘smart’ suggestions on the next screen before they’re applied.
You get a few customisation options as well. You can choose the keyword to sort by, for example, or the length of time that counts as ‘inactivity’ (either 30 days or 90 days). The multi-file organise feature is more of a one-time operation though — once the organising has been done, it’s done. The same rules won’t be applied to files added to the folder in future, though in the case of the Month and Year options, you are given the option to add the automation.
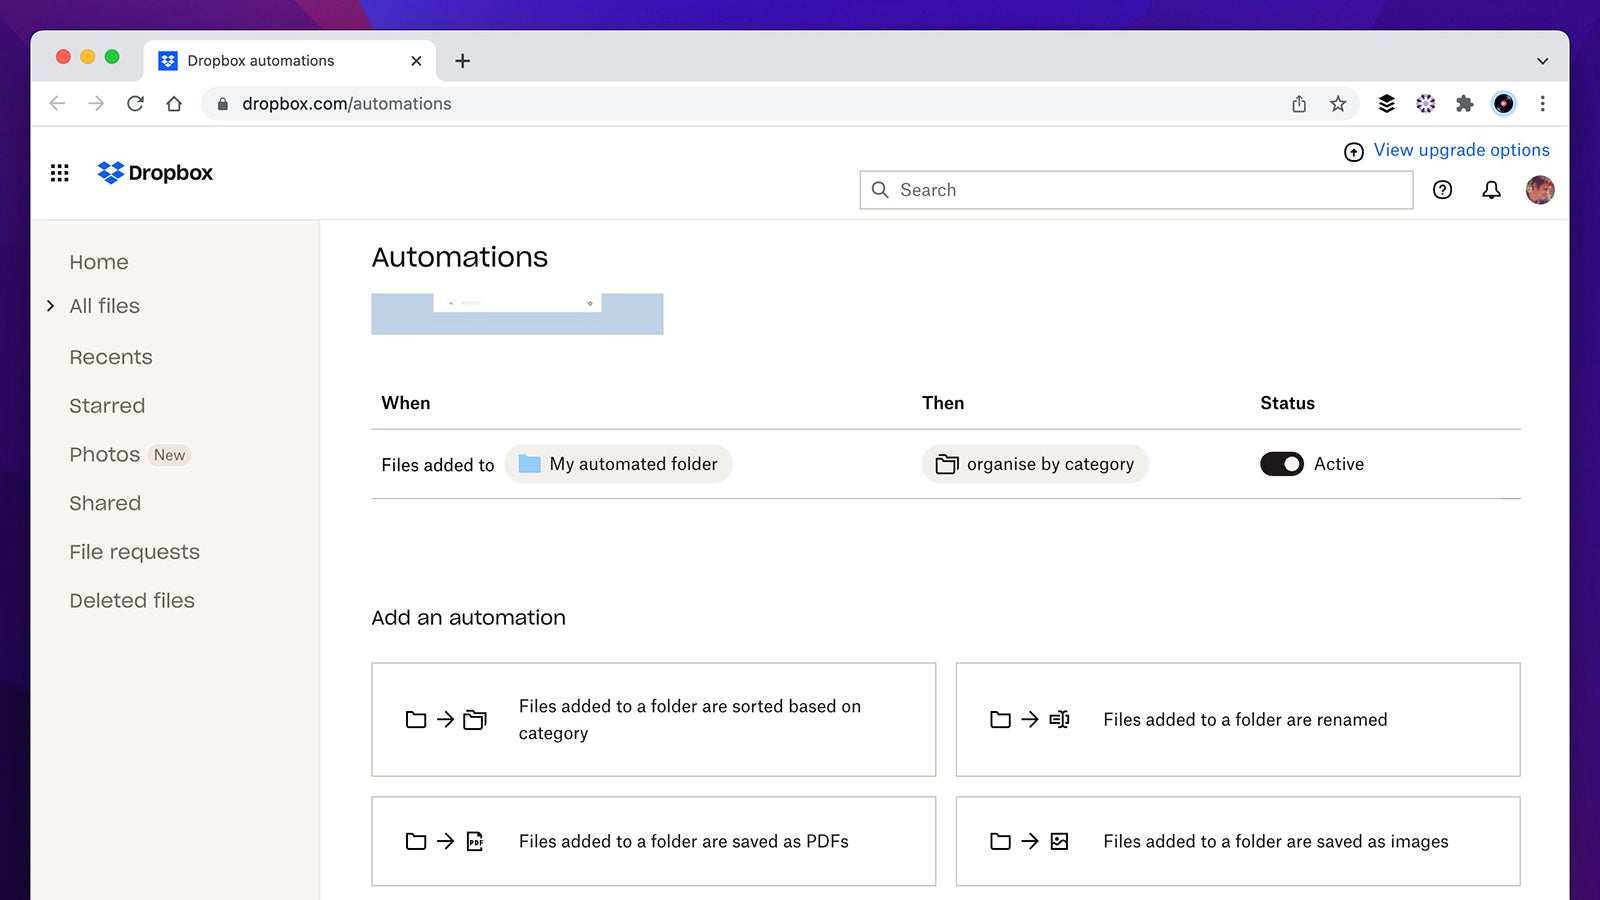
To make it easier to manage your automated folders, you can see them all on one screen through the web portal. Click your profile picture (top right) and then Automations, or go straight to www.dropbox.com/automations to see them. You can see which folders are involved and which automations are being applied, and pause, restart, edit, and delete them as necessary.