When you’re done playing all of the latest releases on your Steam Deck, you have the option of converting your handheld console into an emulator and firing up a variety of classics from gaming’s past. With the right software and a little know-how, you can be playing titles from the GameCube, the original PlayStation, the Xbox 360 and other older platforms through your Valve device.
You’ve got a number of options to pick from when it comes to the emulation software that’s going to run on the Steam Deck, but at the moment our pick is EmuDeck. It’s comprehensive, it’s not difficult to configure, and you can use it for free. It does use a suite of scripts to manage the emulation though — if you’re after something a bit more self-contained and app-like, try Batocera or RetroDeck.
How to set up EmuDeck
You need to put in a bit of preparation to get EmuDeck up and running. A microSD card is the best option for storing your emulator games, and you’ll get the best results from a U3 A2 card, like what’s on offer from SanDisk’s Extreme line.
We’re going to be using the desktop mode inside the Steam Deck as well, so you can speed up the installation process by connecting a keyboard and a mouse (either over Bluetooth or via a USB hub). This isn’t essential, but it certainly makes it easier to type on the device and move through the steps we’re going to talk about here.
Press the Steam button on your console, then choose Power and Switch to Desktop. This means you’re now in a traditional Linux environment, so fire up the Firefox browser that you’ll find preinstalled there, and navigate your way to the EmuDeck website. Select Download at the top, then Download installer, and save the file to the desktop.

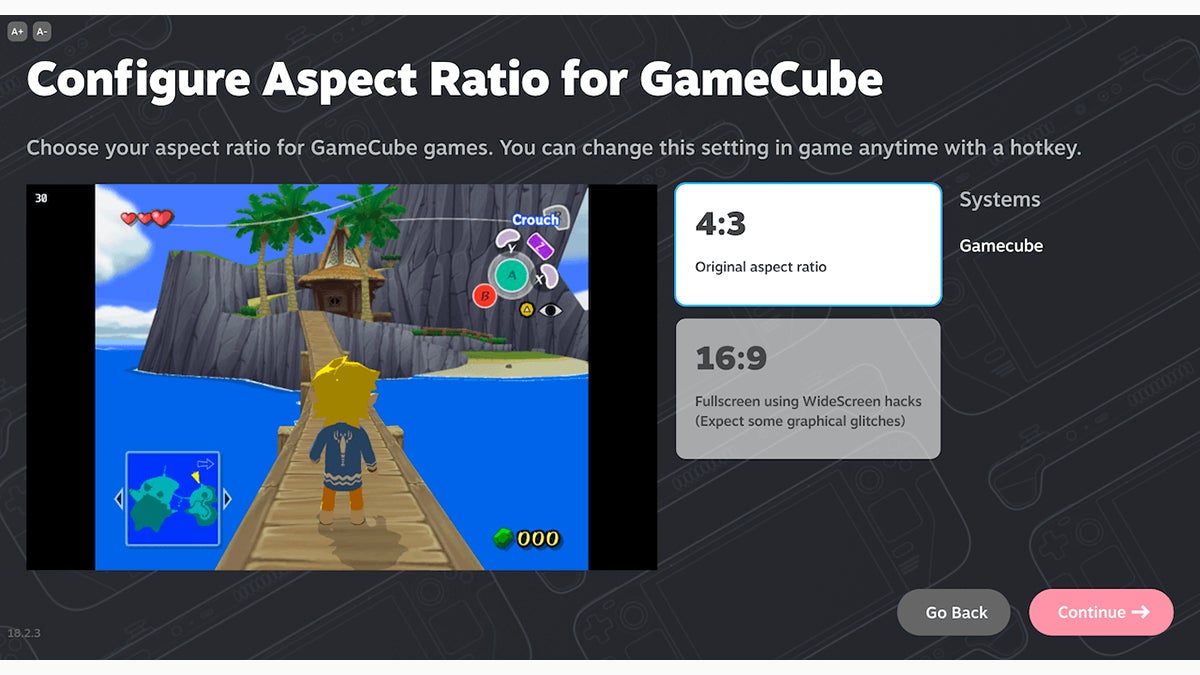
To start the installation process, double-click the file you just downloaded. You’ve then got a choice: Either Easy mode, which does most of the configuration work for you, or Custom mode, which lets you set which emulators you want to install as well as various other options (such as aspect ratios and themes).
Choose whichever you have the time and patience for: Easy mode is the quickest, but the questions you’ll be posed with by Custom mode aren’t difficult, and it does let you choose the specific emulators you’re interested in (if you’ve never heard of any of them, some quick web research will help). Whichever option you go for, you’ll be prompted to choose an install location, so pick your microSD card.
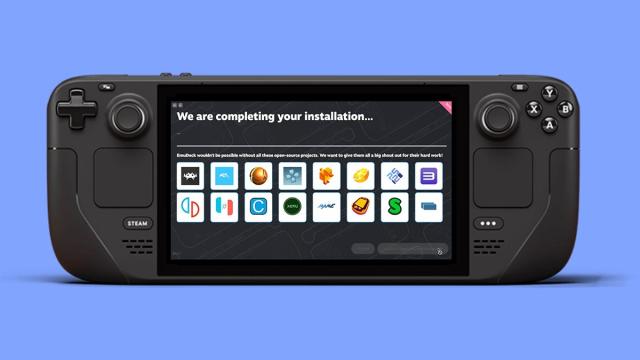
As you get more comfortable with EmuDeck, you can simply run the same installation file again if you want to pick different emulators or change any of the configuration settings, so don’t feel like you’re committed to your initial choices forever. You’ll see the installer copy and setup all the necessary files, and then you’re ready to start loading some games.
How to use EmuDeck
We’re not going to get into the fraught and legally grey area of where you get your BIOS and ROM files from in this guide, but you need both: The BIOS files to help run the emulators (see here for details) and the ROM files for the actual games. The most straightforward way of moving these files over from your computer to the Steam Deck is to use a flash drive or portable hard drive.
You can’t use the microSD card directly, because Windows and macOS can’t read such cards once the Linux formatting used by the Steam Deck has been applied. The Steam Deck can, however, read drives formatted by Windows and macOS, so you can plug such a drive into your handheld — packed with BIOS and ROM files — and copy the contents over. Alternately, you could go wireless and use a solution like Windows file sharing.
You’ll find folders ready and waiting on the microSD card: Specifically “Primary/Emulation/bios/” for the BIOS files and “Primary/Emulation/roms/” for the ROMs, with “Primary” being the name of the card itself. Each emulator will have its own individual folder, so it shouldn’t be too difficult to figure out what goes where.

You then need to make sure your Steam Deck can see all of these wonderful emulators and games. Launch the EmuDeck installer again from the Linux desktop, then pick Tools & stuff and SteamRomManager. The next screen will show a list of emulators down the left: Toggle on the ones where you’d like to see their games show up in the Steam Deck interface, or just select EmulationStationDE to access all your emulators and games through that one item on the home screen menu.
Click Preview (top left), then Generate app list, and the Steam ROM Manager will show you what it’s found. Choose Save app list, and after a few minutes, all of your selected emulators and games will be added to Steam. You’re then able to open up Steam within Linux and remove the entries for the games you don’t want direct access to (right-click then Manage and Remove selected non-Steam games from your library).
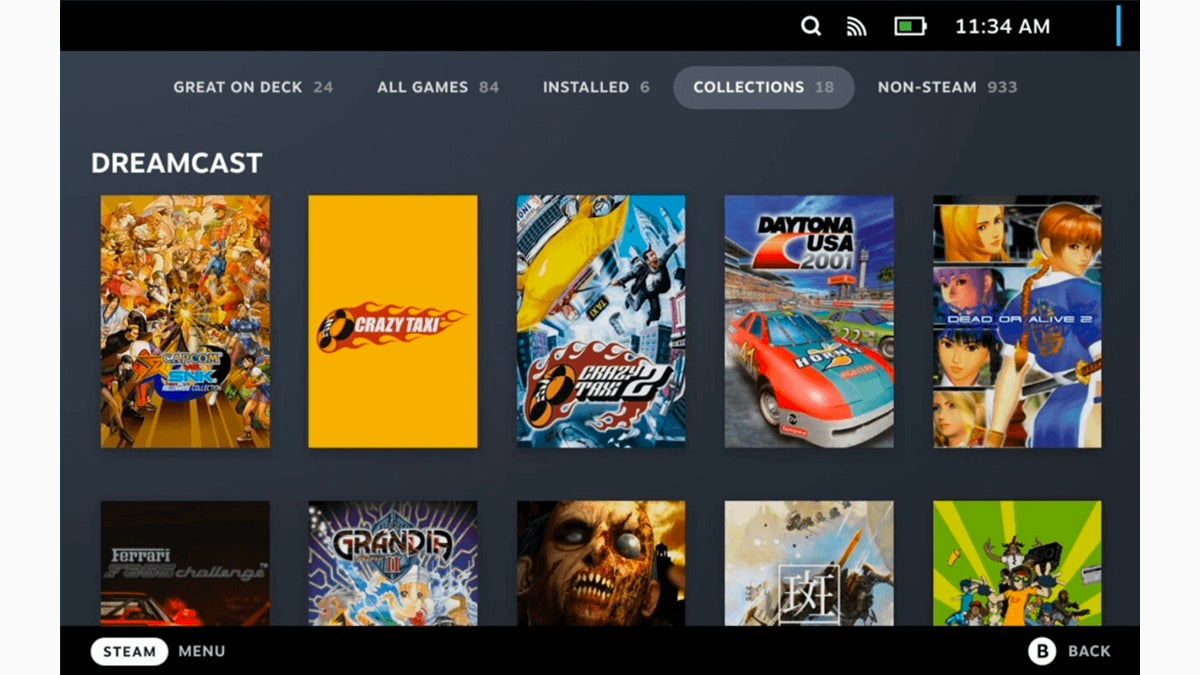
Use the Return to Gaming Mode link on the Linux desktop and your games should be ready to play through the Library section of the standard Steam Deck interface: The ones you selected earlier will appear individually, but you can also get at every ROM you’ve copied over through EmulationStation in your library. If something has gone wrong, retrace your steps — you’ll find a host of help and useful information through the EmuDeck Discord and the EmuDeck Wiki.
Editor’s Note: Release dates within this article are based in the U.S., but will be updated with local Australian dates as soon as we know more.
