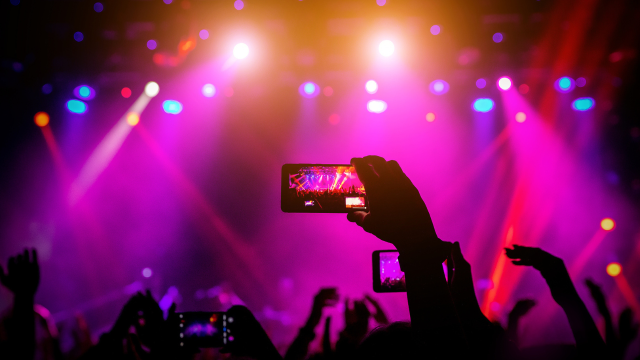
Photography is an art, but somehow concert footage with your smartphone is a sport. During a concert, you have to make sure your photos aren’t blurry, the zoom is at a perfect spot, and ensure the lighting is perfect and you don’t end up with big blobs of white light.
If you compare the footage from concerts now to 10 years ago, there is a stark difference thanks to the advancement in operating systems and the increase in phone megapixels.
Your flagship smartphones these days aka iPhone, Galaxy S Series and Pixels all have amazing cameras with telephoto lenses, and great zoom capabilities so we have a strong foundation baseline for taking photos, we just need a little guidance.
With that being said, here are some tips on taking the best concert photos and videos on your smartphone.
No flash
There is enough lighting at a concert that you don’t need to pop your flash on (unless it’s for the sad song montage). But a flash will just highlight what is in front of you, so someone’s head or a hand, is not cute.
Turn down the exposure
When you’re in the arena or concert hall and about to snap a pic, turn down the exposure so it darkens the photo because once again, the stadium lights are very bright.
Turn off Night Mode (Apple only)
Apple has this annoying night mode feature on its camera which is great for taking a photo of the moon because you need to be still for a few seconds. But at a concert, when everyone is running around, you’re being pushed, there is no point having it on.
Framing your content
Because you aren’t a professional photographer with VIP access, you will encounter some unwanted objects in your concert footage. So to reduce the noise, frame your photos as such, and place people in the lower third of the frame so the top two are focusing on the subject.
Change your frames per second (FPS)
To get good concert videos, you should change your frames per second (FPS). For iPhones head into Camera settings – and change Record Video to 4K at 60 FPS, also while you’re there toggle enhanced stabilisation for zooming in.
For Samsung users, head into camera settings and change the video settings to 4K/UHD 30 FPS.
For videos, use movement
If you’re one of the lucky ones near the front and close to the action, when you’re filming people use a bit of movement in your filming so you can add life to your footage.
Keep your settings
You’re more than likely going to be swapping between the camera and video function for the entire night. To preserve your settings to make sure you’re not constantly going back and forth with exposure, for iPhone users go into Settings – Camera – Preserve Settings – then toggle “Creative Controls” on. It will keep the last used filter, aspect ratio and light setting for users.
Samsung has a “settings to keep” menu on the camera app where users can dictate what settings should be remembered such as camera mode, selfie angle, high picture resolution, filter, portrait zoom and super steady.
Lastly, check your storage!!
This is not a photography tip per se, but for goodness sake make sure you have enough storage before the concert begins so you’re not panicking about missing the best bits.
One final thing, please don’t use a tablet or iPad to take any concert photos or videos, this isn’t a Year Three recital.
If you’re also looking for ways to save your battery during a concert, take a look at our tips here.
Image: iStock
