Did you know there’s a basic video editor built into YouTube? One of the features quietly added in recent weeks is the ability to blur out faces, licence plates, and anything else you like. Here’s how to protect your privacy (and everyone else’s) while still sharing your movies with the world at large.
The new Custom Blurring tool is available through the desktop interface and builds on the existing enhancement option that lets you blur all the faces in a particular clip. Now you can take more control over your blurring: as before, find the video you want to edit and click Enhancements (the magic wand).

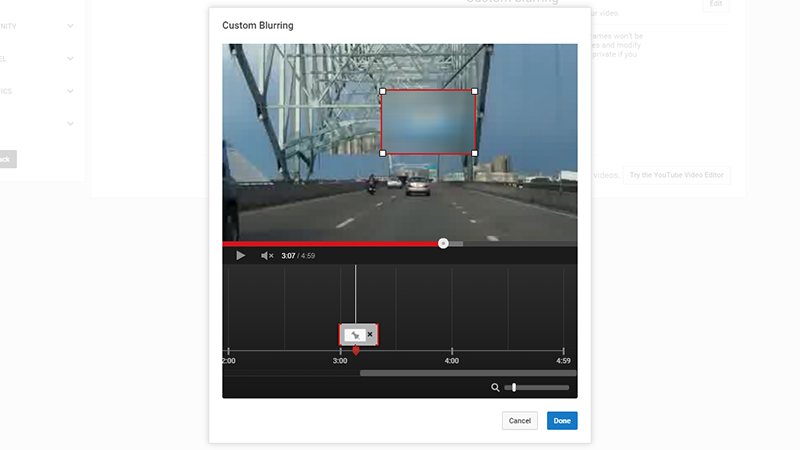
Open up the Blurring effects tab to find your brand new Custom blurring option. Select Edit and a new dialog box appears. Scrub through your video to find the area you want to blur, then draw a red rectangle around it (use the zoom controls to the lower right to get a closer look at the timeline).
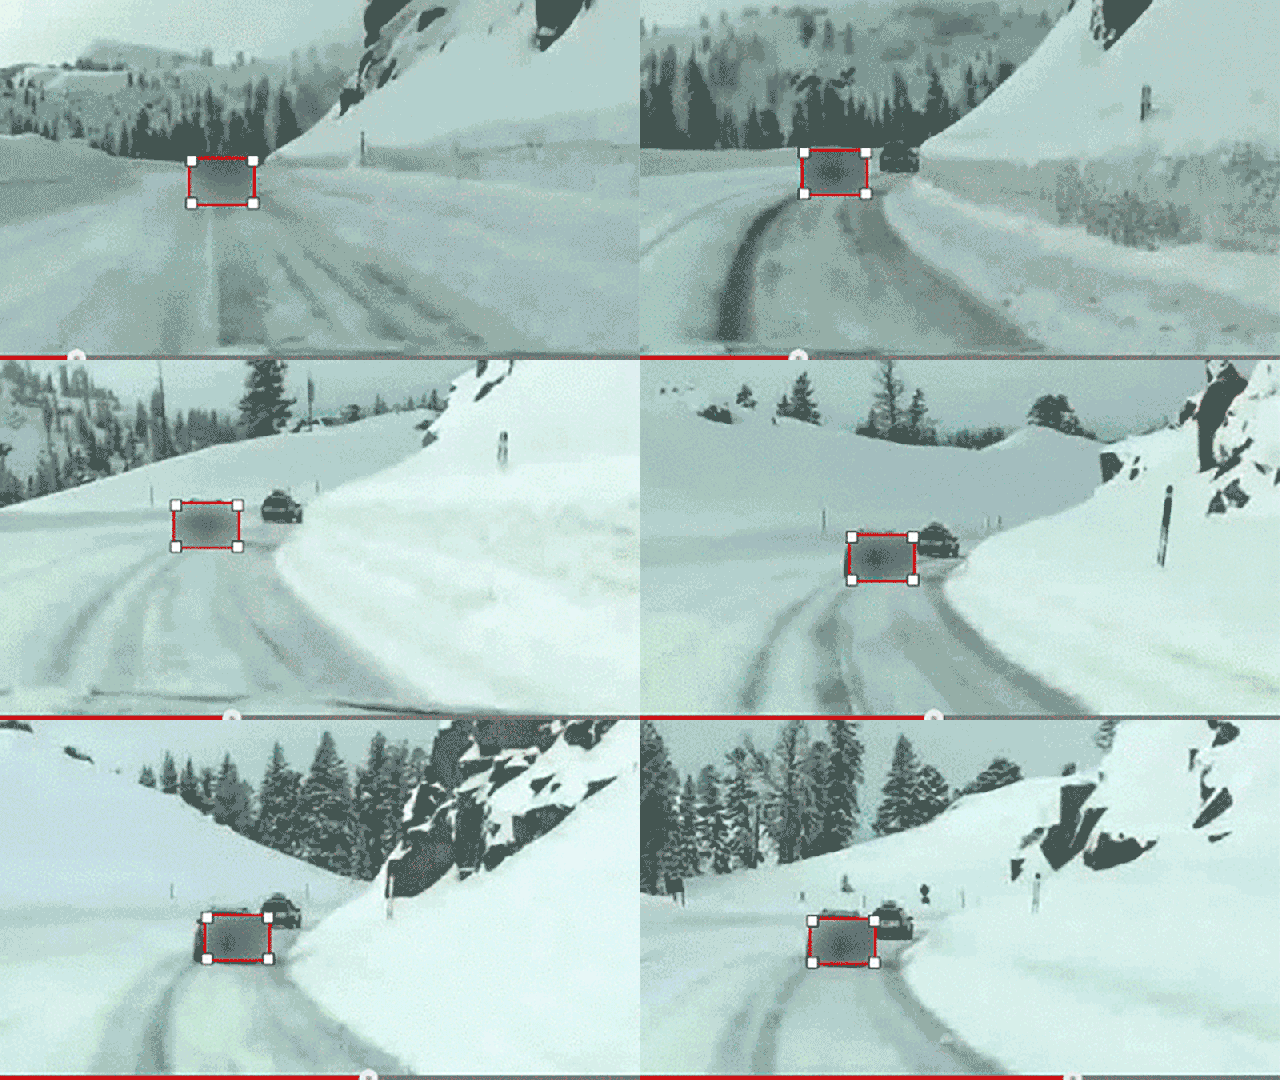
Once the blur is on the timeline, you can drag around the anchor points to extend or reduce its duration. By default, YouTube will try and track your object as the camera pans or the object moves. Click Lock to stop this from happening. Choose Done and your new blur is applied.
